Whether you’ve been loading for 50 years or 5 minutes, it’s a good idea to revist the basics from time to time. READ MORE
Glen Zediker
[I know that my readership for this column has a pretty broad range of experience, and, therefore, a broad topic-interest range, plus expectations on what I hope to communicate or relay. I’ve been asked both to go into more details about specialized processes and procedures and also to stick more with broader topics, and keep it simple. Can’t win on all topics each edition with everyone, so I do my best to mix it up. This one is leaning heavily toward simple, but, as always, I hope there’s something to absorb, or at least think about.]
A few issues back I wrote about how I had been teaching my son how to reload. After doing all this for so long (I started when I was 15) and likewise going fairly far “into it” over many years, the basics are pretty much ingrained in me. That doesn’t mean, in no way, that I don’t have to check myself or remind myself (which usually comes after the checks) to follow the procedures and the rules to the letter.

Short digression into the backstory on this project: Charlie wanted to reload for the very same reasons I got my start in this process. For his 18th birthday, he became the proud owner of a retro-replica “M16A1.” This was his choice, of all the choices he could have made, because it’s an “original.” Of course, his is a semi-auto with only two selector stops, but otherwise is straight from the late 1960s. He found out right quick like and in a hurry that it was a hungry gun, and, as an equally hungry shooter, the need for feed exceeded the factory ammo budget in short order.
Back to the project: So when I set out to teach Charlie how to produce his own ammunition, I sat back a while (a good long while, and longer than I imagined) and ran it all through my mind and realized that I knew so much about it that it was hard to know where to start. Now! That’s not some sort of brag, just the facts, and the same would be said for most of you reading this. I knew so much about it because there’s so much to know! Handloading is a multi-faceted task, made up of many (many) tasks, all and each important.
So where did I start? With a breakdown of the cartridge itself. Which components did what, when, and how. And, of course, the long list of “always, only, and never.” This article isn’t about a step by step on how to load, but in going over the separate points, point by point, some things stood out as more or less easy to communicate, and more or less easy for my son to grasp (related no doubt).
I know that my readership for this column has a pretty broad range of experience, and, therefore, a broad topic-interest range, plus expectations on what I hope to communicate or relay. I’ve been asked both to go into more details about specialized processes and procedures and also to stick more with broader topics, and keep it simple. Can’t win on all topics each edition with everyone, so I do my best to mix it up. This one is leaning heavily toward simple, but, as always, I hope there’s something to absorb, or at least think about.
Setting up the tooling to get started on our project, I had Charlie do it all himself. One of the very first points to pass heading up the learning curve was learning to measure.
Depending on someone’s background and specific experience, something like operating a measuring tool can range from old-hat to no-clue.
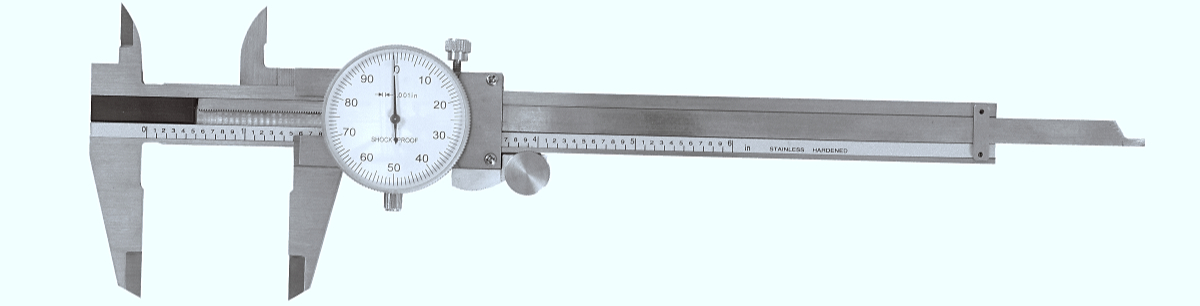
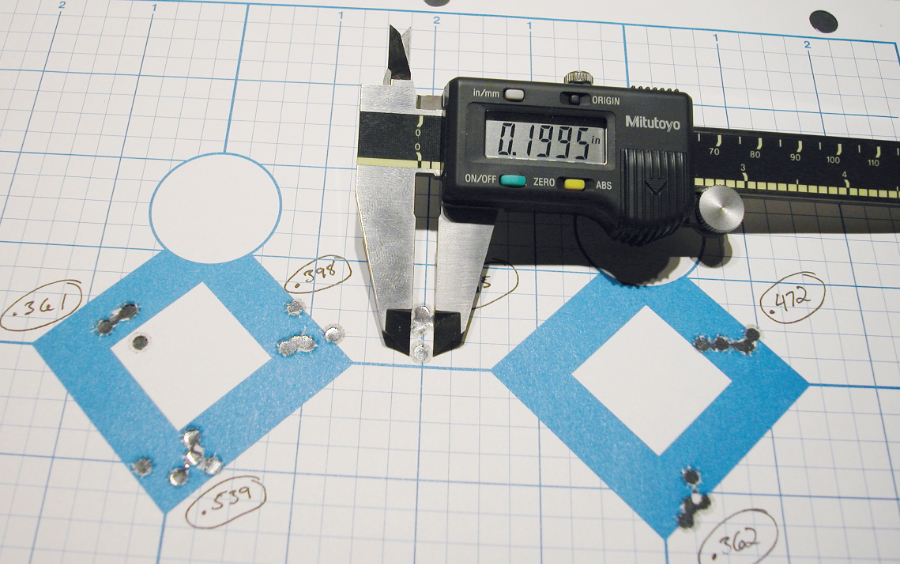
Honestly, the only measuring tool you really need to handload is a dial caliper. You’ll use this to measure cartridge case overall length, over cartridge length, case neck outside diameter, and also to check the results of a few difference gages, like a cartridge case headspace gage.
That, therefore, was the first tool he learned how to operate.
Here’s a question I had to answer, and it’s a good question to be answered especially for those unfamiliar with measuring tools. That question is how “hard” to push on the tool to take a read. How to know that the reading is correct.
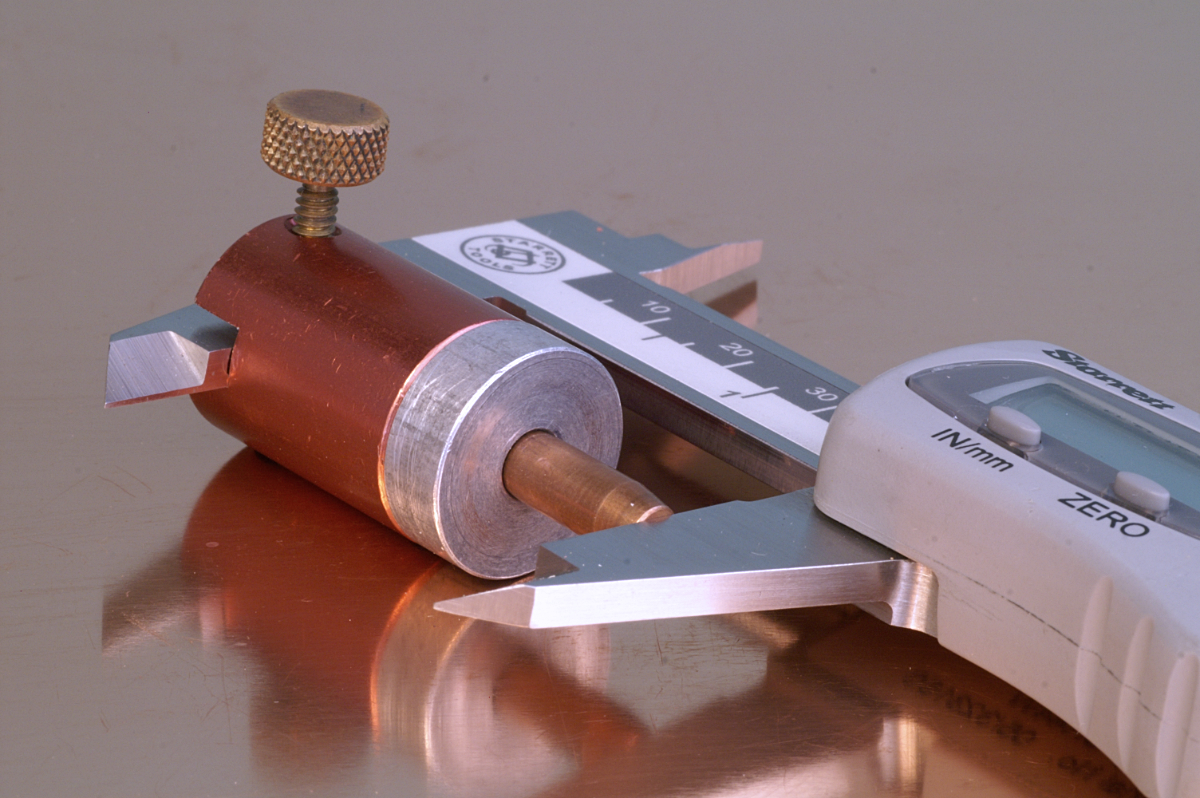
It’s full and flush contact, but not force. It’s as if the part being measured was making the same contact as if it were sitting on the benchtop: full, flush contact but no pressure. In measuring some of the things we measure, like bullets, and considering the increments of the reads, pressure against the tool can influence the read if the material surface is actually compressed. That’s from flex. I usually very gently wiggle the part being measured to feel if the contact with the tool is flush, that there’s no skew involved. There is, no doubt, some feel involved in measuring. I know some say that there should be pressure to get an accurate reading, and I would agree if we’re measuring materials that are harder than bullet jackets and brass cases. But again, it is decidedly possible to flex and actually displace soft materials if there’s too much pressure applied to snug down caliper jaws or mic heads. Get a feel for flush, the point just when the movement stops firmly and fully.
Caliper Quality
More about the tool itself: My experience has been that there’s really no difference in the at-hand accuracy of more expensive measuring tools, especially a caliper.
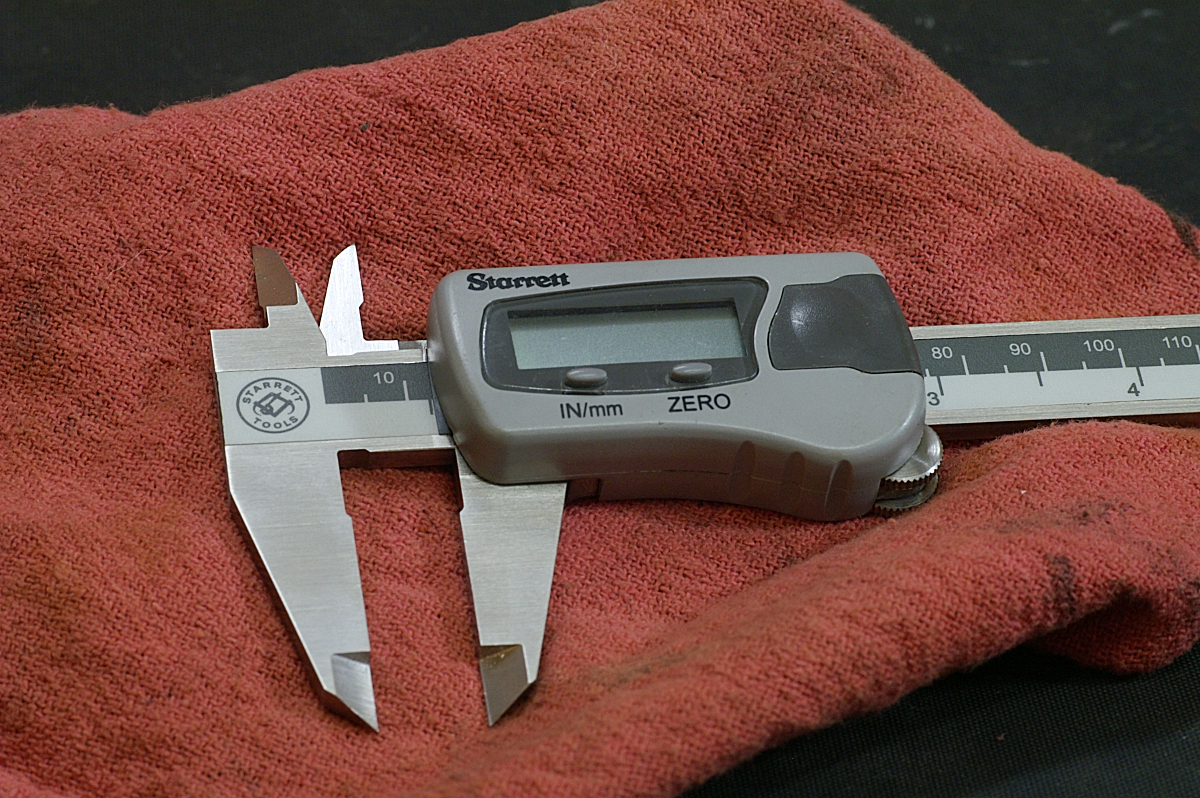
Digital is great, but not at all necessary. Digital is not more accurate or precise, it’s just “easier.” As with a scale, it really depends on how much you plan on using it. If you’re going to measure everything, then digital is better because it’s faster to read — there’s no dial-mark interpretation involved. If you only want to check neck diameters and case lengths when you’re setting up your tools, then a dial-style is entirely adequate.
Get steel! Something that reads to 0.001 inches.
There are several industry-branded dial and digital calipers from Lyman, Hornady, RCBS, MEC, and more, available here at Midsouth. These range from $30-50 or so. They are all good, and they all are entirely adequate. If you want to spend up and get better, Mitutoyo and Starrett are the brands to know. Those easily double that cost.
These tools do wear. All will wear. Better tools wear less for a longer time. Conversations with folks who use calipers, along with other measuring tools, not only daily, but continuously during a day, has taught me to be confident in that statement.
Calipers can measure other things, but there are specialty tools that replace them for specific tasks. For instance, yes, it’s possible to measure case wall thickness with a caliper, but it’s not very precise.
Check out Midsouth tools HERE
The preceding is a specially-adapted excerpt from Glen’s book Top-Grade Ammo. Available HERE at Midsouth Shooters Supply. Visit ZedikerPublishing.com for more information on the book itself, and also free article downloads.