To get the most from your load testing, in the shortest time possible, learn the “Audette Method,” and put it work for you. Here’s how!

Glen Zediker
Last edition I suggested taking the step toward putting together a “portable” loading setup to allow for load development right at the range. This time I’ll talk about an idea on getting the most out of a test session in the quickest and surest way.
I have followed an “incremental” load work-up method for many years, and it’s served me well. Some call it the “Audette Method” named for the late and great Creighton Audette, long-time long-range and Benchrest experimenter.
Backing up a bit: Being able to employ this method efficiently requires having spent the preparation time, doing your homework, to know exactly how much “one click” is worth on your meter. Whether the meter clicks or not, it’s the value of one incremental mark on the metering arm. The value of that click or mark varies with the propellant, but by weighing several examples of each one-stop variation (done over at least a half-dozen stops) you’ll be able to accurately increase the charge for each test a known amount.

I usually test at 300 yards. That distance is adequate to give a good evaluation of accuracy and, for the purposes of this test, is also “far enough” that vertical spreads are more pronounced. Testing at 100 yards, sometimes they all look like good groups… So it’s at about 300 yards where we’ll start to see more difference in good and bad.
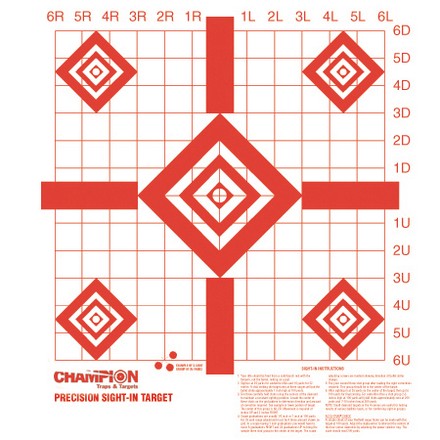
Get to the range and get set up, chronograph in place. Put up a target. Use whatever gives you a clear aiming point, but it’s helpful to have a light background not only to see the holes easier using a scope, but also to make notes on. More about that in a minute.
Use the same target for the entire session. (Put pasters over the previous holes if you want, but don’t change paper.) The reason for using the same target for the whole session is that helps determine vertical consistency as you work up through successively stouter propellant charges.
I fire 3 rounds per increment. As it gets closer to “done,” I increase it to 5 or 6. At that point I’ve hit a couple of speed points, two or three increments that represent a performance level I can live with (one is on the “iffy” end of the pressure, and I rarely choose that one) and am focusing more closely on group size. Final confirmation comes with one 20-round group. For what it’s worth, I usually pick the one in the middle.
A 3-round volley might seem inadequate, but it’s not if there’s confidence that the rounds are being well-directed and speed is being monitored. If I’m seeing more than 12-15 fps velocity spreads over 3 rounds, I’m not going to continue with that propellant. Same with group size: if it’s a big group over 3 rounds, it’s going to be a bigger group later on.
I’m sho no mathematician-statistician, but from experience I’ve found that, while certainly there’s some probability that the first 3 rounds fired might represent the extreme edges of the load’s group potential, and that all the others are going to land inside them, uhh, that’s not even a little bit likely. If it starts bad it finishes bad. On the contrary: no, just because the first 3 shots are close together and the velocity spread is low doesn’t mean it’s not going to get worse. Groups normally get bigger and velocities get wider, but, we have to start somewhere. It’s a matter of degrees. Also, the quality (accuracy) of the meter factors, and the better it is the better you can judge performance over fewer examples. And this is new brass, so that’s going to minimize inconsistencies further.
I can also tell you that it’s possible to wear out a barrel testing. No kidding.
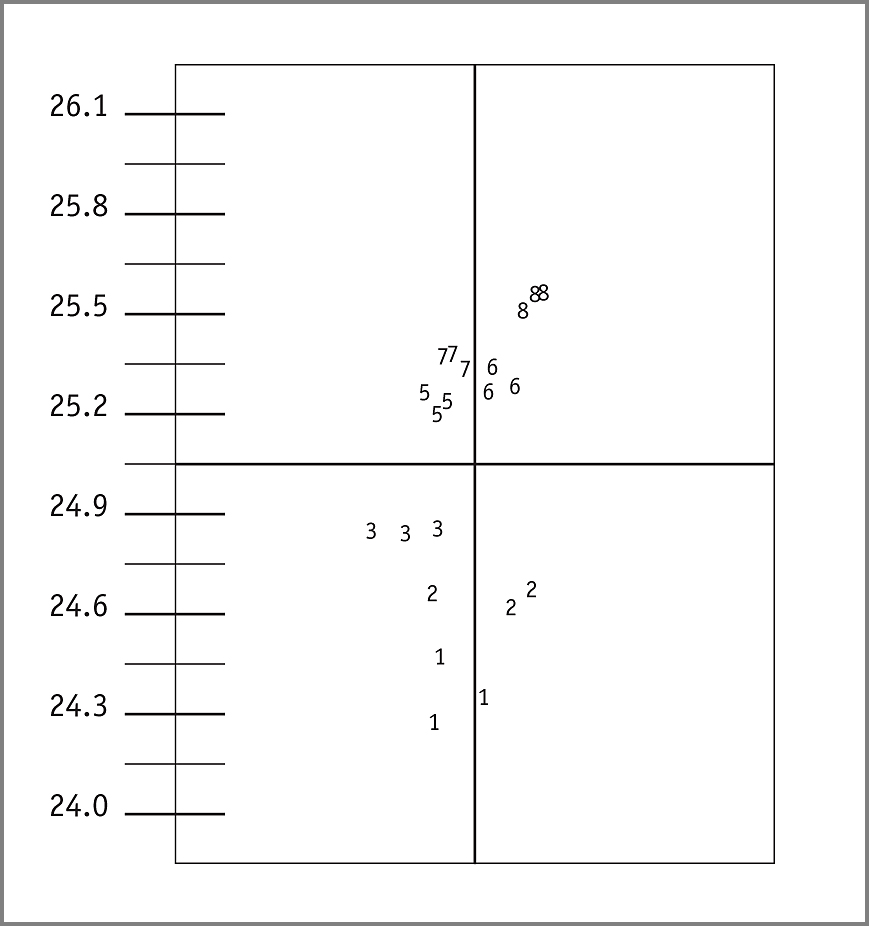
Back to the “incremental” part of this test: As you increase the charges, bullets impact higher and higher on the target paper. You’re looking for a point where both group sizes and impact levels are very close together. If the groups are small, you won! That’s what Crieghton called a “sweet-spot” load, and that was one that didn’t show much on-target variance over a 2-3 increment charge difference (which is going to be about a half-grain of propellant). The value of such a load is immense, especially to a competitive shooter. It means that the daily variations, especially temperature, and even the small variances in propellant charges that might come with some propellants through meters, won’t affect your score. It’s also valuable to a hunter who’s planning to travel.

That was the whole point to following this process. First, and foremost, it’s to find a good-performing load. It’s also how you find out if the propellant you chose is going to produce predictably. I can also tell you that I have chosen a propellant and a load using it that wasn’t always the highest speed or even the smallest single group. It was chosen because it will shoot predictably all year long. I base everything on the worst group, biggest velocity spread, not the smallest and lowest. If that doesn’t make sense it will after a summer on a tournament tour. If the worst group my combination will shoot is x-ring, and the worst spread is under 10 fps, it’s not the ammo that will lose the match…
As said to start this series, I started loading at the range because I got tired of bringing home partial batches of loser loads. And, you guessed it, the partial boxes usually contained recipes that were too hot. The only way to salvage those was to pull the bullets. Tedious. Or they were too low, of course, and fit only for busting up dirt clods. Plus, I’m able to test different charges in the same conditions. It’s a small investment that’s a huge time-saver.
If you do invest in a portable setup, exploit potentials. The possibilities for other tests are wide open, seating depth experiments, for instance.
CHECK OUT MORE TARGETS AT MIDSOUTH HERE
The information in this article is from Glen’s newest book, Top-Grade Ammo, available HERE at Midsouth. Also check HERE for more information about this and other publications from Zediker Publishing.


