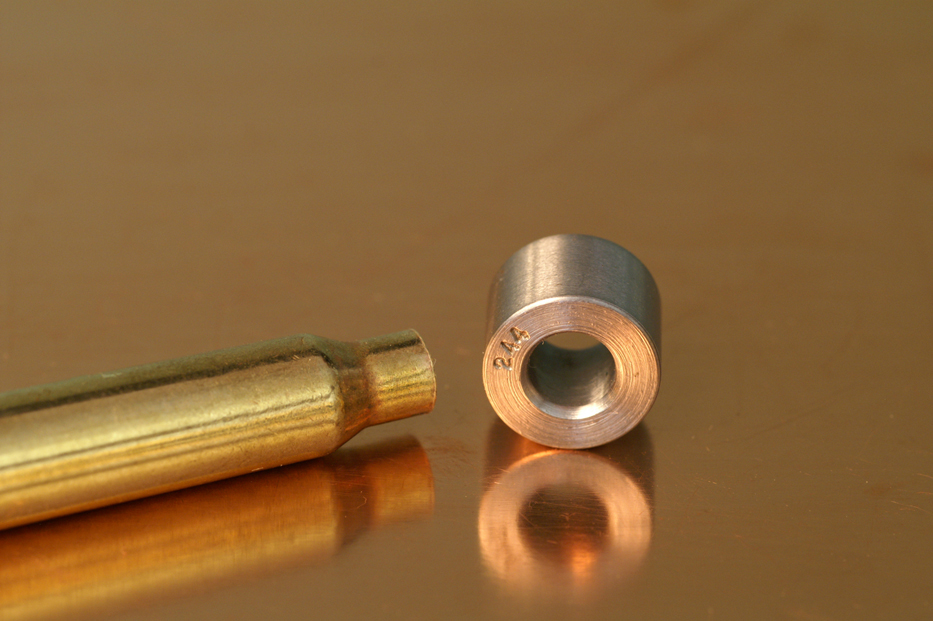
Determining and setting the correct case neck diameter is a critical, crucial step in the handloading process: Here’s all you need to know!
Glen Zediker
Here’s another I get (too many) questions about, and when I say “too many” that’s not at all a complaint, just a concern… This next hopefully will eliminate any and all confusions about this important step, and decision, in the reloading process.
Basics: A cartridge case neck expands in firing to release the bullet. If the load delivers adequate pressure, it can expand to the full diameter allowed by that portion of the rifle chamber. That diameter depends on the reamer used. After expansion and contraction, the case neck will, no doubt, be a bigger diameter than what it was before being fired.
Back to it: To get a handle on this important dimension, the first step is tools. As always. A caliper that reads to 0.001 inches will suffice.
You need to find three outside diameter numbers: fired case neck diameter, sized case neck diameter, loaded case neck diameter. If you know the loaded case neck diameter then it’s likewise easy to find out the case wall thickness, or at least an average on it if the necks aren’t perfectly uniform (and they won’t likely be unless they’ve been full-on outside case neck turned).
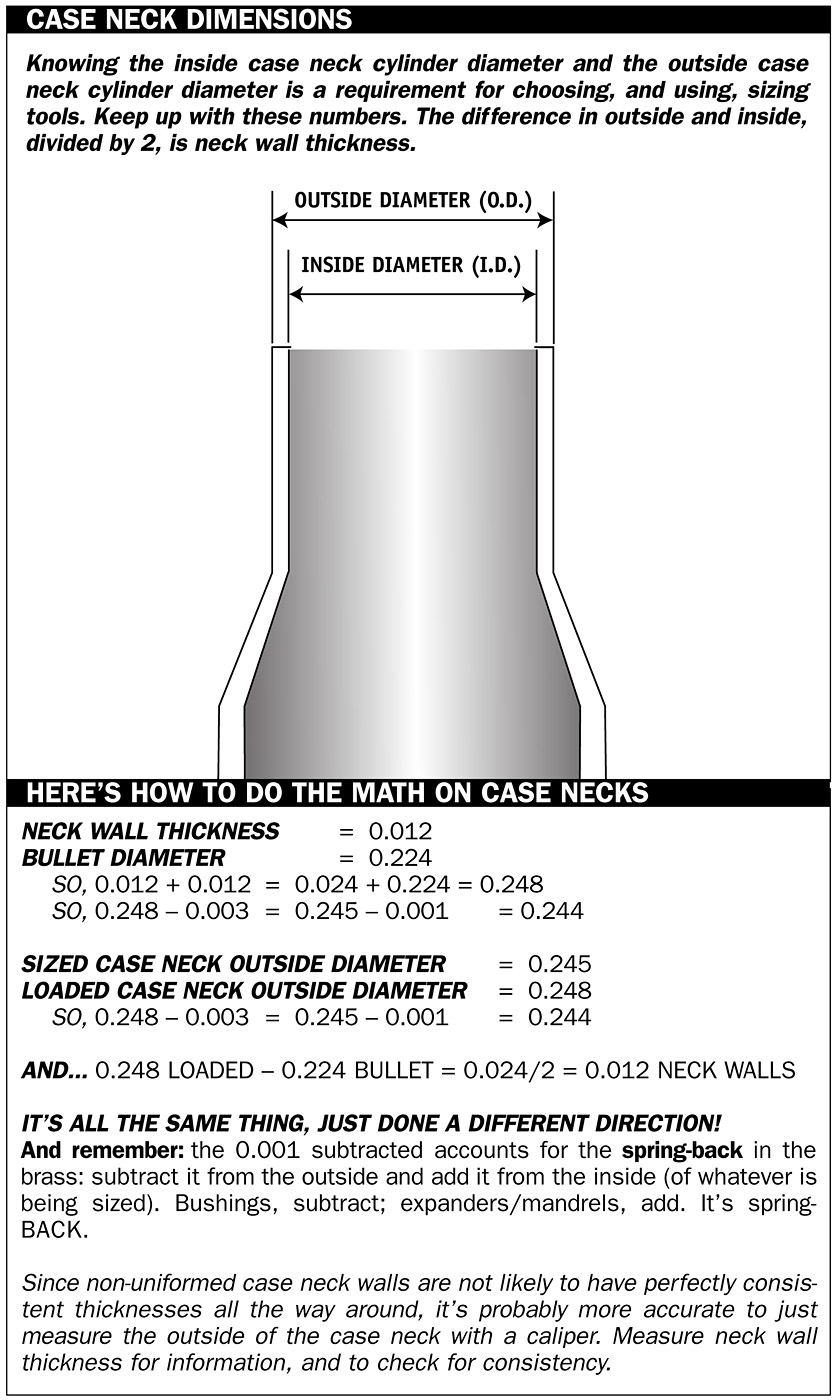
A fired case neck has to be sized back down to a dimension that will retain a bullet from unwanted movement (slippage) in the reloaded round. Case neck “tension” isn’t really an accurate term, in my mind, so I prefer to talk about “constriction.” The reason is that making a case neck diameter smaller and smaller does not, after a point, add any additional grip to the bullet. Once it’s gotten beyond maybe 0.005 inches, it’s just increasing the resistance to bullet seating not increasing the amount of tension or retention of the case neck against the bullet. The bullet is resizing the case neck, and probably getting its jacket damaged in the process. If more grip is needed, that’s where crimping comes in…and that’s (literally) another story.
IMPORTANT
Always, always, account for the “spring-back.” That is in the nature of the alloy used to make cases. If brass is sized to a smaller diameter it will spring back plus 0.001 inches bigger than the tool used; if it’s expanded to a bigger diameter, it will spring back (contract) to 0.001 inches smaller than the tool used. This is always true! The exception is that as brass hardens with age, it can spring back a little more.
How much constriction should there be? For a semi-auto, 0.003 is adequate; I recommend 0.004. For a bolt-action, I use and recommend 0.002, and 0.001 usually is adequate unless the rifle is a hard-kicker. See, the main (main) influence of more resistance in bullet seating is to, as mentioned, set up enough gripping tension to prevent unwanted bullet movement. Unwanted movement can come from two main sources: contact and inertia. Contact is if and when the bullet tip meets any resistance in feeding, and gets pushed back. Intertia comes from the operation and cycling of the firearm. If there’s enough force generated via recoil, the bullets in rounds remaining in a magazine can move from flowing forces. However! That also works literally in the other way: in a semi-auto the inertial force transmitted through a round being chambered can set the bullet out: the case stops but the bullet keeps moving. I’ve seen (measured) that happen with AR15s and (even more) AR-10/SR-25s especially when loading the first round in. Put in a loaded magazine, trip the bolt stop, and, wham, all that mass moves forward and slams to a stop. Retract the bolt and out comes a case with no bullet… Or, more usually, out comes a case with the bullet seated out farther (longer overall length). Never, ever, set a constriction level on the lighter side for either of these guns.
Most seem to hold a belief that the lower the case neck constriction the better the accuracy. Can’t prove that by me or mine. If there’s too much constriction, as mentioned, the bullet jacket can be damaged and possibly the bullet slightly resized (depending on its material constitution) and those could cause accuracy hiccups. If it’s a semi-auto and constriction is inadequate, the likewise aforementioned bullet movement forward, which is very unlikely to be consistent, can create accuracy issues, no doubt. My own load tests have shown me that velocities get more consistent at 0.003-0.004 as compared to 0.001-0.002.
Benchrest competitors use virtually zero constriction, but as with each and every thing “they” do, it works only because it’s only possible via the extremely precise machining work done both in rifle chambering and case preparation. It is not, decidedly not, something anyone else can or should attempt even in an off-the-shelf single-shot. As always: I focus here, and in my books, on “the rest of us” when it comes to reloading tool setup and tactics. Folks who have normal rifles and use them in normal ways. And folks who don’t want to have problems.
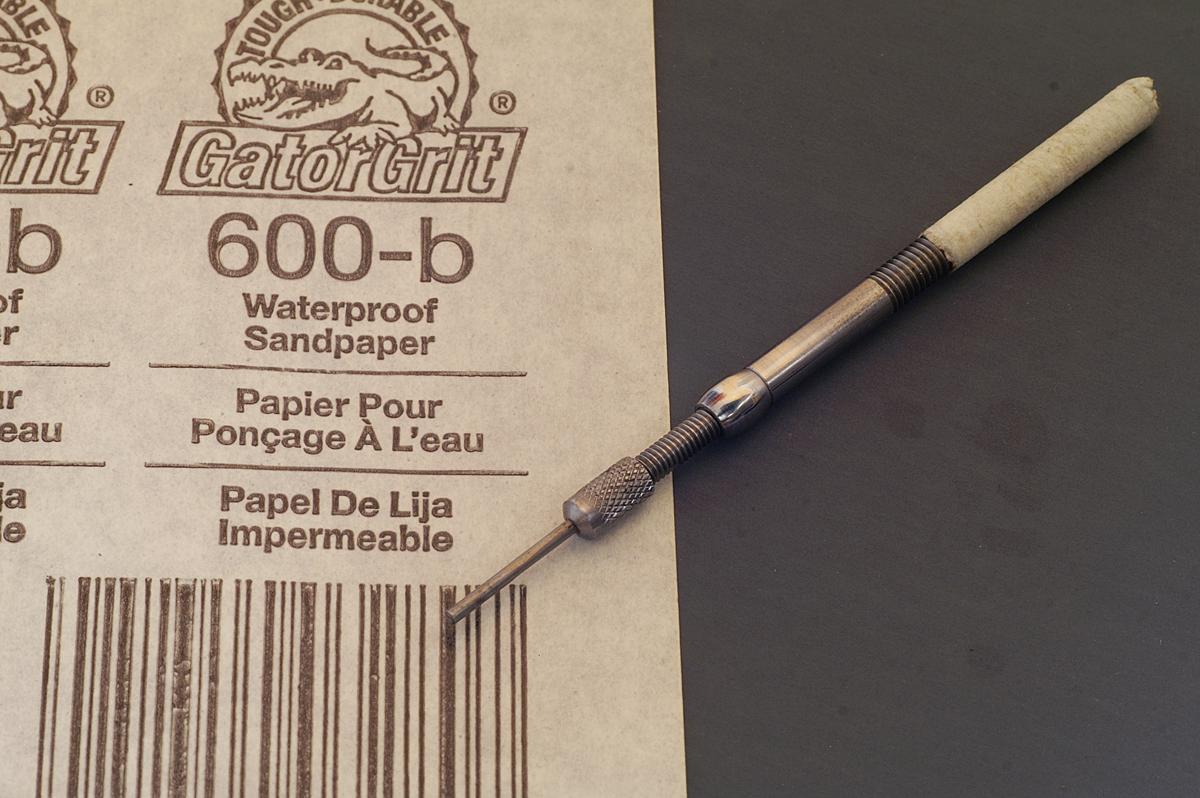
So, find out what you have right now by determining the three influential diameters talked about at the start of this article. Most factory standard full-length sizing die sets will produce between 0.002 and 0.003 constriction. Getting more is easy: chuck up the expander/decapper stem in an electric drill (I use oiled emery cloth wrapped around a stone), and carefully reduce the expander body diameter by the needed amount, or contact the manufacturer to see about getting an undersized part. I’ve done that.
If you want less constriction than you’re currently getting, about the only way to do that one is hit up a local machinist and get the neck area in the die opened by the desired amount (considering always the 0.001 spring-back). Or get a bushing-style die…
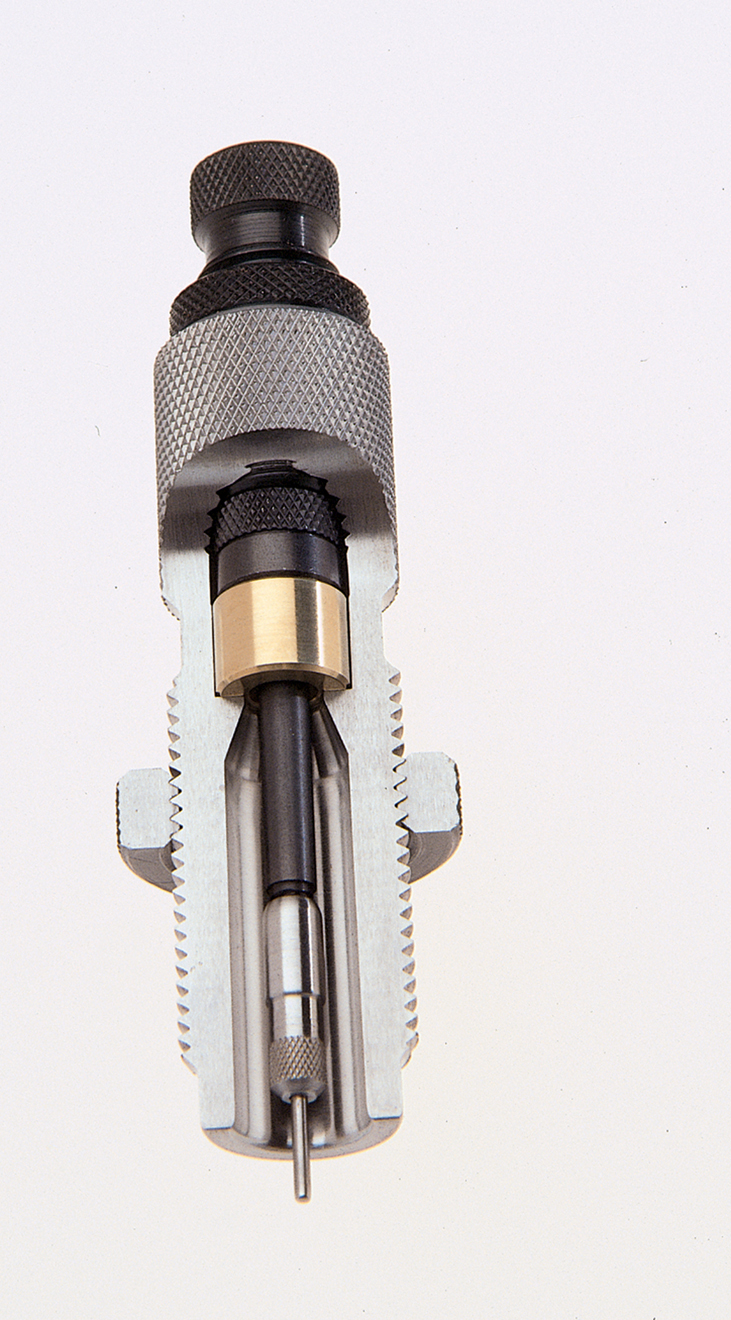
The bushing-style design has removable bushings available in specific diameters. Pick the one you want to suit the brass you use. If you run an inside case neck expanding appliance along with a bushing die, usually a sizing-die-mounted “expander ball” or sizing button, make sure you’re getting at least 0.002 expansion from that device. Example: the (outside) sized case neck diameter should be sufficiently reduced to provide an inside sized case neck diameter at least 0.002 smaller than the diameter of the inside sizing appliance. That’s done as a matter of consistency and correctness that will account for small differences in case neck wall thicknesses. And when you change brass lots and certainly brands, measure again and do the math again! Thicker or thinner case neck walls make a big difference in the size bushing needed.
Check out a few ideas at Midsouth HERE
The preceding was adapted from Glen’s newest book, Top-Grade Ammo, available here at Midsouth. For more information on this book, and others, plus articles and information for download, visit ZedikerPublishing.com


