
MEC, or Mayville Engineering Company, has been in business since 1945 and producing shotshell reloading platforms since 1955. They have been one of the oldest and well-established companies manufacturing all gauge options. It’s not uncommon to find MEC systems at yard sales, basements, flea markets, etc, all of which are well designed and well made. While they offer a wide range of reloader units (presses) one of the most common is the MEC 600 Jr.
Junior:
The MEC 600 Jr has gone through several iterations, the first in 1982 and again in 1985. These can be found in a wide range of conditions from near pristine to fully rusted. Without knowing how they were stored, or where they were used, condition is highly variable. Currently, the 600 Jr Mark V is a current production model and considered a ‘single stage’ units despite the multiple shell placement locations.
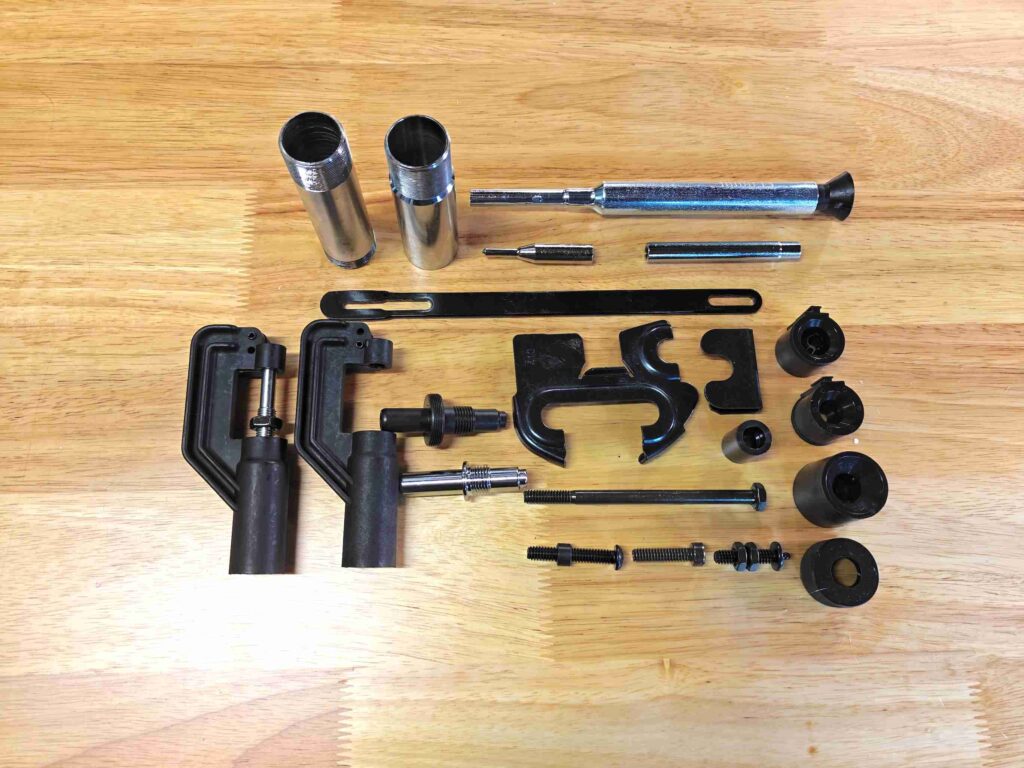
The kit contains all the parts necessary for reconditioning your MEC 600 Jr or converting to load a different shell.
From a practical standpoint, the Mark V is capable of reloading 9 boxes of shells in an hour, which may be more recoil than anyone’s shoulder can handle in one range session. There is a wide range of adjustability with being able to accommodate 3-inch shells. Even now, it can be ordered in 10, 12, 16, 20 Gauge and 410. With prices hovering between $300-$400, it’s an affordable option for multiple dedicated gauge loading unit.
Updating:
I’ve come across many 600 Jr and Mark V units. Enough to fill a shelf in my reloading room. Condition is always often questionable and while the machine itself may be in perfect condition, the uncoated dies often suffer or are missing essential components. Having procured so many systems in similar gauge setups, swapping the worst condition for new dies is a simple process.
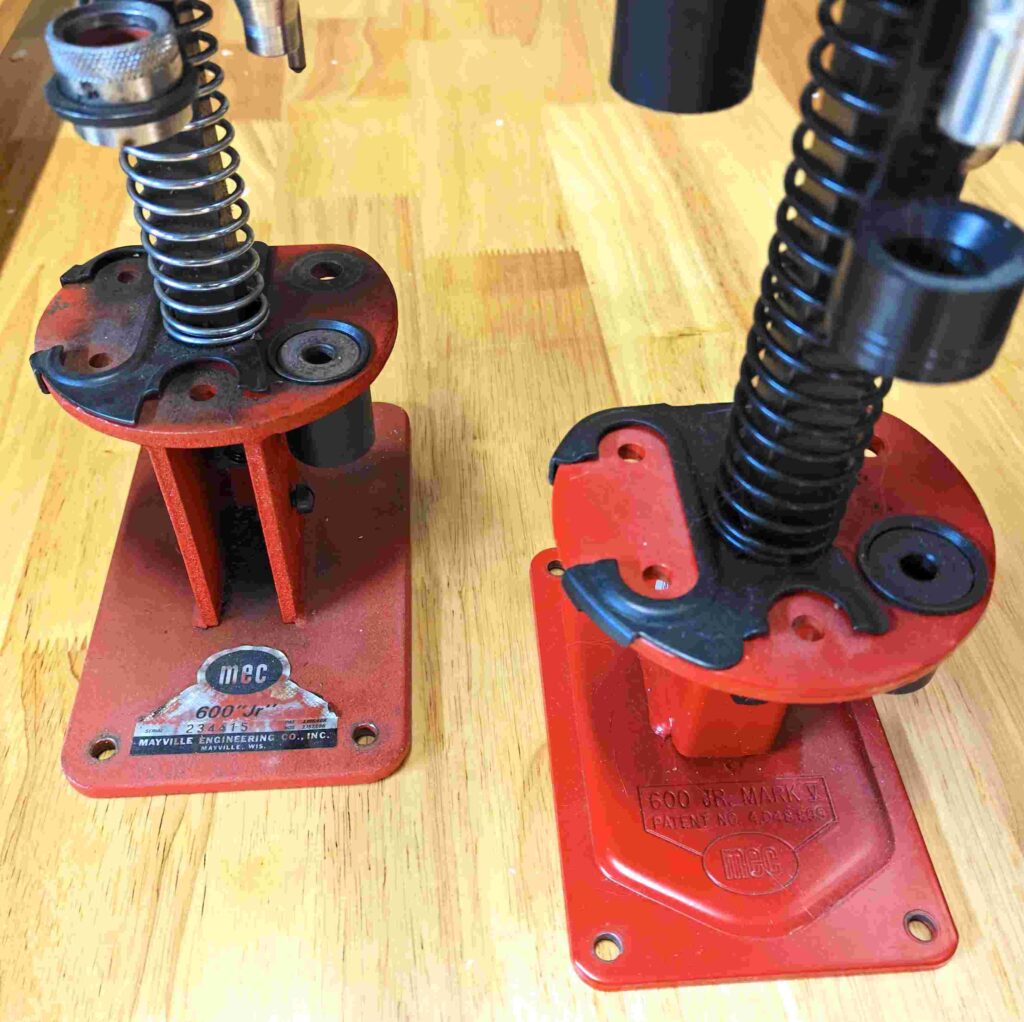
The Mark V is a current production model with a few differences over their predecessors.
Currently, the gauge conversion dies hover just above $200 and are dependent on the iteration you wish to service and update. They come with a wide range of parts and include: bushings, resize ring, deprime punch, lock nut, spacer, wad guide, rammer tube, drop tube, cam crimp, shell holder, reprime punch, bolt, pivot pin, nut, crimp started, support tube, and eject bolt. With the 600 Jr or Mark V, additional parts may be provided for 2 1/2 or 3-inch shell loading.
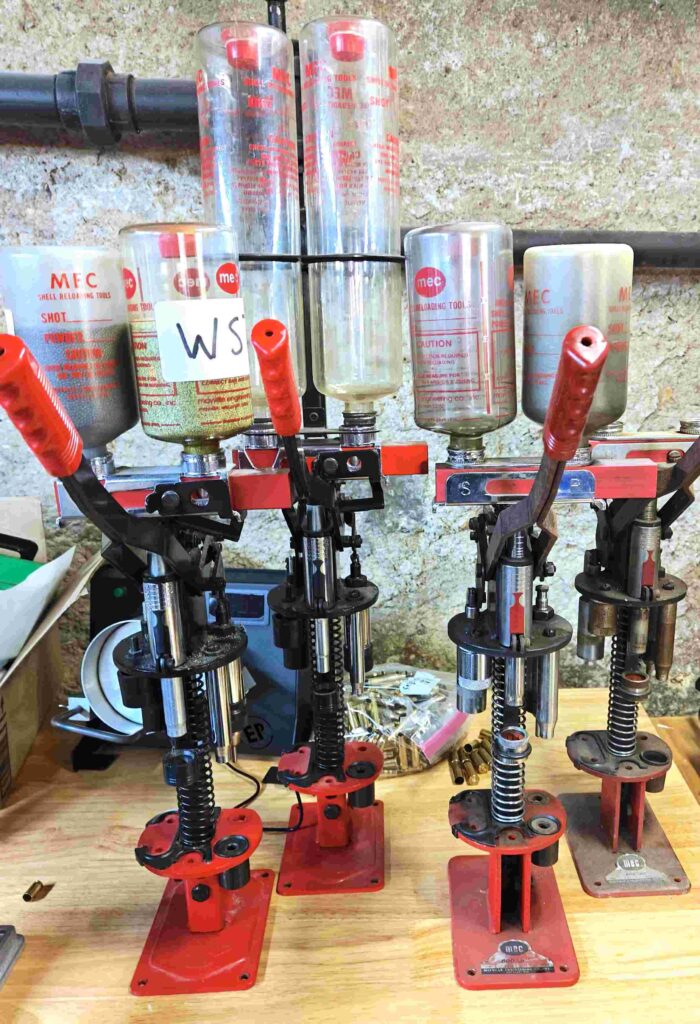
MEC JR machines can be found in a lot of places including garage sales, reloading shops, or family basements.
What to Convert:
I obtained the .410 conversion to swap out the older 12 gauge dies that were in ‘worse for wear’ condition. The directions, while appearing obtuse, are fairly clear-cut on the process in a word format. There are no pictographs excluding the column position and cam crimp die for 3-inch shells. There were two sets of directions, one for the 2 1/2-inch and another for the 3-inch. As my primary purpose for loading .410 is for range and small birds, 2 1/2-inch setup is preferred.
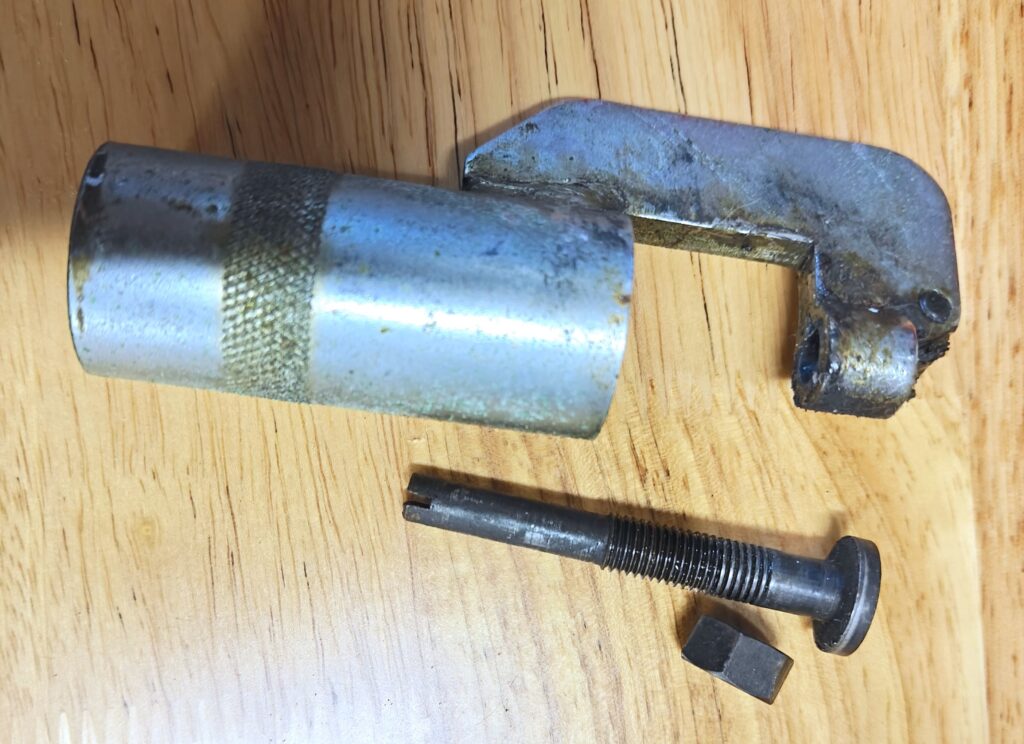
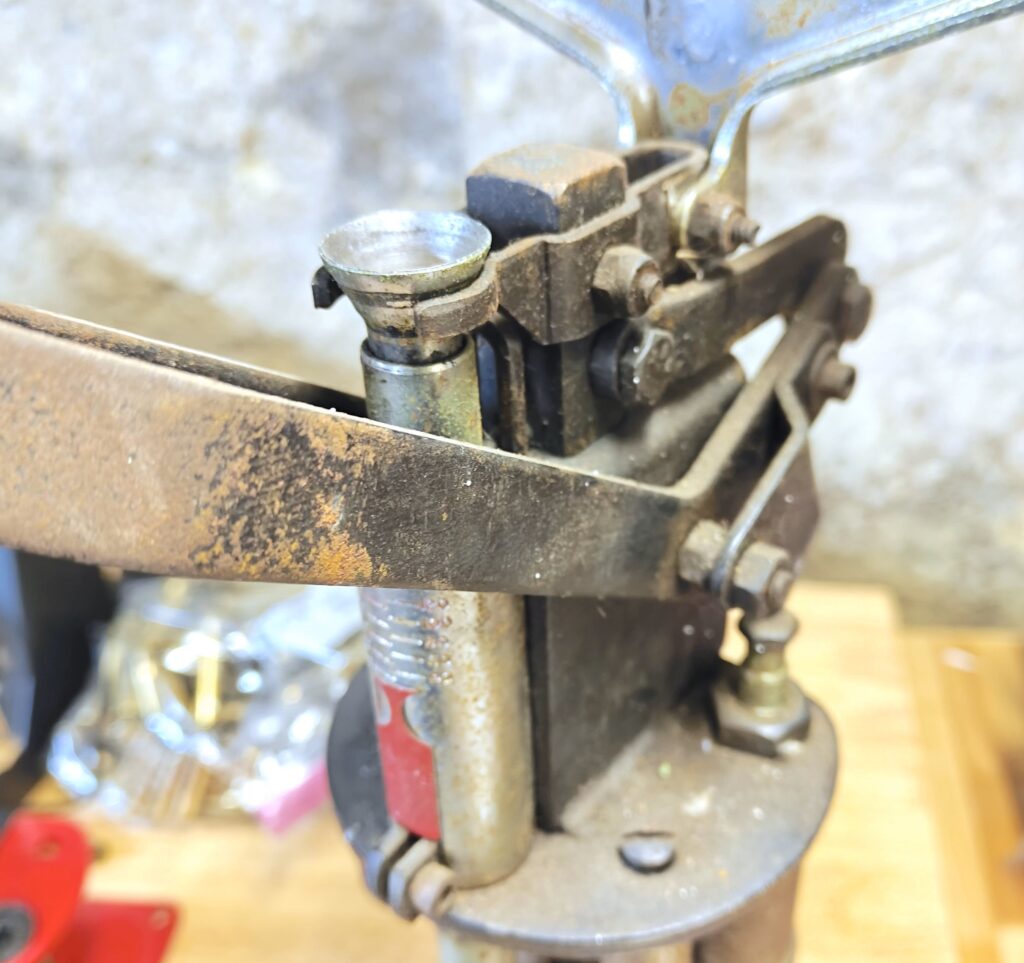
Notice the rust and corrosion of the Final Crimp die. A lot of corrosion can make it extremely difficult to remove a component.
Considering the MEC 600 Jr has been around for so long, one of the more difficult conversions takes place with a pre-82. This is mostly because they are long forgotten and sit in dark, damp basements collecting dust and rust. Because this may be one of the more common types of presses encountered, that is what the I will convert to .410. Luckily, I have one sitting around gathering more dust and rust.
New Parts, Old Press:
There are a few parts differences from the old original units and the new replacement pieces. Some of the main components are manufactured from a plastic-like material, unlike the chromed pieces on the original. Looking at newer MEC systems, the plastic components are a standard and appear to be rugged enough for a generation worth of reloading.
The drop tube funnel is extremely easy to remove but the drop tube itself may be bound of rusted to internal spring components.
Conversion kits come with a few odds and ends, or backups, which will not be used. If you do not use every piece during the conversion, there’s nothing to worry about.
The Process:
First steps are to remove existing components. I opted to do each section separately rather than remove everything at once. This allowed me to convert back to the original caliber if there was an issue during installation.
I started with the final crimp. This section was straightforward and required only the loosening of a nut to allow the rod to drop through the hole. Replacement was a snug fit but allowed some flexibility with the new plastic mount. It fit well with easy adjustability within reach while clearing the handle movement.
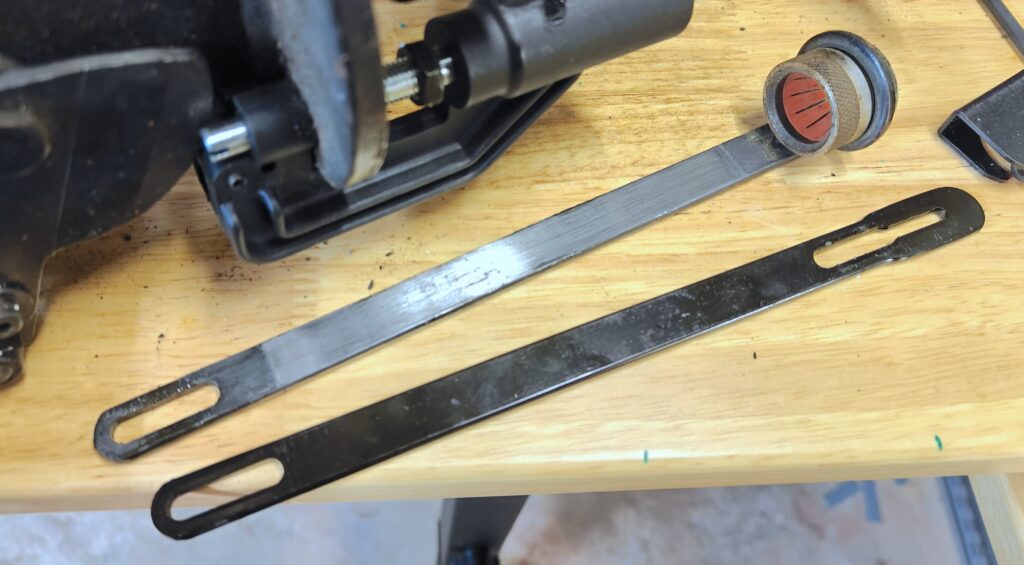
The guide rods are similar from generation to generation, but the new version has a cutout for a plastic Wad Feed to attach.
Crimp Starting position is held in via a regular screw. The insert can be changed on the original equipment, but the plastic replacement was molding to incorporate the full form. Those unfamiliar, may have difficulty as the crimp starter uses a screw with a ball end which is pressure fit into the die itself. Once inserted, it can be attached to the MEC Jr with no issues.
Rammer Tube removal was next on the agenda, and this was a difficult piece to remove off the rusted press. After lifting the bottle holder, a siphon tube can easily be removed. Once removed, a set screw at the front of the plate, above the die attachment plate, must also be removed. On this particular press, the internal rusting made it extremely difficult to remove the rammer tube without some force, and a bit of oil. Likewise, insertion of the new tube resulted in some light hitting and copper pipe to protect the material.
However, before inserting the new rammer tube, the wad feed guide rod needed to be removed and replaced. Each guide rod is secured in place by a roll pin which must be pushed into the press in order to remove. Once replaced, the roll pin should be pushed back into its original position for proper operation. Much like the previous parts, a plastic wad feed fits into the larger slot on the rod. This kit came with two wad feeds; one to use and one backup.
Like many other parts, the new Drop Tube is made from plastic, but the old feed tubes also fit.
The repriming punch die was next in line for replacement. As with many older machines, the screw was well set into place and near immovable. With some penetrating oil, heat, and a lot of muscle the bolt was able to break free without completely breaking. It was damaged, but still usable for light duty work, however, the new replacement piece came with a new screw.
The reconditioning die and deprimer was where the most difficulties occurred. This is a multi-piece die composed of internal units and an exterior shell. It’s important to note, there are two versions of this die. One has the exterior shell screwed directly into the die plate independently. The second required the shell to screw onto a top mount point which is then secured to the die plate. While flame and penetrating oil had little to no effect, a pipe wrench was used to remove the shell from the press. Once removed, the pipe wrench was placed on the internal stem which an adjustable was used on the large nut on top. Without a doubt, this was the most difficult piece to remove.
Replacement of the deprimer and reconditioning die meant finding the right shell housing. Both would work, but keeping with tradition an independent shell was screwed into the die plate itself. It takes some work, but the internal components and retainment bolt are fitted through the die plate hole independently. Unfortunately, the original nut must be used for the new equipment.
![]()
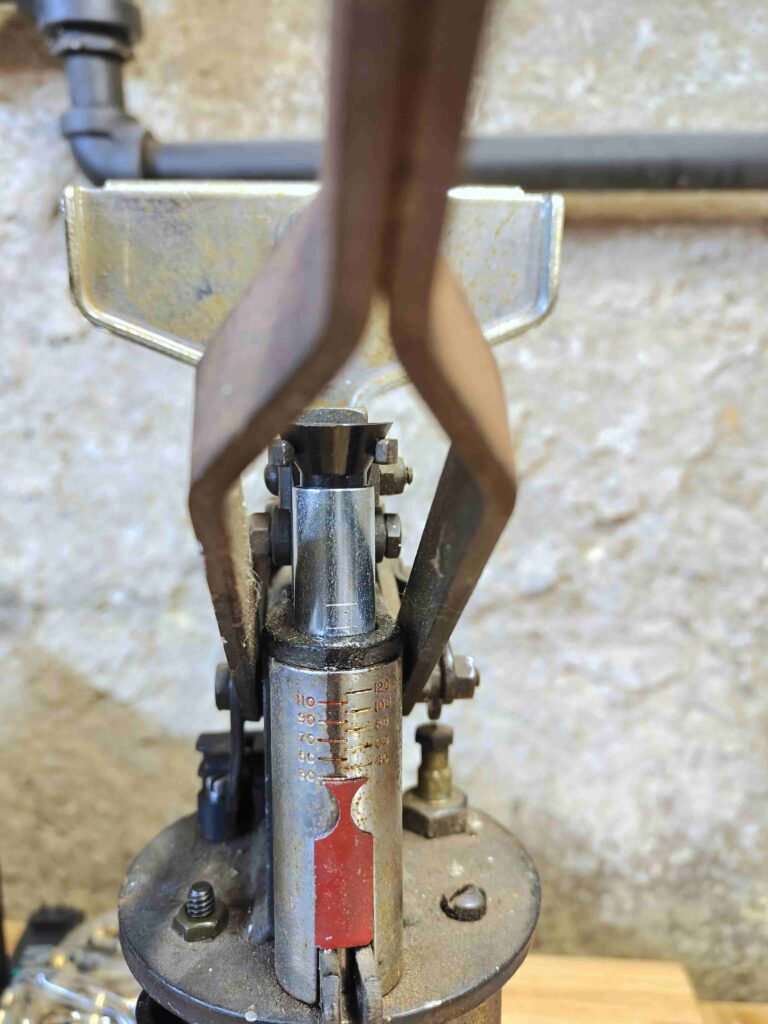
Once all parts and installed, the dies are ready for calibration and use.
Lastly, the shell plates need to be installed. This is the easiest process even with rust. Using a screwdriver, the center spring is compressed and original shell plate is forced off while the new shell plate takes its place. The .410 kit also requires a plate around the reprime station due to the smaller diameter.
Final Thoughts:
Overall, the kit conversion is straightforward and mechanically inclined reloaders will have no problem figuring out the process without directions. If adding new dies to a torn down press, the process is a bit more complex than anticipated since the directions have no pictographs. Yet, despite the drawbacks, having a MEC 600 Jr with new dies is a fresh upgrade to an already reliable machine that’s been around for 70 years.
Don’t hesitate to make an offer on that MEC 600 Jr at a garage sale, despite the condition. With some elbow grease, they can be reconditioned at home. The conversion kit does carry a fairly hefty price, but MEC Jr’s are some of the most reliable and durable shotshell reloaders available. Conversions and replacement dies can be far less expensive than buying an alternative press while still providing excellent and reliable ammunition.