
Every manufacturing process has a Quality Control or QC function. Normally that function is separated from the assembly process organizationally so there’s no temptation to overlook manufacturing defects. Since you’re the whole kit and kaboodle, you’ll have to develop QC processes that won’t tempt you to cut corners, because cutting corners while manufacturing ammunition could be deadly.
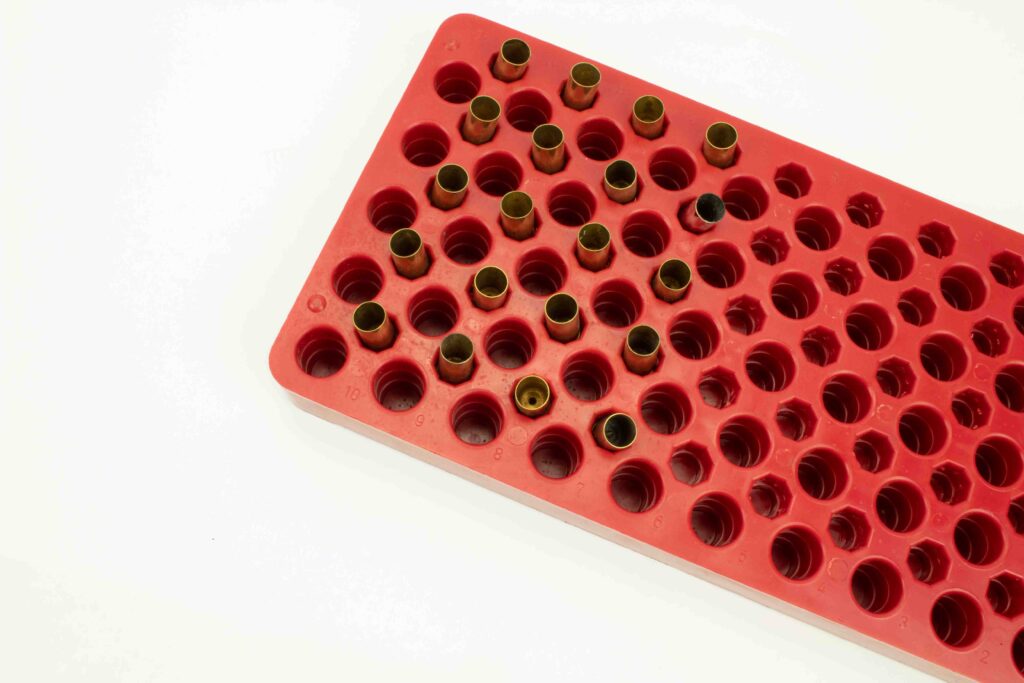
MTM Case-Gard’s Universal Loading Tray is a great help for keeping your components sorted during the reloading process.
A good QC process starts with organization. I recommend two excellent friends to help with this. MTM® Case-Gard™ has a universal reloading tray that works for any type of rounds you’re likely to reload. Get several; you’ll use them. MTM is also a great source for ammo boxes for your reloaded ammo. For these you have to pick the sizes you need. Although MTM makes labels, I suggest you get a package or two of Avery’s 8066 File labels. Even if you don’t have a computer, you can handwrite on these and stick them on your ammo boxes as you finish a load. I usually know what I’m going to load before I go out to the bench, so I preprint labels with the caliber, powder load, bullet and date before going out to the bench. These labels stick well, but you can pull them off easily when it’s time to use the box for a different load. Believe me, having that information on your ammo box will come in handy if days, weeks or months go by before you shoot a batch of reloads. You don’t want to discover you’ve developed a tack-driver round and you don’t remember the recipe.
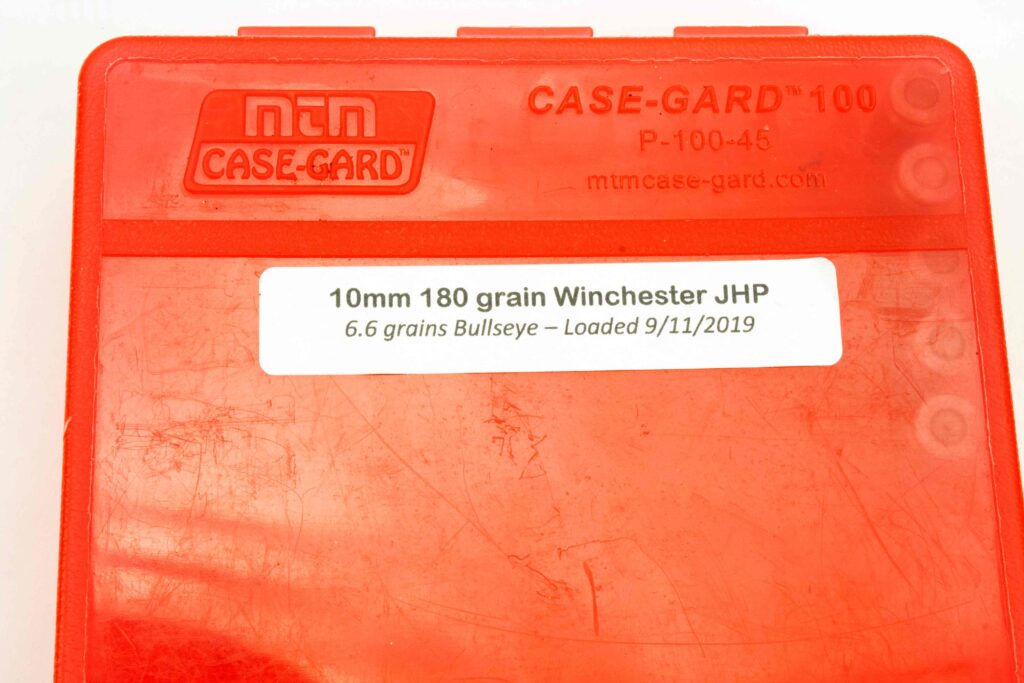
David used Avery file labels for recording the details of each reloading session.
QC starts with examining your components. Brass is the only component in the process that’s used over and over, so it warrants special attention to determine if it’s worthy of being used again. Although many reloaders, apparently successfully, don’t clean their used brass before using it again. I suggest cleaning your brass, not just so it looks pretty, but so you can really see what it is you’re about to put a primer, some powder and projectile in and make it go boom in your gun.
Start by keeping your brass separate by caliber. Some recommend even separating it by brand, but that’s probably not necessary unless you’re loading high performance rifle rounds for hunting or long-distance shooting. You can clean your brass chemically or in a tumbler. I use a tumbler exclusively now that I’ve discovered corn cob media works better than walnut shells. You can add a bit of auto polish to make your brass shiny rather than spending two to three times as much on a specialized polish for cartridge cases.
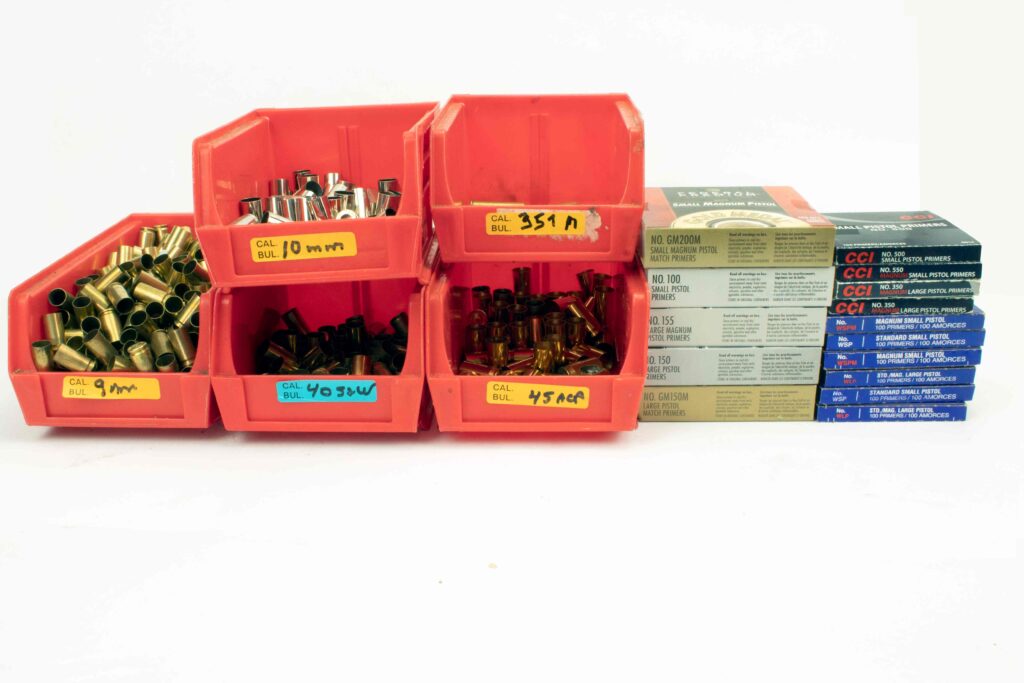
Keeping your cleaned brass inspected and sorted is one of the first steps in a good QC process.
I use a plastic kitchen colander to separate my brass from the media. I physically pick up and look at every cartridge as I take it from the colander and put it into a reloading tray. This is when you check for splits, bulges, burs and enlarged or distorted primer holes. Depending on the cartridge type, you may have to trim it and clean up some edges.

Always know what powder is in your measure, even if your reloading session gets interrupted.
When you’re satisfied with your brass, turn your attention to the primers. Make sure you’re using correct primers for the load and they’ve been kept clean and dry. When adding a new primer, inspect each round to ensure the primer is seated flush and was not damaged during the seating process.
You know the first rule of gun powder is to keep it dry, right? Still applies today. Keep your powder in its original can or bottle until you load it into your powder measure, and then either put a label on the powder measure or leave the powder can on the table near it until you’ve cleaned up and returned the leftover powder to its container. Why do I tell you this? Because I’ve had a reloading session interrupted and didn’t get back to it for several days, and when I did, I had no idea what powder was in my measure. I discarded it rather than take a chance on using the wrong powder in one of my loads.
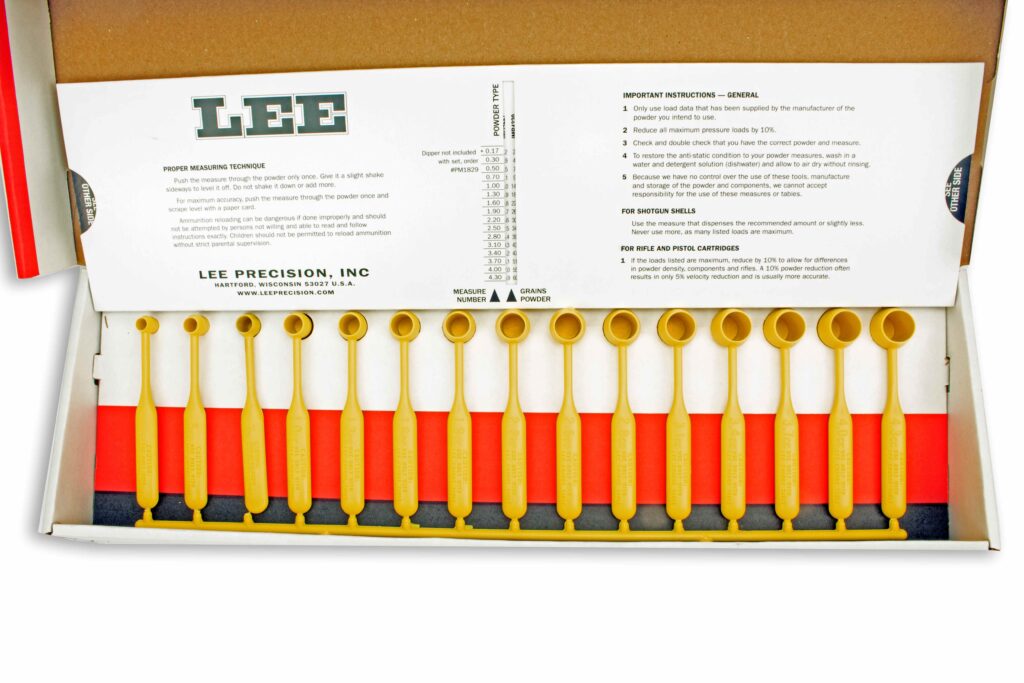
A set of Lee Precision powder dippers is one solution for insuring accurate powder charges in every round.
Getting the powder amount correct seems to be the number one challenge reloaders face. It should be simple, but no matter what the brand, powder measure settings drift. You need to check periodically to make sure they’re still dropping the prescribed load every time. I use a digital scale when I’m setting up the load and for checking the load every 10–12 rounds. I used to put my powdered cartridges in a reloading tray, and when it was full or I’d reached my limit for the session, I’d take a small flashlight and look into all of the cases to see if one stood out as having been double-charged or not charged at all. Now, I do it differently. I set up my bullet seating die before loading powder. I load powder in one case, seat and crimp the bullet, then do the next one. Might work for you, might not. I still need to check periodically to see if the powder measure is still on track.
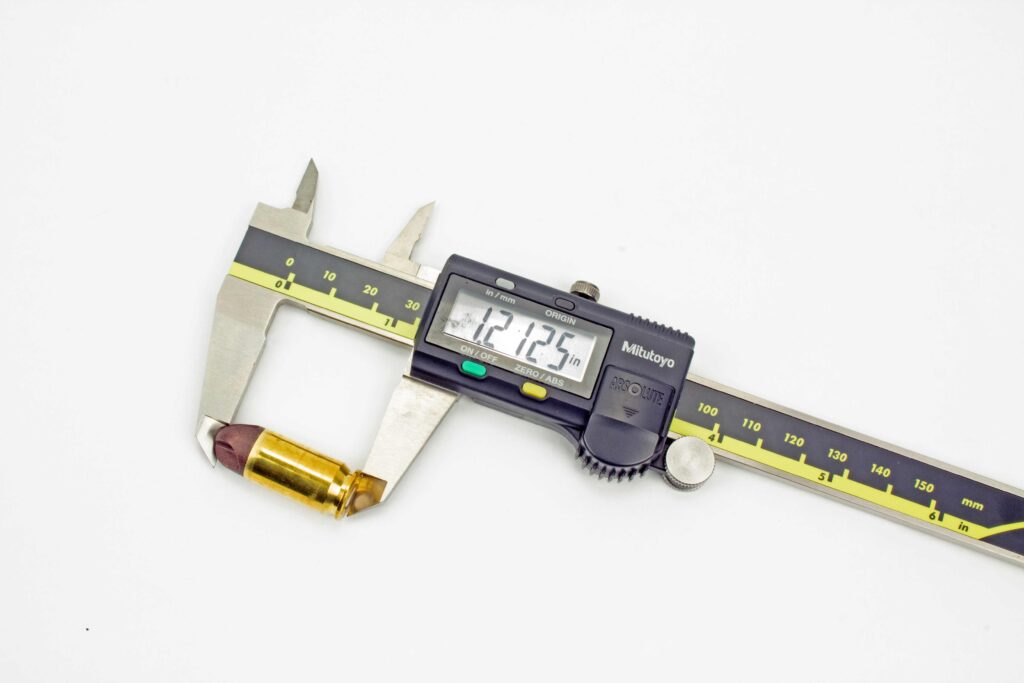
A digital caliper is almost a must for insuring reloading specs are met.
Lee Precision makes a set of dippers, which along with an included chart, provides a way to accurately load a cartridge by volume. There’s a kit with 15 different sizes. If you can find one that converts to your exact load for a given reloading session, you can easily and accurately dip powder from a container right into your cartridge cases. I’d use them more, but I rarely have a powder load that is exactly the size of one of the dippers.
When seating bullets, it’s imperative you get the OAL correct. Too long, the rounds won’t chamber; too short and you’re creating too much pressure in the cartridge. Use a caliper to check this. I keep some spare barrels for 9mm, .40 and .45 at my loading bench to check the crimp when I start loading a new batch. Why? Because I’ve gotten to the range and found some rounds wouldn’t chamber because the crimp I had set didn’t go down the casing far enough. This is more likely to happen when using heavy for caliber cast rounds, but it’s easy enough to catch on the bench by just slipping the first few rounds into a barrel to make sure they chamber okay. If it’s revolver rounds, you can do the same thing with a cylinder. The same concept should work for checking headspace on a rifle cartridge.
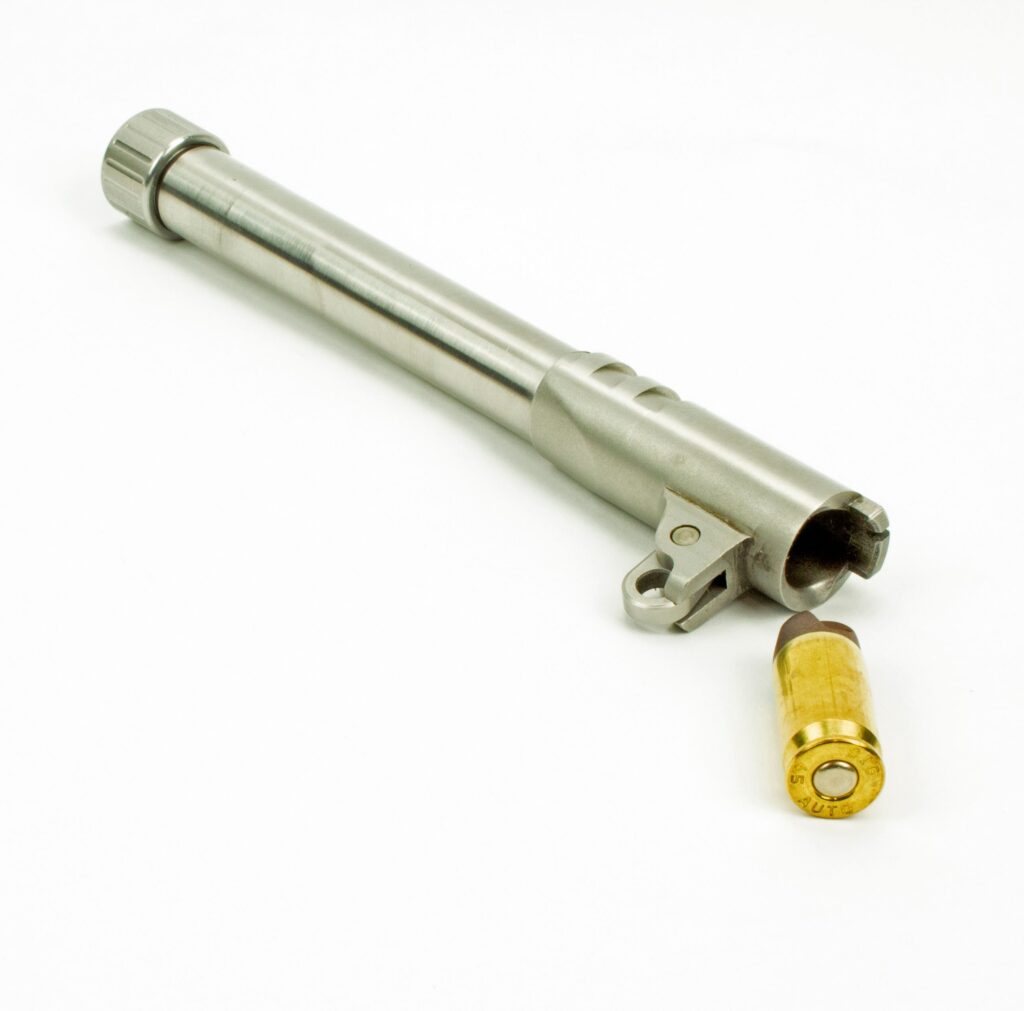
David keeps spare barrels at his reloading bench to check crimp and headspace before packaging his reloads.
Because you have carefully labeled each ammo box when you manufactured ammo on your own reloading bench, if something isn’t right when you shoot them, you’ll know the ingredients exactly and where to look to find the culprit. Having the load boxes labeled is the same concept as keeping your store-bought rounds in the original box so you know what you’ve got.
These procedures were developed through my own efforts when learning to reload and realizing the consequences of getting to the range with rounds that wouldn’t chamber, or revolver rounds that stopped the gun operation because of setback. I’ve not had a gun explode on me because of too much powder or too much pressure, but it happens. It could be frustration or embarrassment, or it could be a matter of injury or death. So slow down, put on your QC Manager hat at certain points during each reloading session and make good ammo.