How well you hit depends on how well you see the target – and how well you read it.
A records-class woodchuck might have been as big. But at 500 yards the silhouette looked tiny. Had the steel not been painted Hunter Orange, or brilliantly front-lit by Wyoming’s setting sun, it would have escaped casual view. With the Leupold at 14x, there still wasn’t much steel around the crosswire.
Bellied down, pulse bouncing the wire gently through the taut sling, I pressed the trigger. A long second passed between the .22-250’s crack and the bullet’s slap. Three shots later, in a shameless bid for glory, I fired twice more. The metal rodent caught all five.
Such results warm the soul. But how much credit was due the rifle? The handloads? The scope? Still air? A solid position? Careful shooting?
Some applause, please, for the paint, the sun and dead-still air. A reticle defined crisply against a target sharp against its background helps hardware and marksmanship shine!
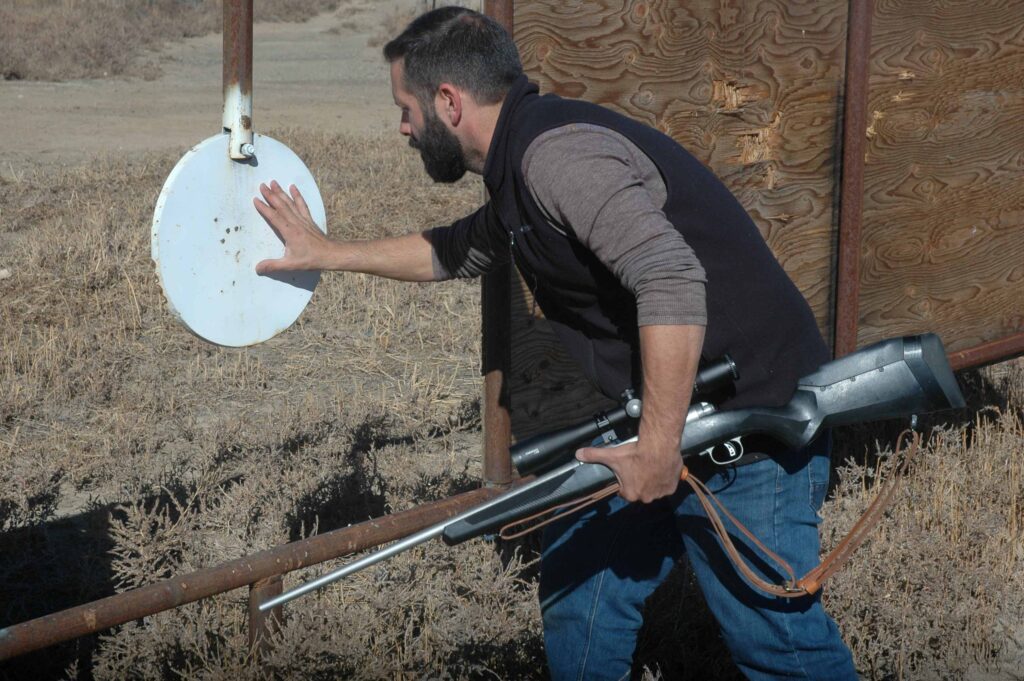
Hits on steel are visible and audible at distance, but you must approach to see points of impact exactly.
While steel targets yield instant results and save you steps across downrange, paper targets excel for refining zeros, comparing handloads and determining drop and drift. With paper, you get measurable data, which can also point out problems with rifles and scopes.
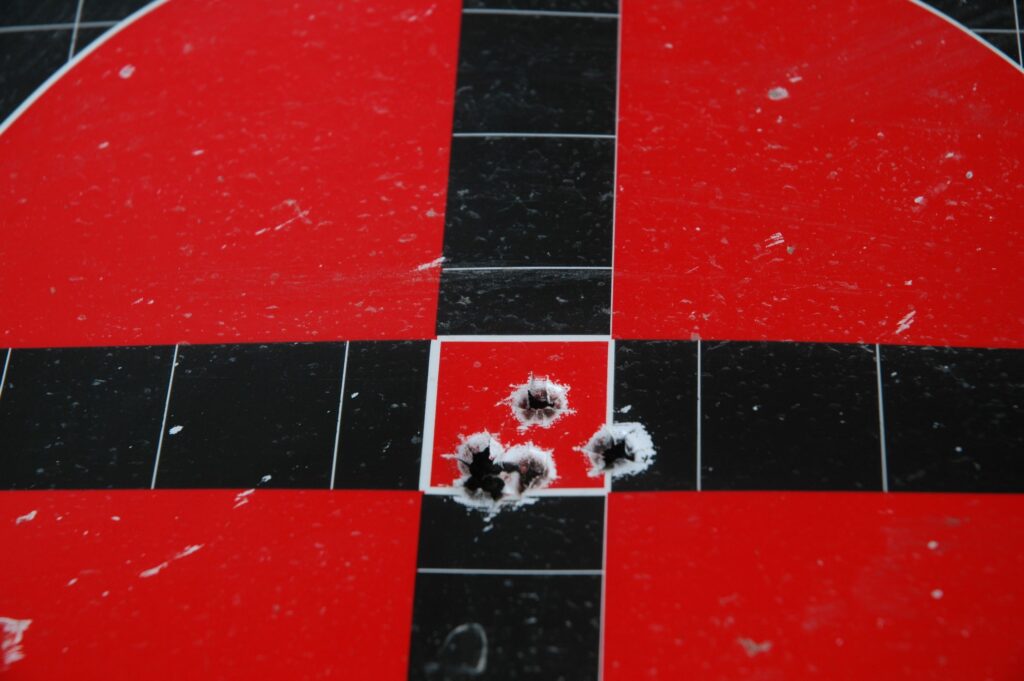
A good group! But a poor target. Crosswires get lost in the black bars. Red doesn’t show holes well.
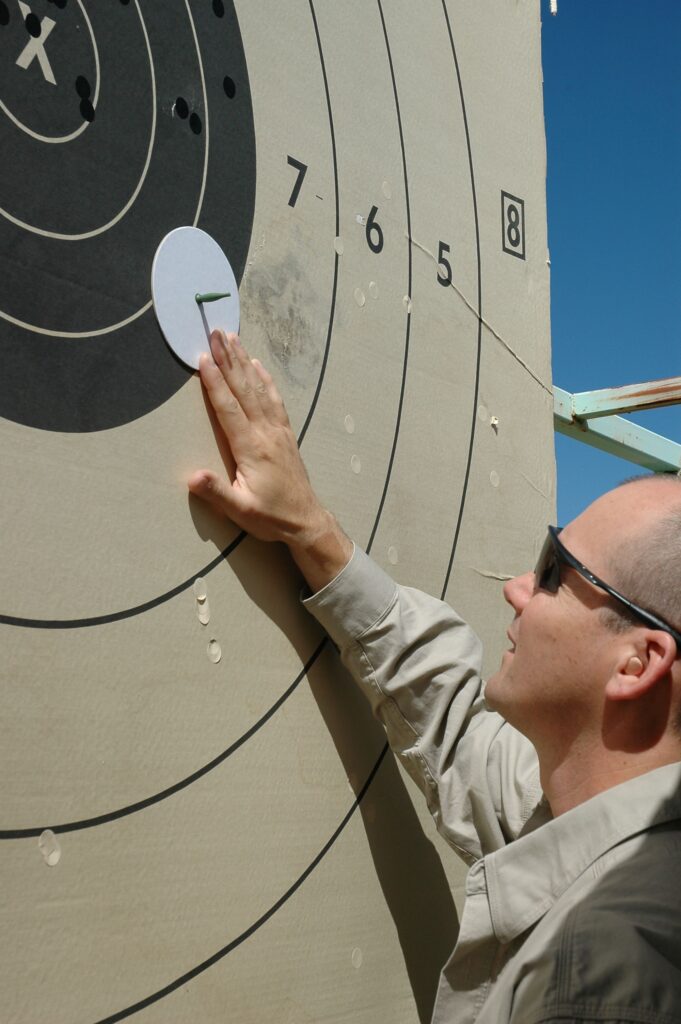
The size, shape and color of a target affect how quickly you can fire an aimed shot, how precisely you can place the bullet and the odds of repeating that strike. A target is a reference, a place to aim. You needn’t see the landing zone. In bullseye matches shot with metallic sights, shooters don’t see the target’s X-ring. Distance shrinks it into a speck that, depending on the conditions and event, can be impossible to see without an optic. But a series of concentric scoring rings builds “the black” into a dot big enough to distinguish as round. Centered in a rifle’s front aperture, then aligned with the center of the rear aperture, the black and its X-ring migrate to the middle of the sight picture.
Long ago in Olympic tryouts, I fired an English Match on an indoor range. The 10-ring was a tad smaller than the diameter of a .22 bullet. The X was not a ring, but a dot – like the period at the end of this sentence. To fire a perfect 600 score was to put 60 consecutive shots within .1 inch of the black’s middle. Yet top scores in this metallic-sight match commonly climbed well into the 590s!
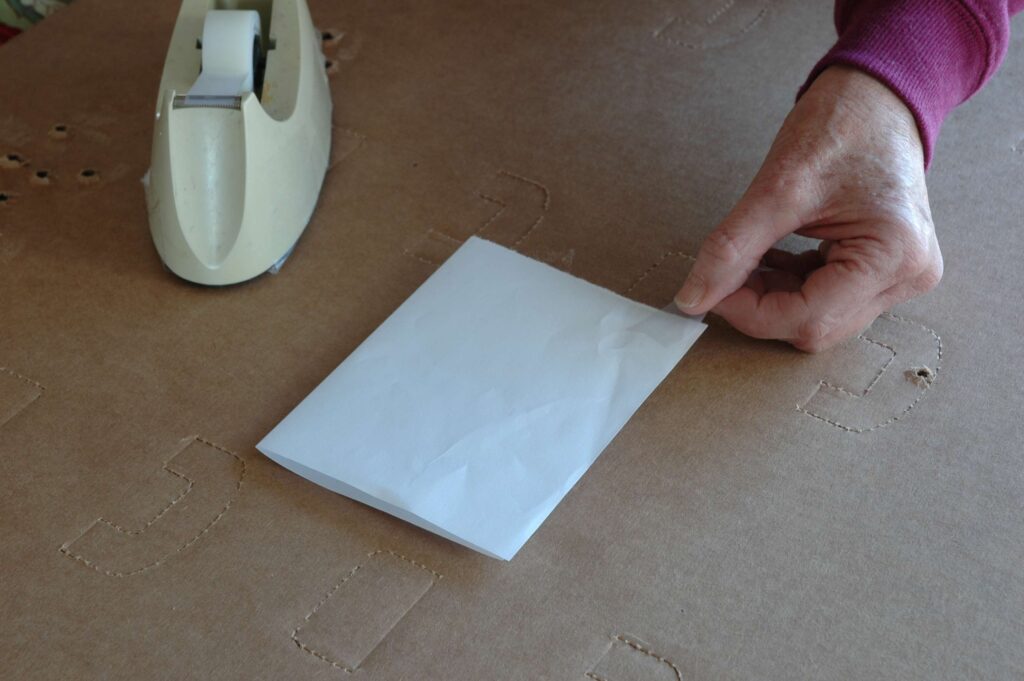
Best target? Wayne uses white squares, easy to center behind any sight. The cardboard shows holes too.
To test rifle, scope or loads, or to bring your best marksmanship to bear, you need a target that pairs with the sight. An aperture front sight is specific to round black targets. The aperture must allow a “wide but not too wide” rim of light around the black. Post and blade front sights also suit bullseyes – though instead of centering the black, these sights kiss it at 6 o’clock, for a “lollypop” image. A scope’s crosswire works with targets of many sizes and of any shape that’s easy to quarter.
In some light, black isn’t the best target color to use with black reticles.
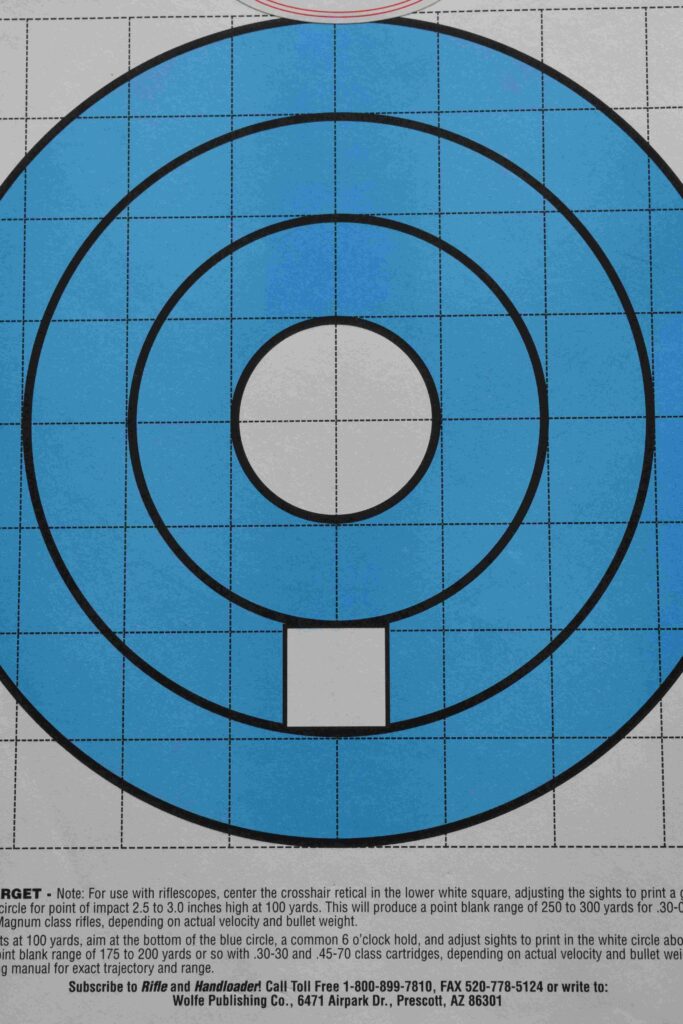
Using this target, center the square with your reticle at 100 yards. Hits in the white disk are 2 ½ inches high – a useful hunting zero with many loads.
A bead front sight naturally goes to point of aim, so is popular with hunters using metallic sights. A zero that sends the bullet to bead’s center keeps point of impact “behind the bead” out to the zero range and dozens of yards beyond. A bead begs a bigger target than many hunters use at the range. There must be enough target around the bead to permit easy centering without moving the rifle to check.
Of course, an overwhelming number of hunters use scopes. Visit a local rifle range or gravel pit the weekend before deer season, and you’ll see all manner of targets, from tiny orange pasters to fat lop-sided circles rendered in Crayola across Amazon cardboard.
You’d expect to pair powerful scopes with small targets. Competitive shooters in black bullseye and long-range events do depend on high magnification. But to kill a deer, you’ll probably not dial a 2 ½-10x scope to its top end. Checking zero on a hunting rifle, or practicing with it, I set the power ring where it’s likely to be when I fire at game. So my target is generous. At 100 yards with a scope at 4x, I typically use a 6-inch white paper square taped on brown cardboard. The reticle and bullet holes show up readily on both. That square is easy to quarter; group averages are no bigger than on targets half that size. During one session, an Echols-built .375 with a 3x Leupold punched a group that, if memory serves, mic’d .35. A white disk works too; a square is easier to make. A circle or the outline of a box isn’t as helpful to me as a target of one color, edge to edge.
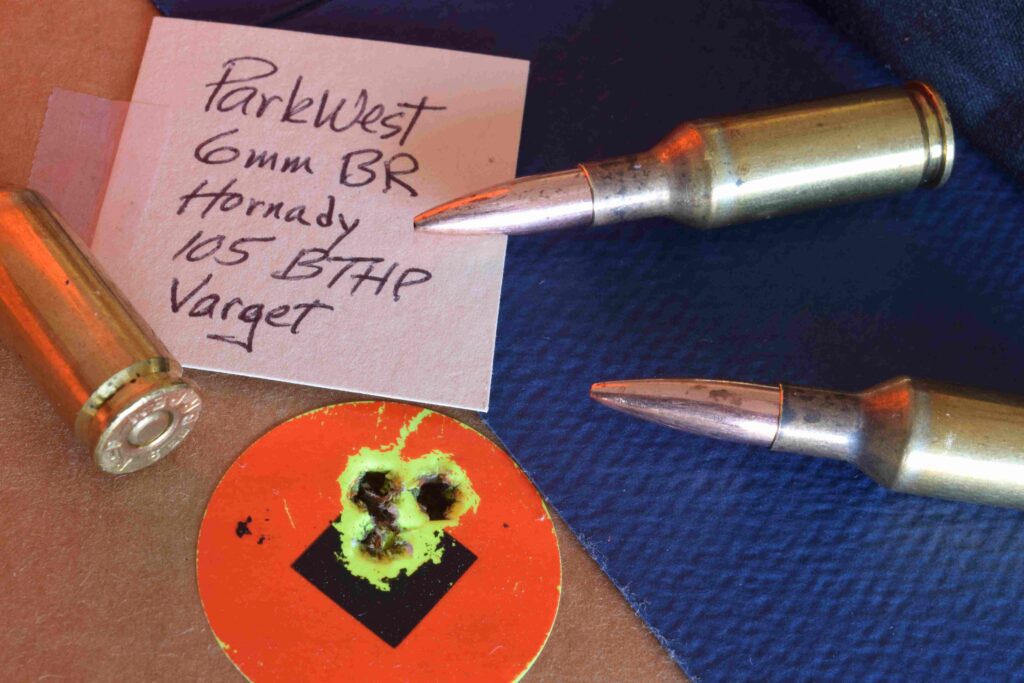
A powerful scope and accurate Parkwest rifle made the tiny black square on this small paster practical.
Early on, Mama told me to keep a clean face. It’s sound advice for targets too. Spider-web lines, tics and dots annoy me. Bullets are adept at finding marks just thick enough to hide holes. As with scope reticles, a clean target face imposes no distractions. It speeds your aim without impairing precision.
“Shoot-N-C” and similar targets with a bright under-layer that shows around bullet holes enable you to see hits better at distance. But to get the most accurate group measures, you’ll fire into plain paper. The rough manila stock the NRA uses for black bullseye targets is ideal.
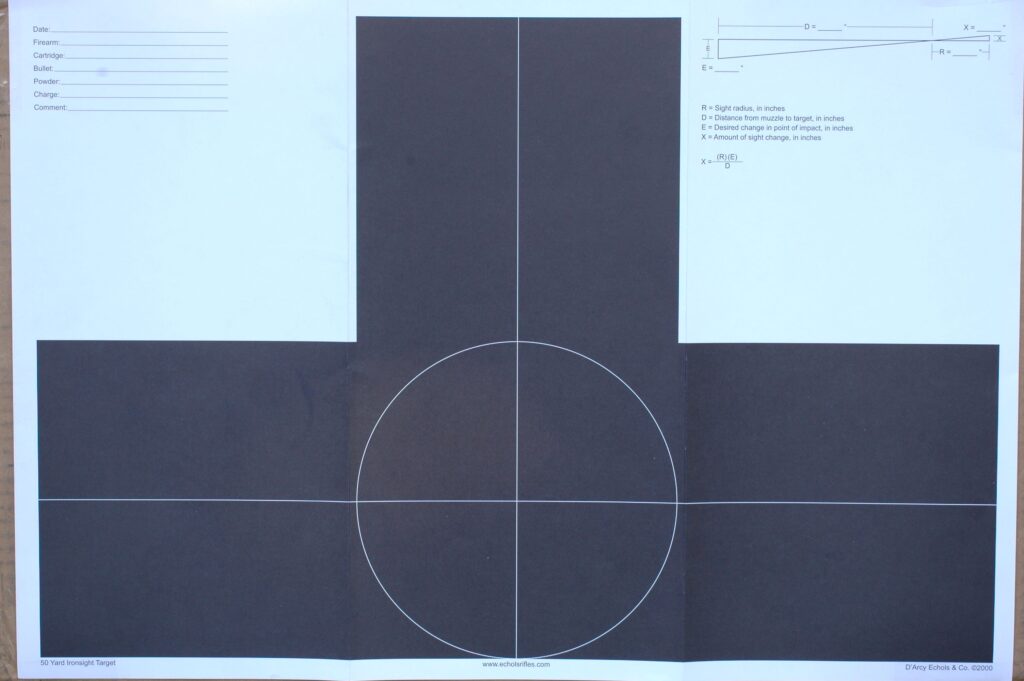 This big target was developed by gun-maker D’Arcy Echols for metallic sights. An excellent design!
How many shots comprise a useful group? That depends on the cartridge, the rifle and their task.
My first rimfire target rifle, an Anschutz 1413, arrived with a proof target. A single hole in its middle had been just slightly enlarged by 10 shots. In competition, this rifle had to repeat center shots many times. It won a state prone title in a two-day 320-shot match – 160 with metallic sights, 160 with a scope. A three-shot group would have provided too little data for this rifle or the ammunition I matched to its barrel.
A hunting rifle needn’t shoot as accurately, certainly not as often. Seldom have I fired more than thrice at an animal. Three shots suffice to check zeros and in preliminary load tests. To sift the best from promising loads, I shoot more. Ditto if a rifle seems eager to perform – printing small groups in different places or placing two shots close, a third “out.” Reading targets is an important step to better shooting!
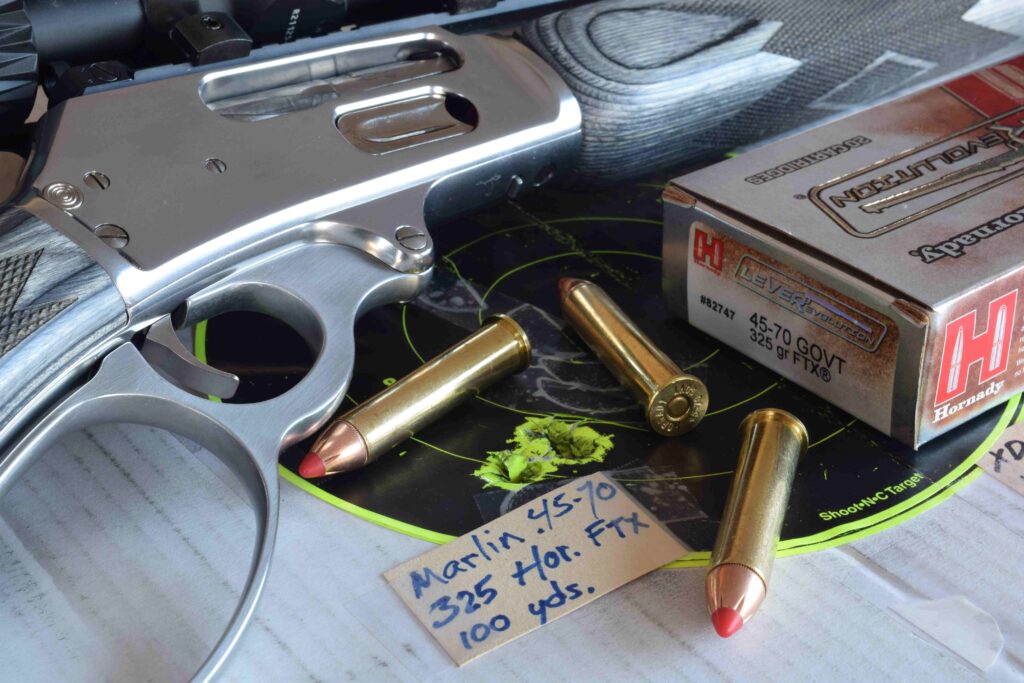
Big holes in Shoot-N-C targets are immediately visible from 100 yards. This load and rifle are champs!
Randomly scattered shots from multiple loads well matched to the rifling twist suggest a flawed barrel, no matter that the rifle-maker dubs the model “tactical,” “recon,” “predator” or, especially, “pro.” I recall one such problem child. It cycled all manner of .308 ammunition but refused to keep shots inside 3 inches. As is my habit, I had brought along a rifle of proven accuracy to ensure I didn’t unfairly pillory a good product when I was having a bad day at the bench. My faithful Serengeti in .257 sent three bullets into .75 inch.
I returned that .308. The manufacturer sent another. When it shot as poorly, I shipped it back with a sympathy note.
Recently a Model 70 Winchester re-barreled to 6.8 Western printed two .8-inch three-shot groups side by side. Alas, the rifle was firing into both groups alternately with the same load but no sight change! Conclusion: a bedding problem. Some rifles and loads are more finicky than others to faults or tight spots in bedding surfaces. A few are remarkably tolerant of stock-to-steel union. A take-down T/C bolt rifle so impressed me with its design, I re-assembled it with only the front guard screw, to test its resolve. Three shots cut a tight cloverleaf.
Targets tell you what guess-work cannot. A few in a hunting kit can be helpful.
Once, in Africa with a familiar rifle, I muffed an easy shot. My call was good; but the eland was clearly paunched. On the track, I jumped the bull and broke its neck as it galloped off.
But then the .300 hit a second animal too far back. Time for a zero check. The shot drilled target’s center. Off into the bush again, I bungled a third chance! What was going on? Another shot at paper went to the middle. But then I saw a windage screw on the Redfield mount had backed out, its head hiding the gap. Recoil was bouncing the scope from the snug screw to the loose one, then, at the next shot, bouncing it back! Every other bullet was off-target. I should have fired more than one shot to check zero – or tested all screws after the first bad shot.
Checking scope mount and ring screws carefully with hollow-ground bits makes sense. No need to “snug them” and thus risk changing point of impact. If a screw doesn’t yield to firm pressure, it’s OK.
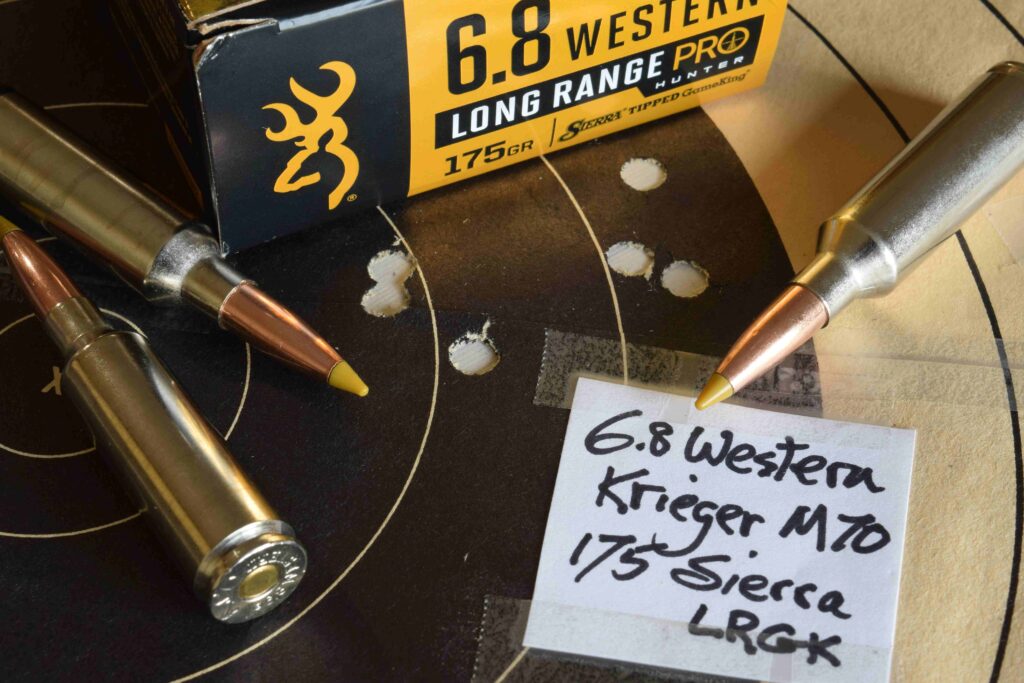
Good groups? Alas, a bedding problem sent bullets alternately into both! Prospects are good for a fix.
One target can serve for several groups if you separate them with at least a dozen clicks up, down or to the side. That adjustment should be enough to allow for rogue shots, and for loads that perversely bring bullets together at the target despite your changes!
To see how well windage and elevation adjustments repeat, and find the value of each click, you can “shoot around the square” using one target. The drill: After zeroing, place a target in one quadrant – say, the top left – of clean backing paper 100 yards downrange. That will be your target for the next 15 shots. Over sandbags or a commercial rest, fire three shots. Mark them. Then dial 20 clicks right and fire three more shots. Come 20 down and fire three more, 20 left and three more. Finally, come 20 clicks up, to the original dial settings, and send the last three bullets. Ideally they’ll land in your first group. A scope with quarter-minute clicks should deliver a measure of 5 inches between centers of groups at the corners of the square. Disparities between actual and advertised click values do no harm unless you intend to fire long-range matches, constantly moving dials and calculating fractions. A final group that does not over-print your first shows the adjustments aren’t reliable, and changes must be verified by firing.
Darrell Holland, who offers classes in hunting and long-range shooting near Billings, Montana, developed a clever range-compensating scope reticle he illustrates with images of big game. These are helpful for understanding the reticle. To practice or assess your shooting on animal targets, however, the best images are simple. Afield, you’ll see not just animals, but irregular shards of color against various backgrounds, back-lit as well as front-lit, up-slope and below you, with the clock ticking. Hunters most benefit from practicing fast first and second aimed shots from field positions under field conditions.
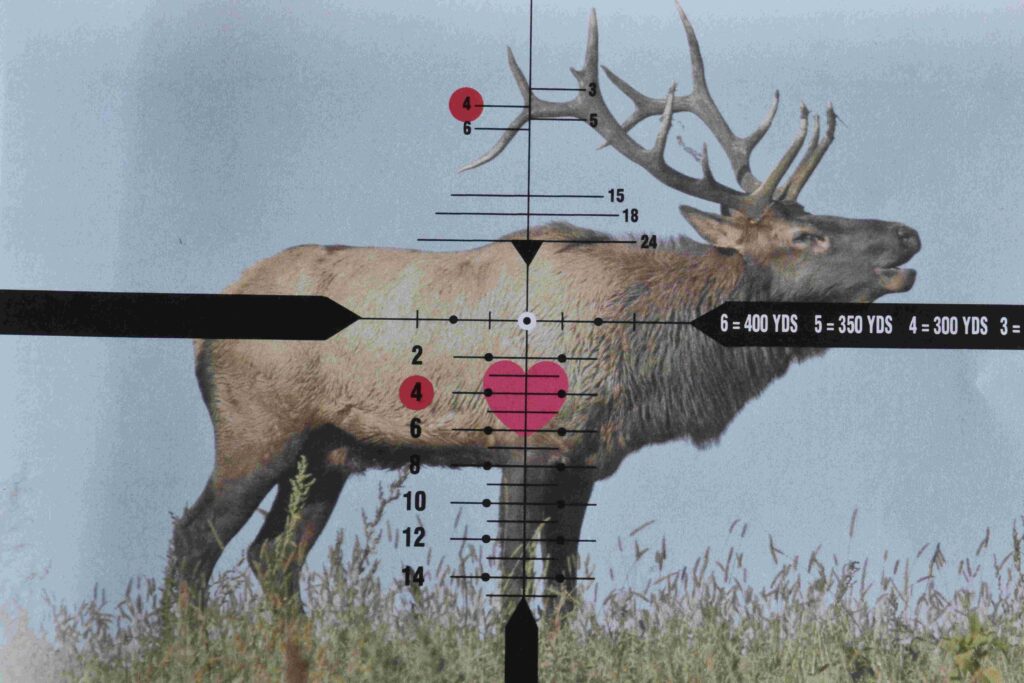
Darrell Holland’s clever reticle helps deliver long-range hits. This diagram shows how to use it.
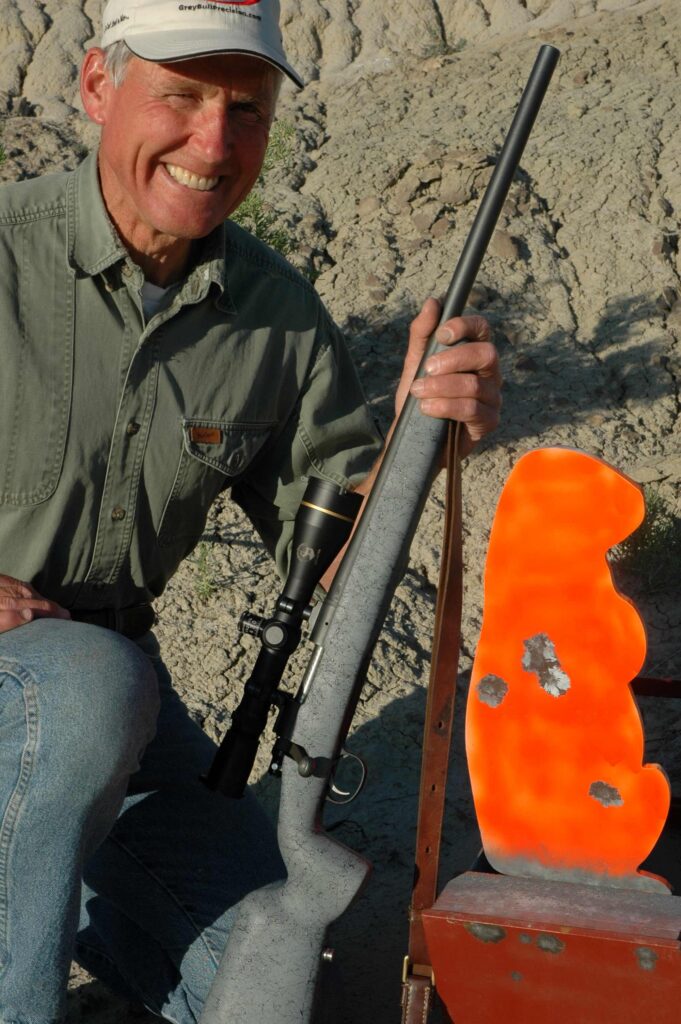
Ideal light, still air helped put all five prone shots into steel from 500 yards! OK, that is a fat rodent.
Remember: You don’t have to see where the bullet will hit! The intersection of even fine wires can hide where the bullet lands. Mostly, you see where that missile is not going. Still, your eye tells you when a target is perfectly centered.
Whatever target works best for you – and whatever the tool or load component you need to herd bullets into it – look for it at Midsouth Shooters Supply!


