Many view reloaders as the budget-conscious enthusiasts of the firearms community. Although this rings true for some, including myself, it’s not a universal truth. Among reloaders, those who cast their own projectiles—often referred to as ‘casters’—are typically seen as the most frugal. Yet, there’s a general lack of awareness about what projectile casting actually involves. Let’s clarify some of the fundamental aspects of casting your own projectiles.
He Who Smelt It, Dealt It:
Lead has been the material of choice for projectile manufacturing since the times before the American Revolutionary War. This element is fairly abundant, making it a readily available resource for bullet casting. Historically, its versatility and low melting point have not only made it ideal for ammunition but also for use in a variety of household items, including toys and dinnerware, despite the health risks that were only recognized later.
In modern reloading practices, the ease with which lead melts is particularly advantageous. This feature allows reloaders to efficiently recycle and repurpose lead from various sources for personal projectile manufacturing. A key tool in this process is the casting pot, which is designed to heat and melt lead along with various alloys until they liquefy. Popular models, such as those from Lee, are capable of handling 10 to 20 pounds of alloy at a time. Users can add lead in the form of ingots or directly from raw sources, creating a liquid metal that is then ready to be molded into bullets.
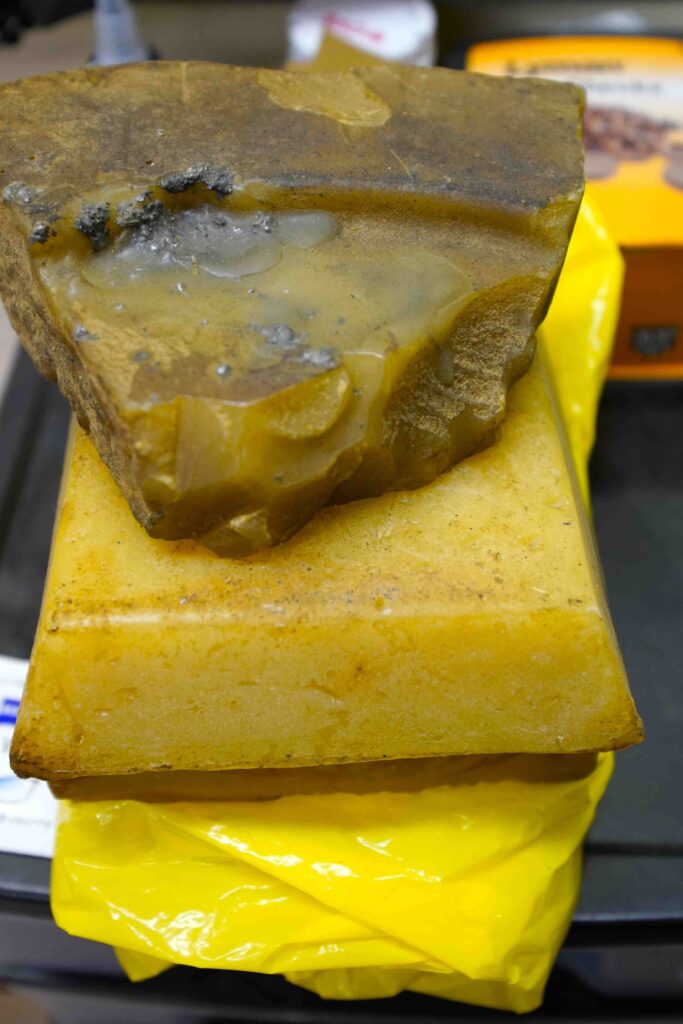
Beeswax Pile
While the bottom-pour method is favored by many due to its ease and efficiency in producing clean, consistent casts, it is not the only method available. Alternative techniques can also be employed depending on the reloader’s preferences and the specific requirements of the projectile they aim to create. Understanding these options allows reloaders to optimize their setup and tailor their approach to achieve the best possible outcomes in bullet casting.
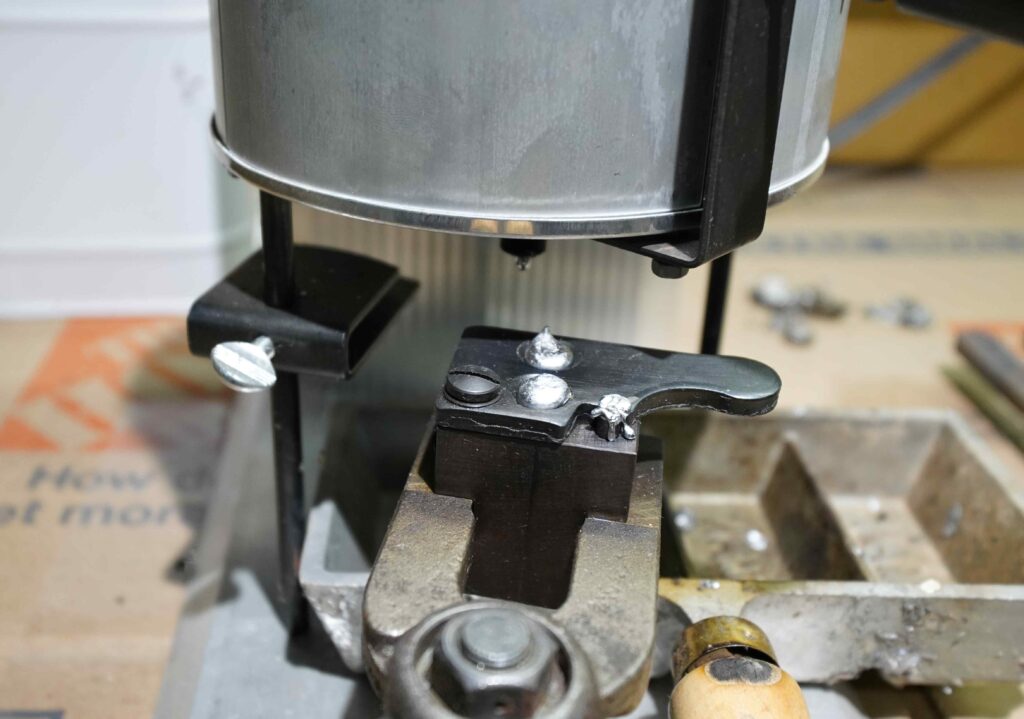
Bottom Pour
Tin-buktu:
Creating the optimal lead alloy for projectiles requires the addition of specific materials to enhance its properties. Pure lead, while easily available, is too soft for most ammunition needs. However, by adding elements like tin and antimony, which are commonly found in pewter, shooters can achieve the necessary hardness for specific firing velocities.
Tin and antimony, when purchased alone, can be prohibitively expensive. Fortunately, these metals are often available in pre-mixed forms such as pewter, which are more cost-effective and easier to source. By understanding the desired alloy ratio and the composition of the additive material like pewter, reloaders can accurately blend the correct proportions.

Lead Additives
For instance, if an alloy requires a mix of 5% tin and 5% antimony, a reloader would start with an empty lead pot. For every 10 pounds of lead, they would need to add half a pound of both antimony and tin. Once thoroughly mixed, this results in a standard alloy known as Lyman #2, renowned for its balanced properties.
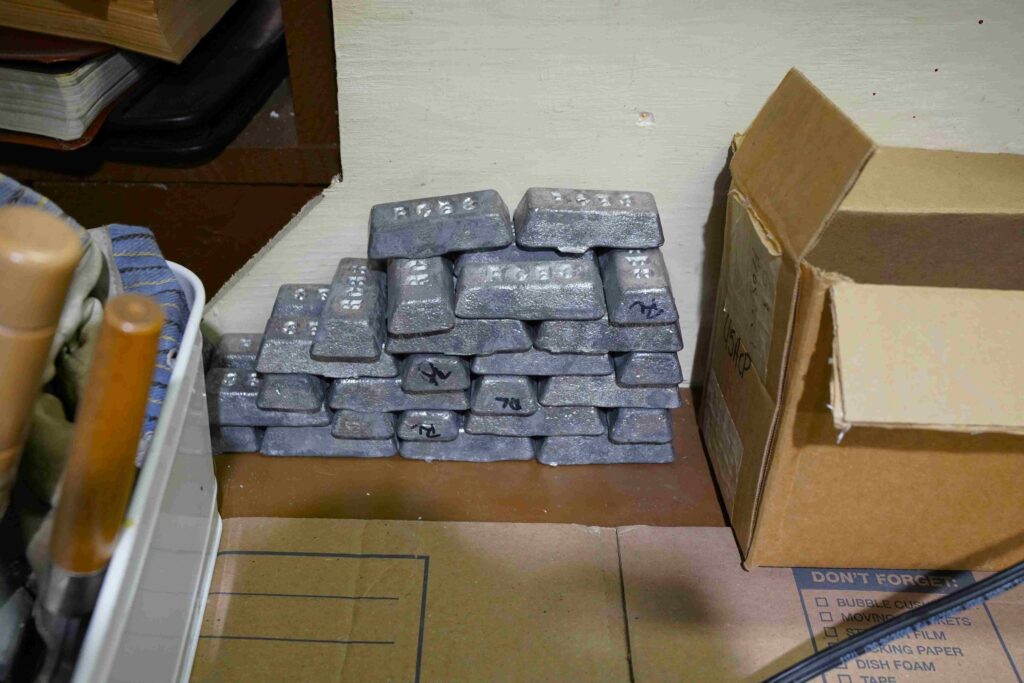
Lead Ingots
Apart from crafting your own mix, there are also pre-made lead alloys available for purchase, with Lyman #2 being among the most popular. Industrial products like wheel weights and linotype are also options; they come with predefined mixes tailored to specific hardness standards, such as those measured on the Brinell scale. This standardization helps eliminate the uncertainty often associated with homemade alloy mixes, ensuring consistent quality and performance in your reloaded ammunition.
Lead Spokesman:
Once the lead alloy is mixed, it must be fluxed. Fluxing involves the addition of organic material to help evenly distribute the alloy’s elements and bring impurities to the surface. Common flux materials include beeswax—also a frequent component in projectile lubricants—as well as paper and sawdust. It’s important to note that using any type of flux will produce smoke.
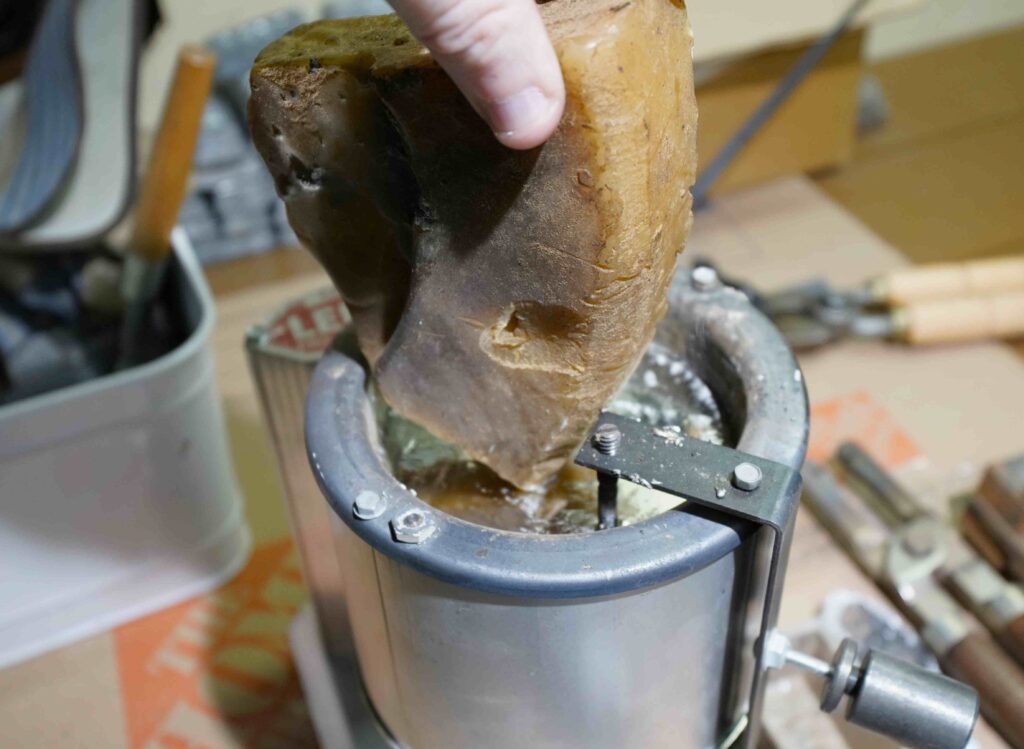
Adding in the Flux
After adding the flux, quickly stir the molten lead to ensure the elements, which have varying melting points, are well distributed. This process helps impurities – called slag – rise to the top, where they should be skimmed off. The mixture should also be fluxed periodically (see what I did there?) to maintain purity and consistency.
Be cautious of tin segregation; it has a tendency to float to the surface if not properly integrated. If not recognized, tin may be mistakenly removed along with actual impurities, significantly degrading the quality of the final product. Typically, contamination appears as carbon deposits or other burnt residues floating on the surface.
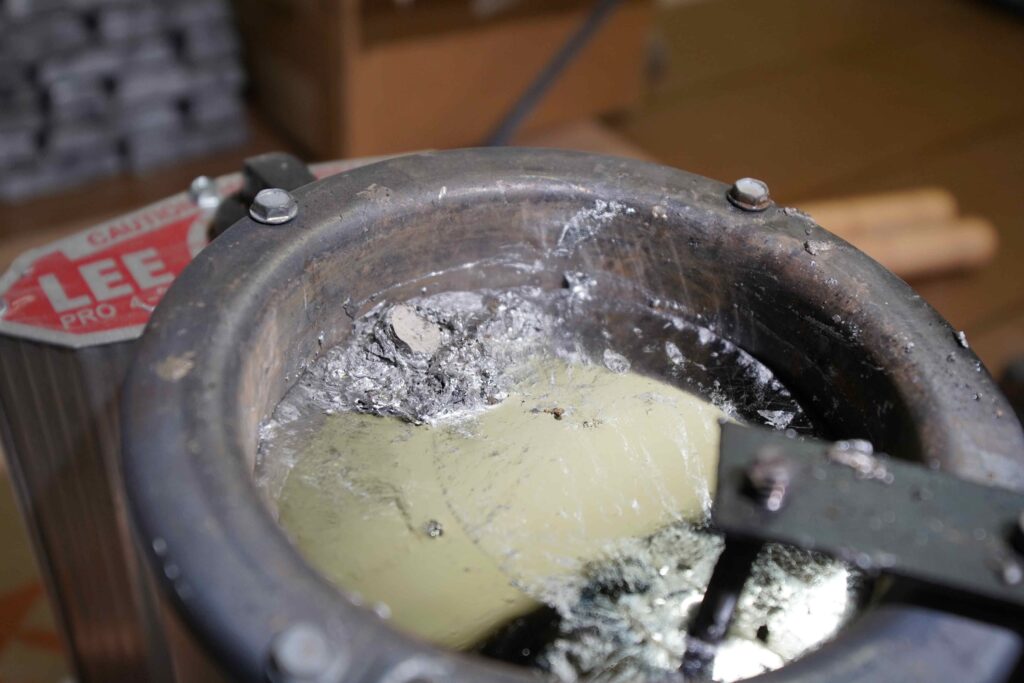
Floating Impurities
Additionally, beware of corrosive contaminants like zinc, which can severely damage both the alloy and the melting pot. Introducing zinc to the mix can transform the alloy into a chunky, unusable substance with the consistency of thick yogurt or cottage cheese. Once this occurs, the mixture cannot be salvaged.
Potatoe, Potatoe, Lead, Lead:
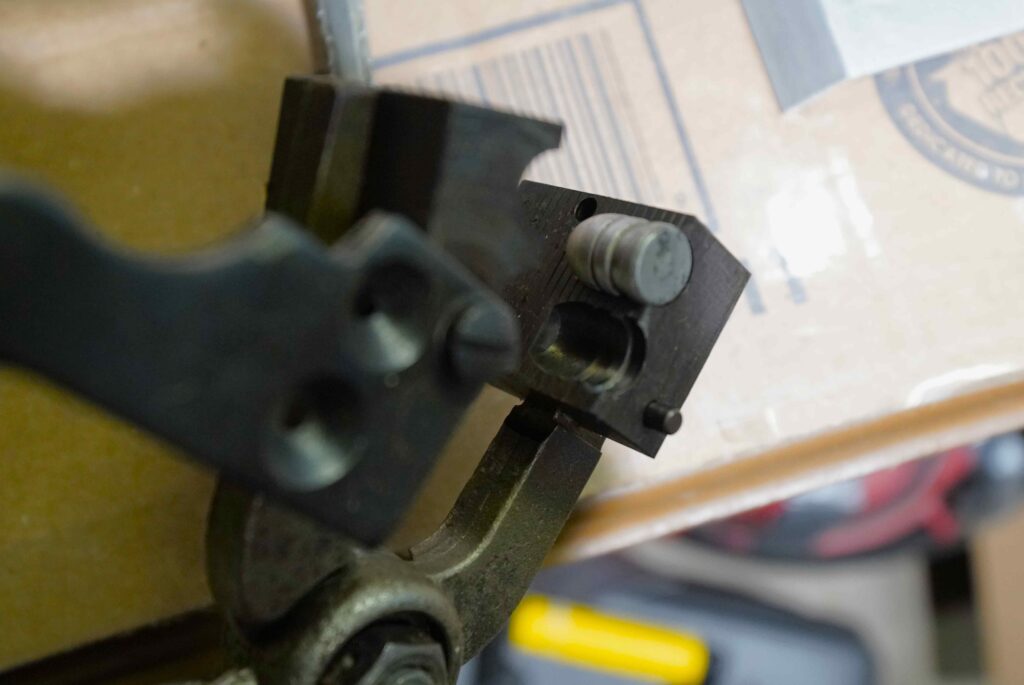
At this stage, the lead is ready to be cast, necessitating the use of another essential tool: the mold. Molds are available in various materials including aluminum, steel, iron, brass, or copper, with aluminum and steel being the most commonly used. It’s crucial to preheat the mold; a hot mold cools slowly, ensuring complete and even filling, whereas a cold mold is prone to forming voids, leading to flawed or incomplete projectiles. Keeping the mold on a hot plate helps maintain the ideal temperature for casting.
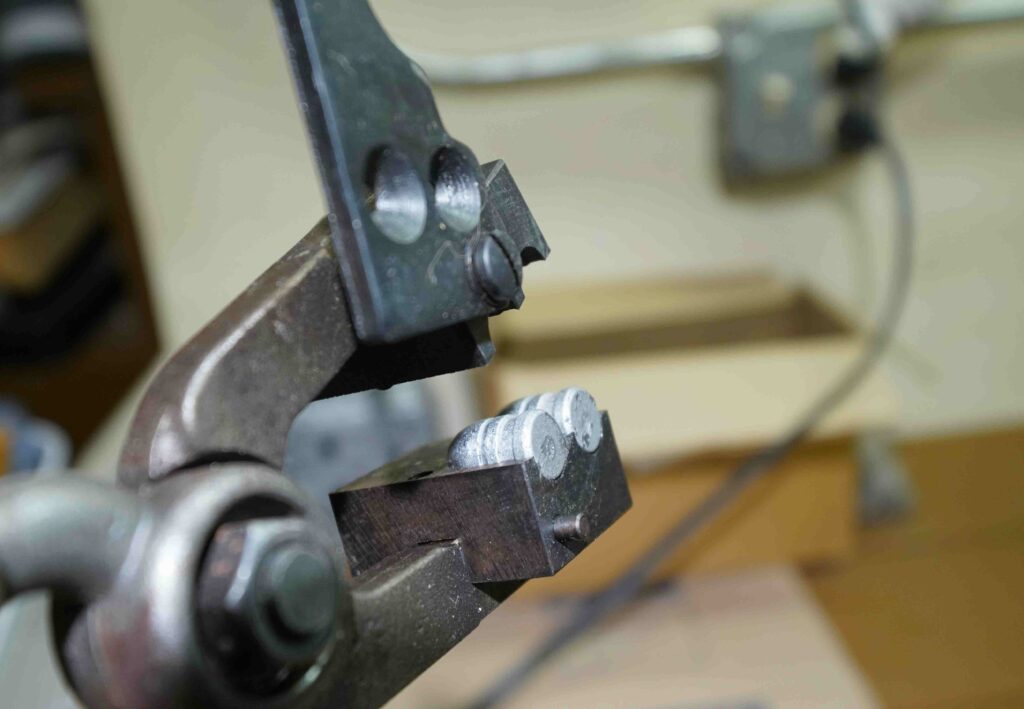
Completed Frosted Projectiles in Mold
Preparing the mold is also vital. Many experts advocate for ‘smoking’ the mold, which involves adding a layer of carbon to the interior surfaces to prevent the lead from sticking. Additionally, the pivot points of the mold or the ‘sprue’ plate need lubrication. The same beeswax used for flux is often suitable for this purpose, though it may need frequent reapplication due to its tendency to burn off quickly.
When casting, the lead should be poured into the mold, filling slightly above the sprue plate to ensure the cavity is completely filled. Allow the lead to cool briefly to solidify before moving the sprue plate, which cuts off any excess pour. Open the mold to extract the newly formed projectile.
Many casters opt to drop the fresh projectiles into water to quench them, a process believed to increase their hardness. However, it’s important to note that only lead/antimony alloys are suitable for quenching to enhance hardness. Research by Rick Kelter has shown that a combination of oven heat treatment and quenching can harden lead up to 30 BHN, with gradual increases in hardness over several days. Despite this, for many applications, extremely hard lead alloys are not necessary.
The final appearance and texture of cooled projectiles can vary based on the temperatures of the mold, the molten lead, and the quenching water. An overly hot mold and lead can give the projectiles a rough, ‘frosted’ appearance. While this does not affect their reliability, it may lead to slight variations in weight. Additionally, the surface texture may influence the methods needed for applying lubrication coatings.

First Coat Projectiles
Bury the Lead:
Now we proceed to the final stages—coating and firing these meticulously crafted projectiles. There are primarily two schools of thought regarding projectile coatings: groove lubrication and complete coatings. Groove lubrication, a method that has been relied upon for centuries, typically involves a secondary process using specialized machinery, which we will explore in more detail later. While traditional, this method exposes the barrel’s rifling to the lead alloy, which can lead to the accumulation of lead in both pistol and rifle barrels.
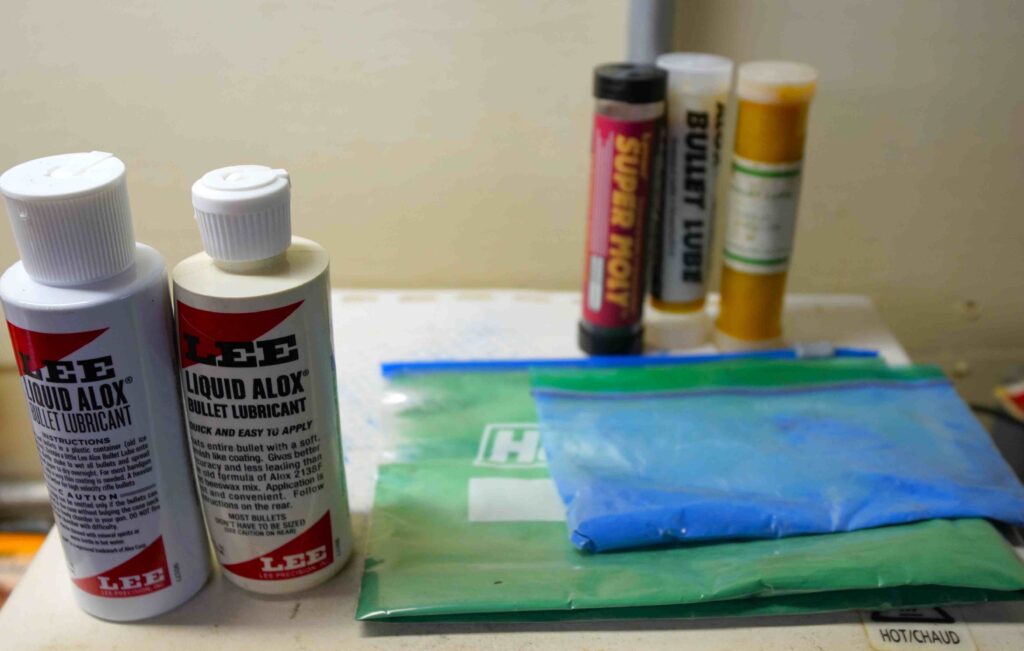
Various Lubricant Options
On the other hand, complete coating methods offer a simpler learning curve and several advantages. Among these, liquid lubrication and powder coating are the most prominent. Liquid lubrication has been significantly advanced by Lee Precision. Their Alox mixture, for example, can be applied to projectiles simply by shaking them in a bag for uniform coverage. Notably, some molds from Lee feature ridges rather than grooves, specifically designed to optimize the use of Liquid Alox instead of traditional lubricants.
Powder coating is emerging as the preferred standard due to its durability and ease of application. It comes in two forms: liquid and dry. Liquid powder coating involves spraying a thin, even layer of liquid coating material onto the projectile, which is then cured in an oven. This method, while highly effective, may be more challenging to perfect.
The ‘shake and bake’ method of dry powder coating is more accessible and doesn’t require specialized equipment beyond a standard toaster oven. This technique uses a plastic container filled with dry powder and projectiles. Shaking the container generates static electricity, causing the powder to cling to the projectiles. Some practitioners add plastic BBs to enhance this effect, though I’ve found they make little difference. It’s crucial to use a high-quality powder coating; cheaper alternatives like those from Harbor Freight often fail to adhere properly. The projectiles are then evenly baked in one or two layers.
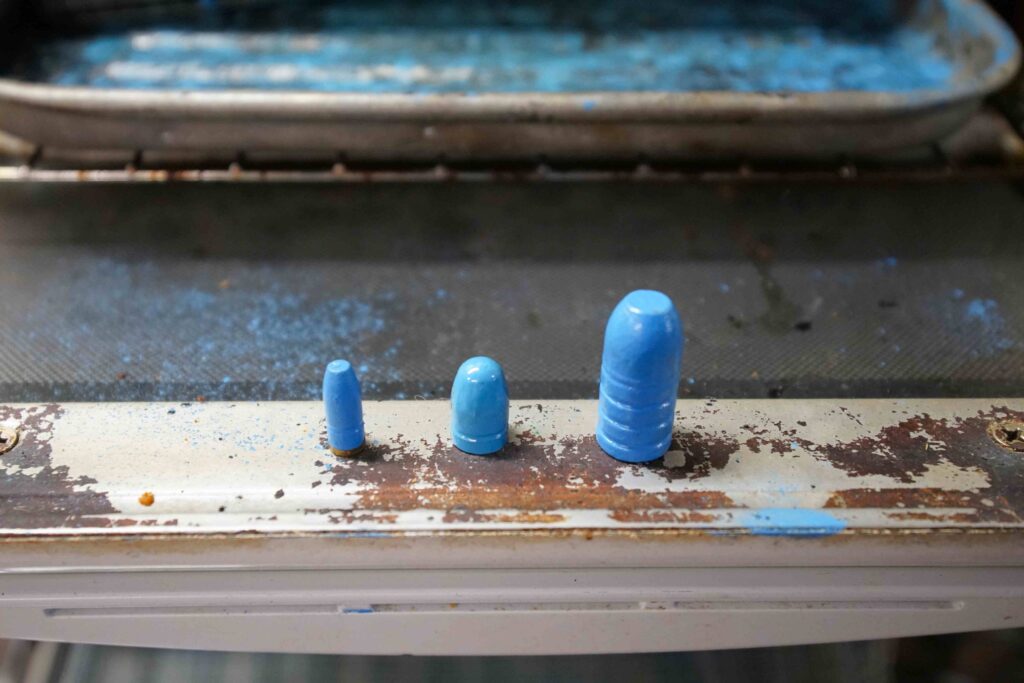
Various Coated Projectiles
Both the ‘shake and bake’ and spray coating methods can incorporate additional quenching post-application. However, testing hardness with a powder coating already applied can be challenging, and results may vary.
Lead to Believe:
That’s it! You’re now fully prepared to load these custom-cast bullets into cartridge cases. Although the thought of casting your own projectiles might initially appear overwhelming, the process itself is remarkably simple and accessible. Casting allows individuals to not only save money but also to create customized ammunition tailored for specific uses like plinking and hunting.
It’s crucial to understand that while casting is versatile, it is particularly effective for producing lower-velocity loads that are optimized for expansion, making them ideal for hunting scenarios. These loads are not typically suited for high-velocity applications, but they excel in situations where controlled expansion is beneficial.
For those interested in defensive shooting, using lead projectiles can drastically cut costs without sacrificing reliability. This approach allows shooters to produce ample quantities of practice ammunition at a fraction of the cost, which is crucial for regular training sessions. Practicing with ammunition you’ve cast yourself also provides a deeper insight into its performance, enhancing your understanding of its capabilities and limitations.
As you embark on your casting journey, remember that meticulous attention to the quality of your casts and the careful selection of materials will yield the best results. Start by experimenting with different alloys and coatings to find what best suits your shooting needs. Now that we’ve demystified the basics of bullet casting, you’re well-equipped to begin crafting your own projectiles. Embrace the process and enjoy the satisfaction of shooting ammunition that you’ve personally produced.


