As with many technical ventures, ultimately attaining best success is all in the details. Here are a few never to overlook in the process of learning to reload rifle ammunition. READ MORE
Glen Zediker
First, I thank you all for responding as well as you have to this little series. I appreciate the kind comments. I know that there are many eager for me to get back to the fine points, the advanced measures, but I also hope reflecting on what I taught my son likewise has caused some pause for reflection in your own processes.
Although it may be back with other installments as things progress, I’ll finish this little series for now by going over a few process particulars that, in part, my son had more difficulty getting the hang of and, also, those that I think are absolutely mandatory to teach and coach to a new handloader, especially in creating ammo for a semi-automatic centerfire.
Case Lube
Learning how much is too much and how little is too little is an easier step if you’re using a high-quality, high-performance case lube. I know from past experience addressing this topic in Reloaders Corner that we have differing opinions amongst the readership as to the best formulation for this essential step. For me it’s always been one of the “rub-on” lubes, like Redding’s Imperial Sizing Die Wax or Forster Case Sizing Lube. I like the control, speed, and ease of die operation those products give me. However! I will freely and quickly also tell you that a lube applied using a roll-over type pad or spray delivery takes a lot of the “feel” out of this process, and that’s not always a bad thing.
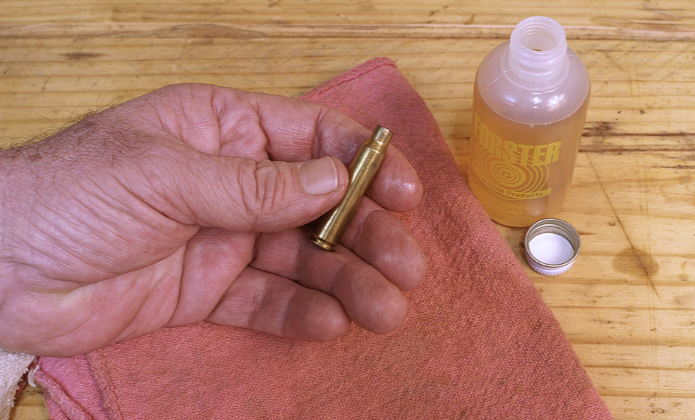
The rub-ons are so slick feeling that it’s tempting to use too little. I treat each case with a fresh dab. Charlie figured out that really wasn’t necessary, that he could go two or three without having to reup and reapply the lube to his fingers. These lubes continue to indicate, based on feel, that there’s an adequate coating, until he dang near almost stuck a case. He was correct, at least one more use per reload was possible, but there’s a measure of consistency in starting the same with each case prior to sizing. I pointed out that there was no harm done in a more ample coating because it was coming back off anyway. And then, of course, he asked about the pressure-induced dimples he was getting from using too much of it! Right: one extreme to the other. There’s a feel to this process, but it’s a balance pretty easily managed — as long as you’re not trying to see how little case lube you can get away with.
Sizing Die Set
The first on the list of “always” was learning to set the sizing die to accept those lubed cases. I mentioned this briefly before, but I am absolutely adamant about using a cartridge case headspace gage to adust the amount of sizing each case gets. I’m talking about case shoulder set back. I did a piece some time ago here about the challenge of loading the “same” ammo for use in different rifles, which are near about certain to have at least slight variations in chamber headspace. Compromise has to favor the gun that needs the most shoulder set back, and we hope there’s not a huge difference across the rack of rifles we’re using this ammo in.
I promise it was not due to any sort of parental retaliation for misdeeds in the past, but I let Charlie start off with a brand new disassembled sizing die.
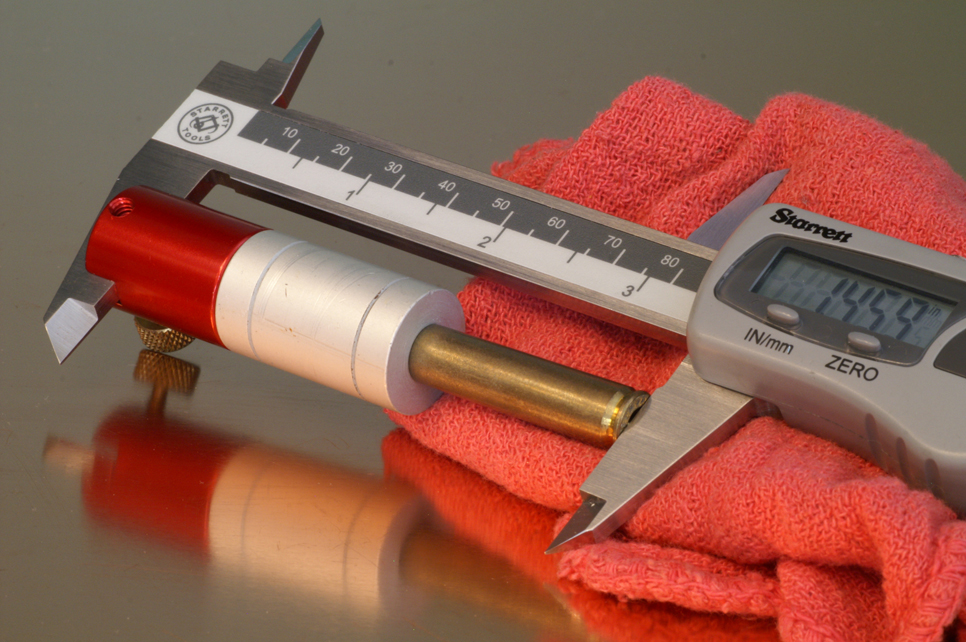
Setting set back is a tedious process that requires numerous checks. We use a Hornady LNL gage. We measured a few different spent cases from a few different rifles and, fortunately, didn’t have much variation (about 0.002). We took cases from the shortest chamber and set them back 0.004, which is what I usually recommend, and accepting that meant some were getting pushed a little more than ideal, but all were still well (well) away from the maximum the sizing die would give. That’s where the die is sitting now. I don’t recommend cutting it too close for reuse in something like an AR15. I won’t launch into a detailed look into either of those single topic-points, but following the die setup instructions that come with most sizing dies will result in what I say is excessive set back. So even a compromise still meant we were getting the least amount of brass working in sizing, and (mostly) ensuring safe and reliable function. We started with once-fired cases all from the same ammo lot, by the way.
Priming Ain’t Easy
Once again, this topic has been addressed here by me a few different times and ways in these pages, but teaching someone how to correctly, and safely, set and seat primers is best done with a “hand tool.” It doesn’t have to be a zoot-capri benchrest specialty item, but, well, to make a long story short: using the bench-mounted tools I had on hand (and trying three different ones) Charlie was retrieving and retaining essentially none of the finesse I was trying my best to explain — “Feel the primer come to a stop on the bottom of the pocket and then compress the anvil…” And it’s even harder using a press-mounted device. With anything (that I’ve used) besides a hand tool there’s too much leverage over too short a stroke to feel the progress and end of a well seated primer.
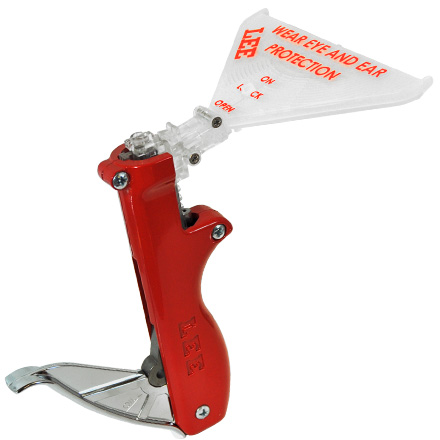
We’re not nearly shooting Benchrest, but for the sake of consistent ammo performance and safety all primers should be seated well, which is to say well-seated. And, especially for a semi-auto, they all must be seated to below flush with the case head.
I handed him said hand tool and after a scant half dozen experiences, he had it down pat. A serious light went on and smile appeared: Oh! Moving then to bench-mounted tool he had learned what he needed to know, or had felt what he needed to feel, and instinctively slowed down and lightened up and got the same good results. The lesson here is that if you’ve never used a low-leverage hand-operated priming tool, try one. You might not want to stay with it, especially when faced with the small mountain of brass such as we collect for processing, but it will teach a thing or three.
One not so minor point we all have to learn, and definitely don’t want this one to be learned the hard way, is taking care when using primer feeds (trays and tubes).
Suitable Seating
The last thing on my list of “things that stood out” in this process of teaching Charlie to reload was setting up the bullet seater.
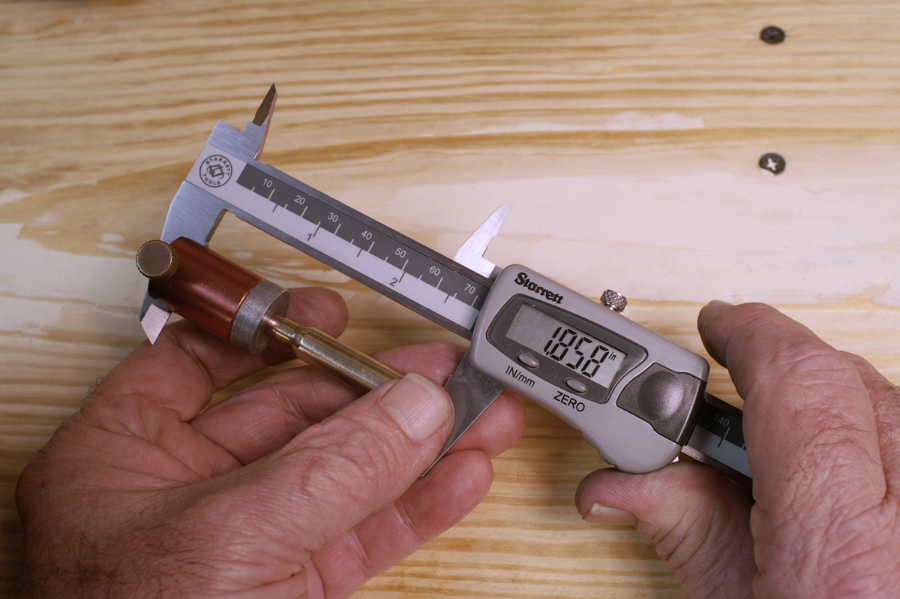
With an AR15, or any rifle with a detachable box magazine, the clear overall cartridge length limit is defined by what will fit into the box. There’s more to it than that. Different bullets have differnent profiles and ogive dimensions. This influences how far from the lands or rifling the first point of bullet major diameter (that which coincides with land diameter) will be when the round is chambered. I recently wrote about having some “sticking bullets” in a rifle. This was a factory load but the bullet profile, overall cartridge length combination exceeded clearance — the bullets were jammed into the lands. Not what you want, unless of course you know what’s what you want (and that’s another topic entirely).
A fair number of .224-caliber bullets may touch the lands if seated to an overall cartridge length that fits the magazine box, if that’s the only criteria used to determine round length. These have to be seated more deeply, resulting, of course, in a shorter overall round length.
Never (ever) assume! Mil-spec, and most other, .223 Rem. rounds, for instance, will have the ballpark 2.250 inch length (in my notes the max is 2.260) that closely but adequately clears the box walls, but some I’ve used have to be down a good 0.025 under that to avoid sticking the bullet into the lands. I’ve seen this be most prevalent in lighter weight varmint-style bullets. Check it to make sure. And, as long as there is a gap between the bullet and the lands, all is fine.
The tool to use is a Hornady LNL OAL Gage. Once again, the only measuring tool needed for use with either of the gages mentioned is a decent caliper.
Check out hand priming tools at Midsouth HERE
OAL and Headspace gages HERE
The preceding is a adapted from information contained in from Glen’s books Top-Grade Ammo and Handloading For Competition. Available HERE at Midsouth Shooters Supply. Visit ZedikerPublishing.com for more information on the book itself, and also free article downloads.


