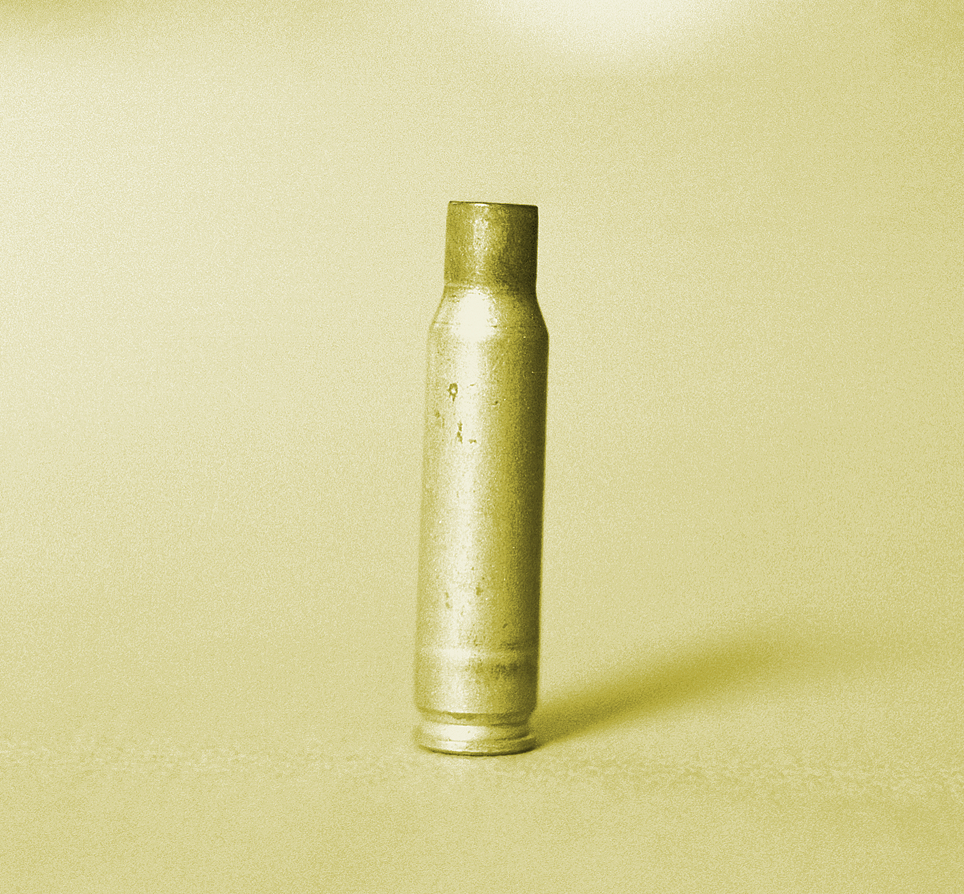
Cartridge cases always fail on the “next firing.” Question is which one that might be. Need to know! KEEP READING

Glen Zediker
I’d always rather say it all at once, but the realities of tolerance, and space, sometimes mean I have to split a bigger topic into smaller installments. The “tolerance” part is how many pages you all are willing to scroll through!
This multi-part topic is when, and then how, to check after the progress of changes commencing with the firing on a new case. It’s the “progress of degeneration,” in a way of looking at it because the concern is getting a handle on when enough change in the brass has come about to require attention. Or abandonment. As said then, for me that’s 4 firings. That, as said last time, is when I might see changes that need attention. Also as said, that figure didn’t come out of a hat, but from my own notes in running my competition NRA High Power Rifle loads.
The areas most affected are the case neck and case head area. Case neck walls get thicker, and that was the focus last time. Well, the case head area body walls get thinner. Primer pockets get shallower and larger diameter.
As started on: Brass flows during firing. It expands, then contracts, and when we resize the case, it contracts, then expands (a little). This expansion and contraction makes the alloy harder over the entire case, but with more effect in areas of more expansion, and flow. Replace “hard” with its effect, “brittle,” and that’s a clearer picture. This increasing hardness influences its reaction to being sized or otherwise stretched. As with many metals, bend it back and forth enough times and it will break. It will also fail if it loses enough resilience, or thickness, to withstand the pressures of firing.
Case Head
When a case is under pressure during firing, the brass, like water, flows where it can, where it’s more free to move. Of course, the chamber steel limits the amount it can expand. The case shoulder blows fully forward and the case base is slammed back against the bolt face. There is, therefore and in effect, a tug on both ends — it gets stretched. The shoulder area is relatively free to expand to conform to the chamber, but the other end, the case head area, is not. Since that’s the area of the case with the thickest walls, it doesn’t expand “out” much at all. What it does is stretch.
The “case head area,” as I refer to it here, is the portion of the case above the web, which is just above the taper that leads in to the extractor groove. The “area” extends approximately an eighth-inch up the case body.


That portion of the case does not fully expand and grip the chamber, but the area immediately ahead of it does. So the case body expands and grips the chamber, and that last little bit back to the base can and does move. It stretches. If you see a ring circling the case, noticeable because it’s lighter color than the case body, and it’s in this area, I’d say that case is done. The ring will be evident after firing, not after; don’t confuse a shiny ring around the case in this area with what can be normal from sizing, especially if it’s been a hotter load. That is pretty much a scuff from the sizing die squeezing down this expanded area.
And that’s right where a “head separation” occurs. It can crack and also blow slap in two, and that’s the “separation” part of case head separation.
This is a spot to keep close watch on as cases age. It is also the area that is more “protected” by sizing with less case shoulder set-back. That is, pretty much, where the freedom for the stretching movement in this area comes from (the case shoulder creates a gap). However! As said many a time, semi-autos need some shoulder set back for function, and it’s the reason to use an accurate gage to determine the amount of set-back needed.

Some folks unbend a paper clip and run it down inside a case and drag it up against the inside case wall as a sort of antenna to see if they detect a dip-in near the head area, which would indicate that the wall in this area has been stretched thinner. If there’s enough to feel it, that case is done.
Since I’m working off this “4 Firings In” checklist, if you’re seeing a sign that a head separation might be nigh in that few uses, chances are the shoulder set-back is excessive, and also too may be the load pressure level.
Primer Pocket
Another case-head-area and pressure-related check is the primer pocket. As said, the primer pocket will get larger in diameter and shallower in depth each firing. As with many such things, the questions are “when” and “how much,” and the main thing, “how much?”
If the pocket gets excessively shallow, and that’s judged by a primer that seats fully but isn’t at least a tick below flush with the case base, there could be function issues. There’s a risk of a “slam-fire” with a semi-auto that uses a floating firing pin, and, if there is actual protrusion, that has the same effect as insufficient headspace.

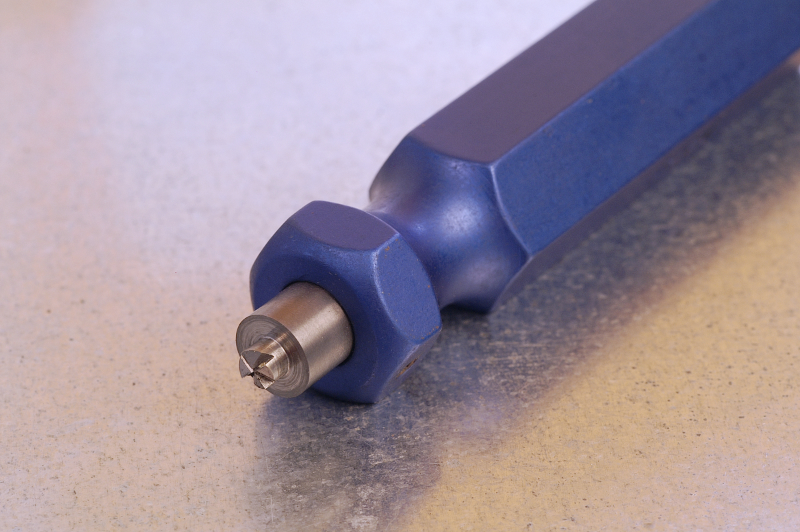
Shallower can be refurbished. That’s a primary function of a primer pocket uniformer. Larger diameter, though, can’t be fixed. I’ve mentioned in another article or two that, any more at least, my main gauge of load pressure has become how much primer pocket expansion there’s been. I judge that without using the first gage, well, unless my primer seater is a gage. If a primer seats noticeably easier, that’s the clear clue that the pocket is too big. Another is seeing a dark ring around a fired primer, indicating a little gas leakage.
Measuring primer pockets is a waste of time, say my notes at least. First, it’s not easy to accurately (truly accurately) measure a pocket, especially its diameter, but, that’s not really what matters. It’s how much grip there is to maintain the primer in place during firing.
I pay close attention to resistance in primer seating and won’t reuse a case that’s too easy.
Good deal on what I think is good brass, especially if you’re an AR15 loader — HERE
Glen’s books, Handloading For Competition and Top-Grade Ammo, are available at Midsouth HERE. For more information about other books by Glen, visit ZedikerPublishing.com
Glen’s newest book, America’s Gun: The Practical AR15. Check it out HERE!


