Team Springfield Armory’s Kyle Schmidt shares some insight on a use of a laser sight that’s truly beneficial to shooting better. READ MORE
EDITOR’S NOTE: I ran Part 1 of this installment a spell ago. Find it HERE to refresh your memory. Good stuff! And it really works.
SOURCE: Team Springfield, Kyle Schmidt
In Part I of ‘Dry Fire Practice With Lasers,’ I outlined the following:
Creating the dry fire targets, specifically Laser Target 1 and Laser Target 2
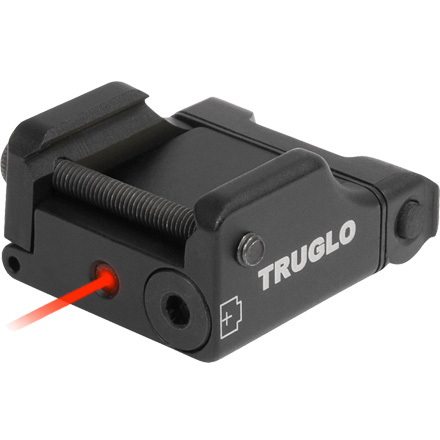
Attaching and zeroing the laser
Holding / Aiming Dry Practice Laser Drills
Let’s move forward now to some intermediate laser drills.
ACCEPTABLE SIGHT PICTURE — DRY PRACTICE DRILL
One of the more difficult concepts to get people to understand is the concept of an “acceptable” sight picture. If you’re like me, you were probably taught that “perfect sight alignment” requires:
The front sight perfectly centered in the rear sight notch
Equal lines of light / space on each side of the front sight
Front and rear sight perfectly level across the top
That sight alignment should then be placed perfectly in the center of the target before you should even start to move your trigger finger to the trigger.
Luckily for me, I was “un-brainwashed” of this filth by my buddy Rob Leatham many years ago. Not all shots require the above-mentioned “perfect sight alignment.”
We must learn what an “acceptable sight picture” is based on the difficulty of the shot.
An acceptable sight picture is a relatively difficult concept to explain because there are so many variables that affect how the sights appear from one shooter’s gun to the next. Target size, target distance, the type of sights, the sight radius, the length of the shooter’s arms, even the head position can affect how the sights look in relation to each other and how they correspond to the intended target.
And although I immediately understood the concept of an acceptable sight picture, it still took me a long time to really be able to apply it regularly.
When instructing, I use this dry-practice drill to help others better understand what an acceptable sight picture is, for the difficulty of the shot. The latter part of that sentence is very important! I would recommend first doing this drill at a relatively close distance, maybe 3 to 5 yards.
ACCEPTABLE SIGHT PICTURE DRY PRACTICE DRILL:
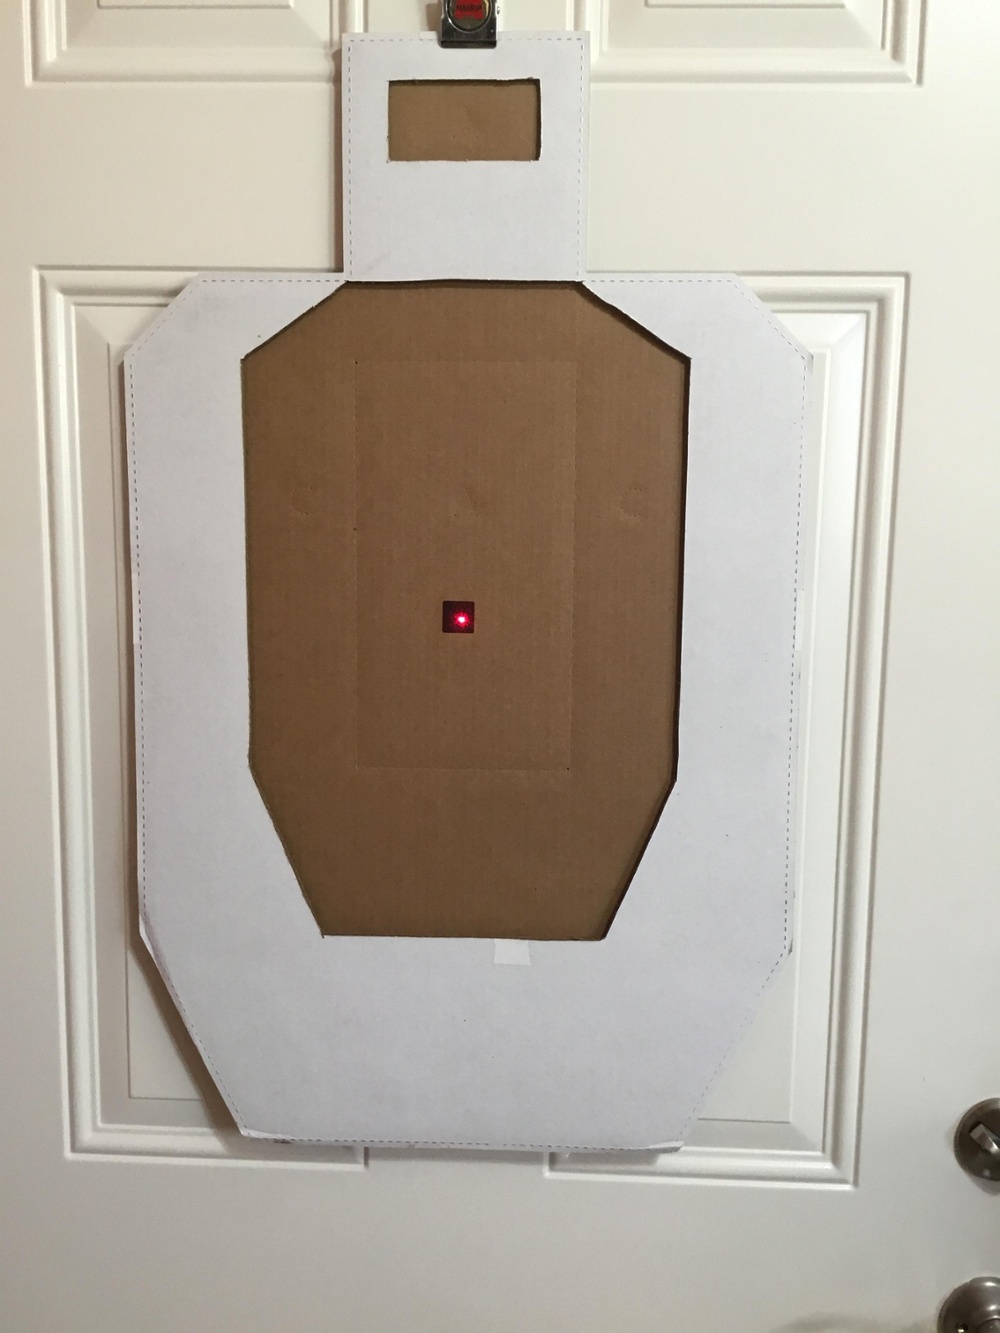
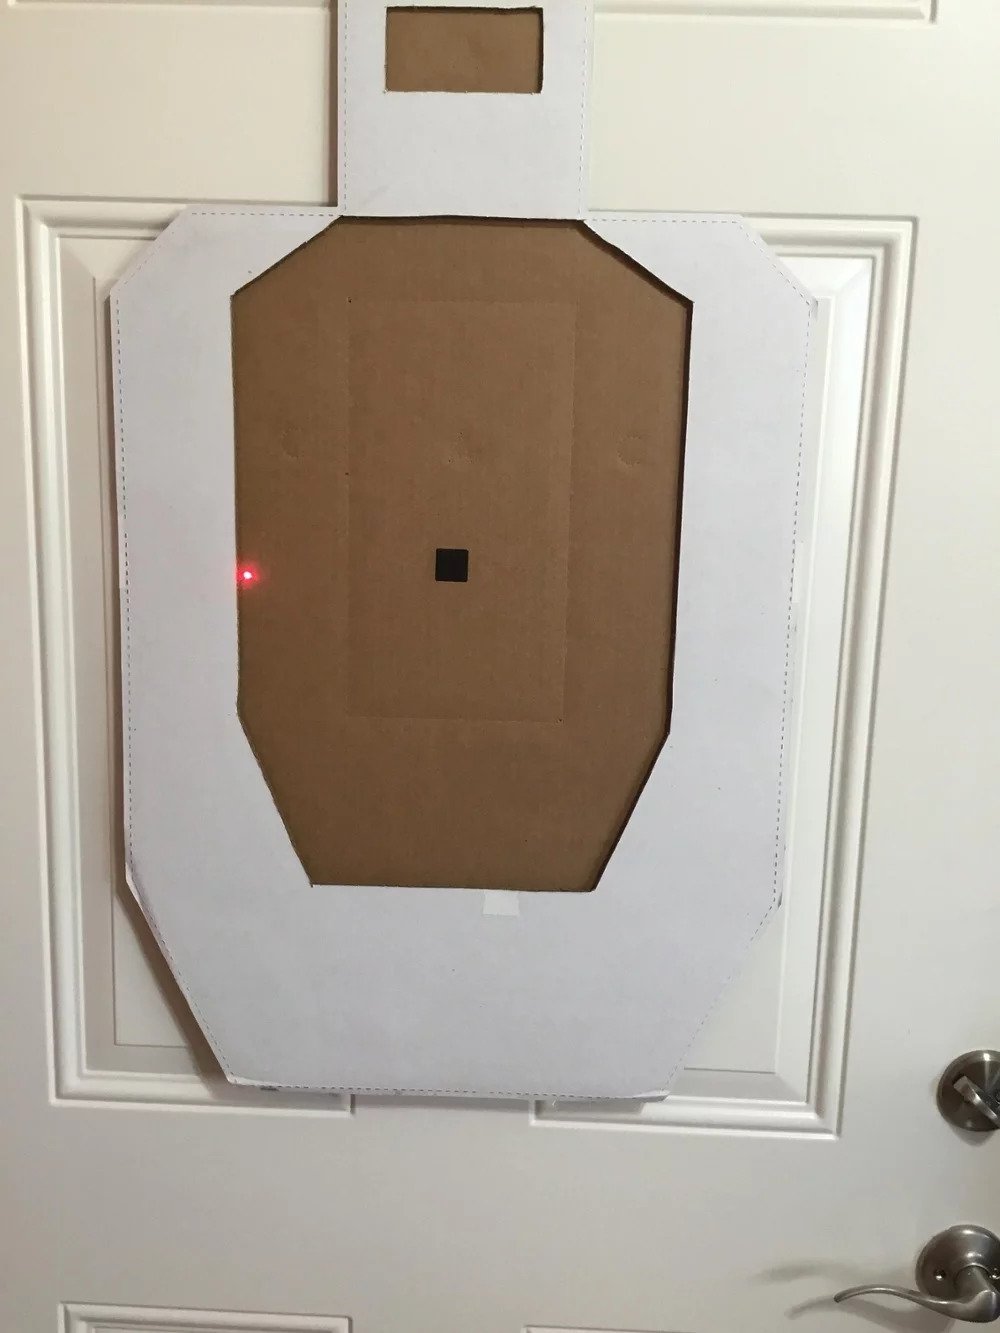
Place Laser Target 1 (with the C-Zone side of the target facing you), at your desired (and zeroed) distance.
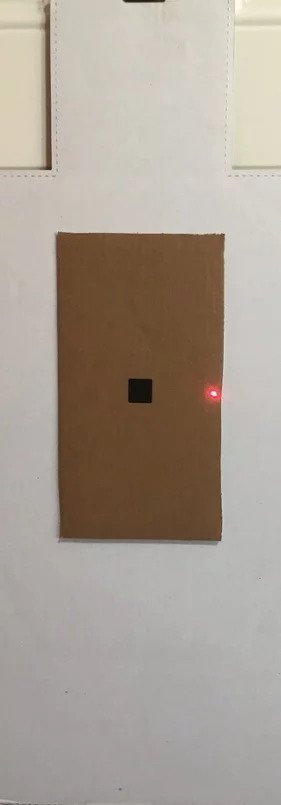
Aim the gun in the center of the C-Zone using the laser (above image).
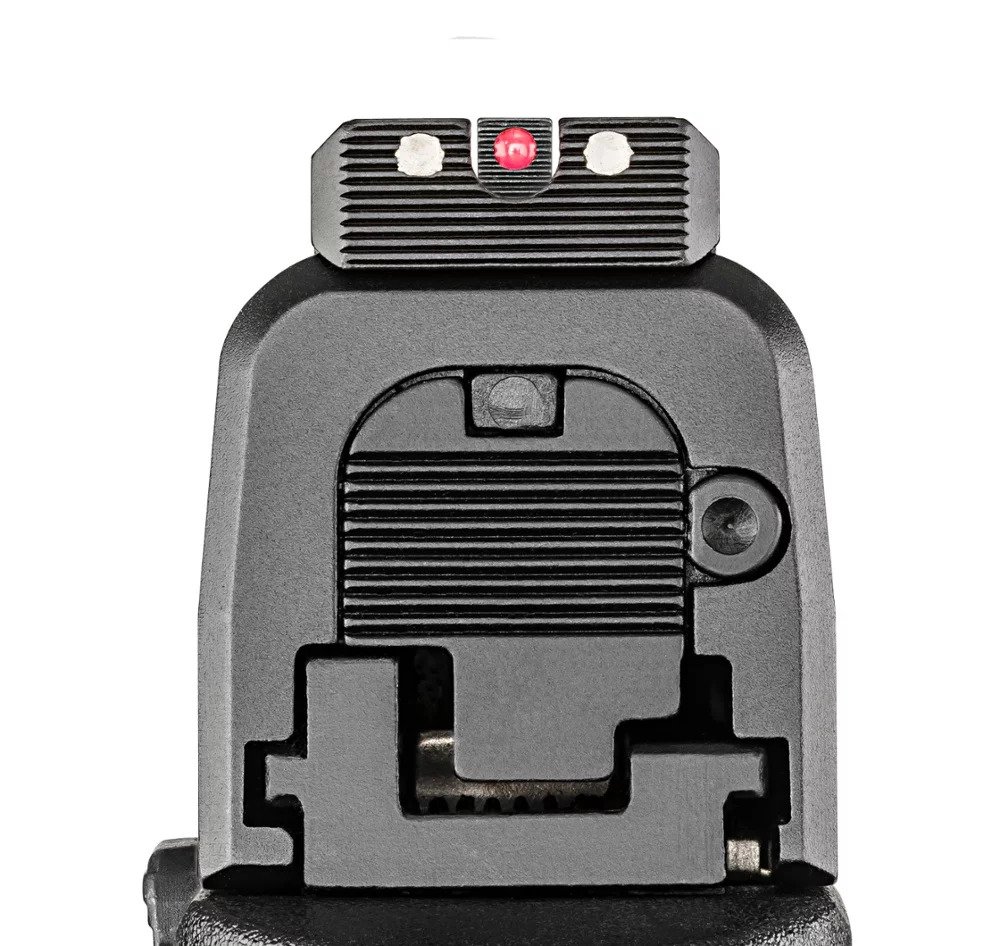
Now look at the iron sights. They should also be lined up in the center of the target.
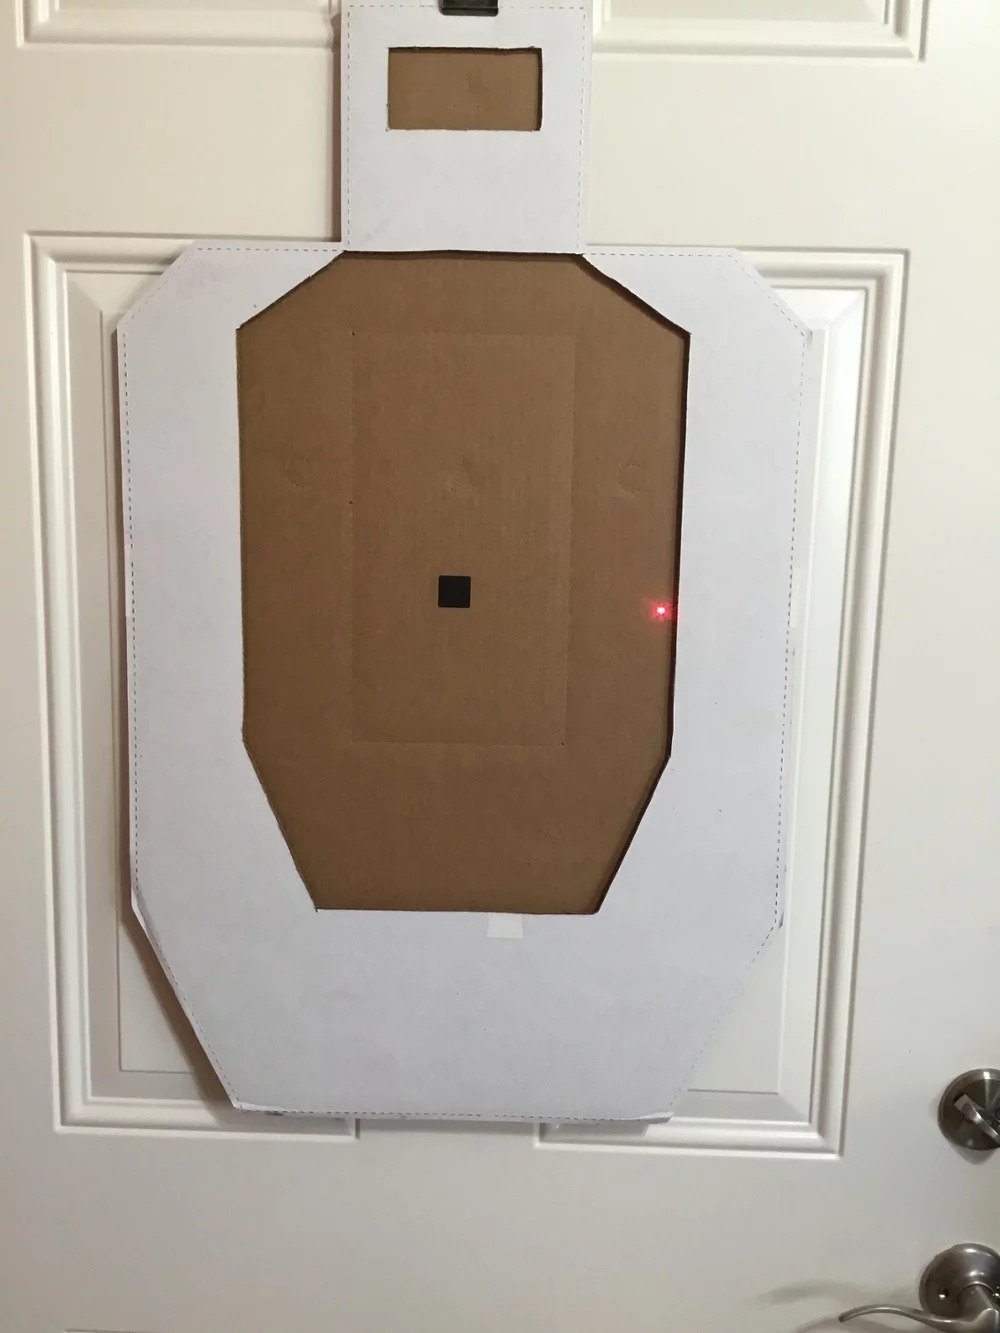
While watching the laser, start moving the front of the gun, and the laser dot, to the LEFT.
Try to keep the rear sight in the middle of the target and only move the laser and the front of the gun.
Stop once the dot from the laser reaches the left edge of the C-Zone (below image).
Shift your eye focus back to the iron sights.
If the rear sight is still in the middle of the target where you started, then look where the front sight is. It should be really far to the LEFT. If you are only a few yards from the target, the front sight will likely be completely hidden behind the rear sight.
This is how mis-aligned your sights can be to still be aimed in the C-Zone of the target. Pretty amazing, right?
When you are done being mesmerized and you’ve finished trying to convince yourself this can’t be possible, repeat this drill a few more times. Then move on to the right side of the target:
Aim the gun in the center of the C-Zone using the laser.
Now look at the iron sights. They should also be lined up in the center of the target.
While watching the laser, start moving the front of the gun, and the laser dot, to the RIGHT.
Try to keep the rear sight in the middle of the target and only move the laser and the front of the gun.
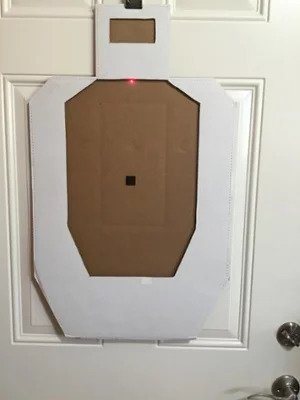
Stop once the dot from the laser reaches the right edge of the C-Zone (below image).
Shift your eye focus back to the iron sights.
If the rear sight is still in the middle of the target where you started, then look where the front sight is. It should be really far to the RIGHT.
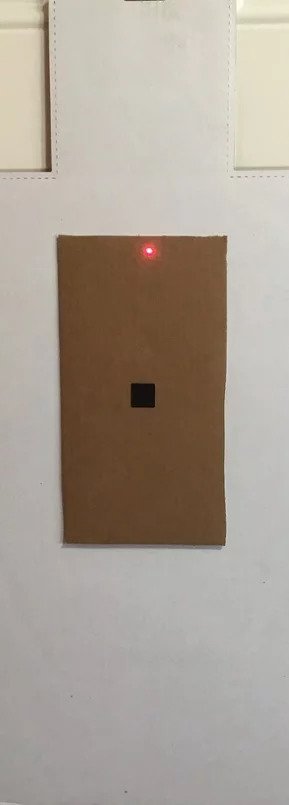
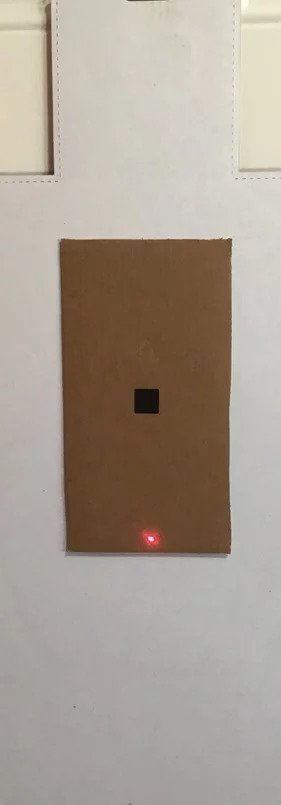
Now repeat the drill two more times, but use the top and bottom of the C-Zone.

Make a mental note each time you do each drill so you can recall the positioning of the sights later.
Once you get a good feel for the C-Zone, use Laser Target 2 (flip the target over to the A-Zone side) and repeat the drill, left, right and top, bottom.
Although the A-Zone is substantially narrower than the C-Zone (almost by half), notice that you could have quite a bit of sight mis-alignment and still be in the A-Zone.
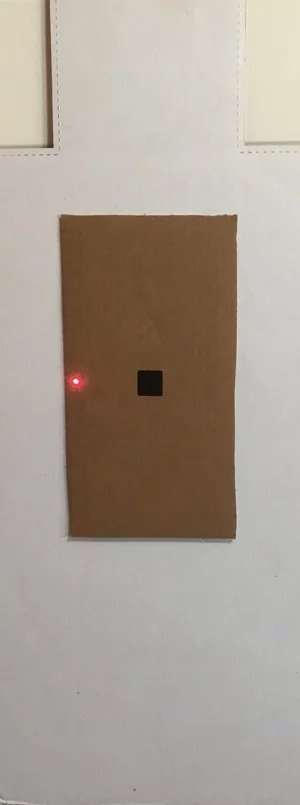
Once you figure out the body A-Zone, move up to the head and see if you can keep the dot in the head reliably.
Next, use Laser Target 1 (flip the target back over) and move up to the head’s A-Zone.
Finally use the 1-in. black square of tape for your aiming spot.
You should continue to experiment at different distances to see how mis-aligned the sights can be, even out to 25 yards and still be in the corresponding scoring zone. (Remember you need to make sure the laser is zeroed with the sights for whatever distance you are experimenting at.)
As long as the laser is “aimed” in the desired scoring zone, the corresponding sight picture would be “acceptable.” All that is left is to fire the gun.
CHECK OUT LASER SIGHTS HERE