
Along with all the other operations we do to them, cartridge cases also need maintenance. A good question is “when”? That’s next… KEEP READING
Glen Zediker
I tend to write much of what I do for those who reload for production. Those are folks expecting good utility in exchange for the expense and effort: a reliably-performing round of ammunition, over and over again. They’re loading and reloading because they like to shoot. It’s a big bonus to most, and I include myself in this group most of the time, if that good performance comes with a minimum of effort. Clean, size, prime, fill, seat, shoot. Five steps to get to the one thing that matters most: shoot! I am also in another group some of the time, not as often now as I once was, and those folks may add a few more steps before getting to the “shoot” part (case prep mostly).
It would be wonderful if that simple cycle endured without end. But it won’t.
Overall case condition after X-many firings varies A LOT because of a lot of factors, variables. What matters is getting a handle on it. I look over each case each time I load it, but I don’t break out the measuring tools. That’s not neglect. There is never (ever) any excuse for neglect. That’s not what this is about. It’s about working out a responsible, reasonable, and realistic schedule for when to take a close look at the progress in condition that new batch of cartridges cases has followed after some time.
In my experience, which is what’s in my notes, I say that’s 4 firings.
I went through the per-use checks enough times to know the schedule one brand and lot of brass, used with the same loads in the same barrel, follows with respect to changes. And by that I mean when changes require attention. I’m also starting with prepped cases, including trimming, before their first firing.
Let me make clear that I’m not suggesting that 4 firings is maximum case life! What I am suggesting is that this is the point where it’s likely to see measurable influences from use and reuse, and, as such, that it can be measured. That’s what we’re after now: take a check to see what’s happening, and that also is a big help toward getting clues about where and when these changes might get noticeably influential.
So, to be clear: the case has been fired four times, reused three times. Next loading, if there will be one, will be for the fifth use.
Changes
Continuing to use and reuse cases, we’re not really using the same cases each time. The cases change, and much of the change comes from material flow, which is brass.
Here’s how it goes, which is to say here’s how it flows: Case neck walls get thicker. The case head area body walls get thinner, over a short span of the body. Primer pockets get shallower and larger diameter. Overall, the alloy hardens over the whole case.
As gone on about a few times in this spot, there’s going to be more change in cases run through a semi-auto than those used in a bolt-action. That’s because of the necessarily additional (comparatively speaking) sizing and also the additional stress resulting from the firing cycle. There’s more flow because the cases are free to expand more.
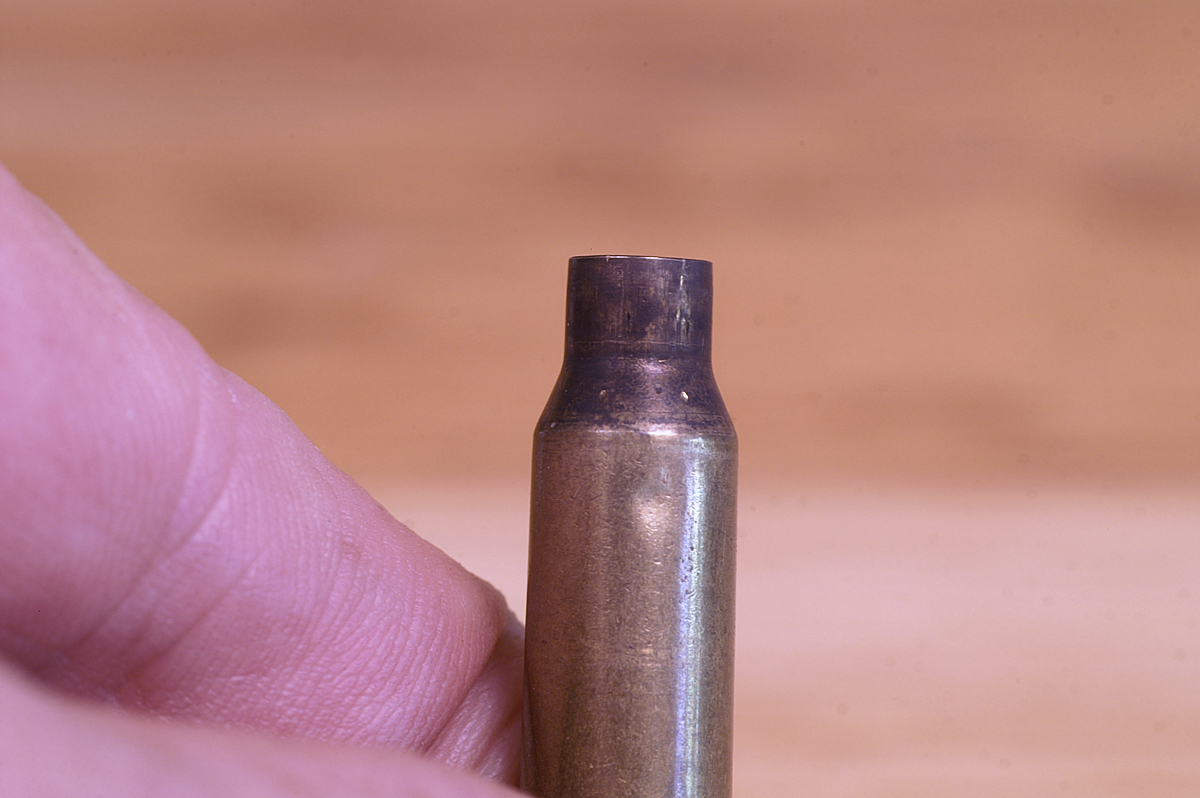
The Neck
All case necks expand to whatever the chamber allows. There’s no relationship between that and sized dimension because, clearly, there has to be a small enough neck inside diameter to retain the bullet. It is, though, one of the reasons case necks tend to give up quickest (plus it’s the thinnest-walled area on a case).
The case neck is my primary concern, and the first thing I check. If the walls get too thick it’s possible to cut the space too close between the case neck and the case neck area in the rifle chamber. There might be interference upon bullet release, and that creates excessive pressure, or sure can. All that depends on what the chamber allows for expansion room.
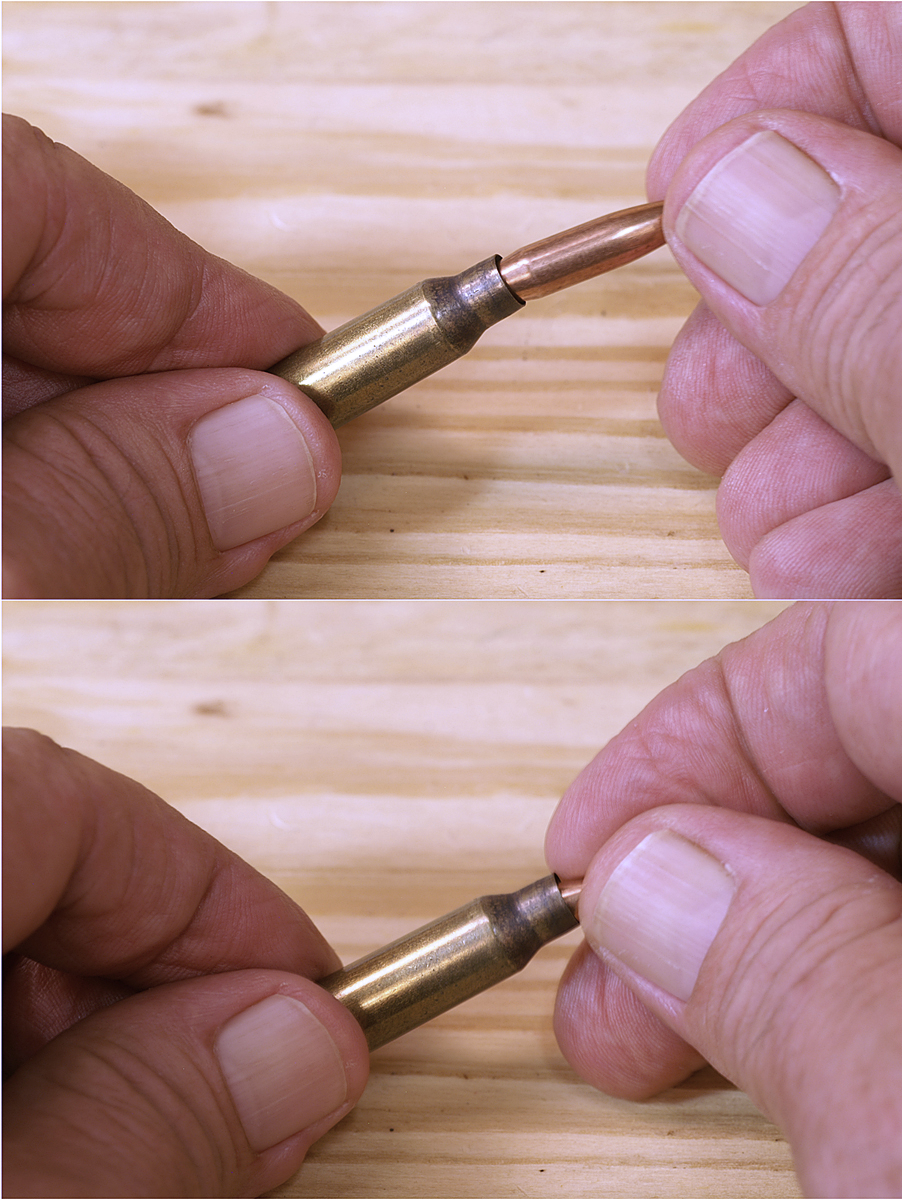
The most simple check is to see if a bullet will freely drop into a fired case neck. If it won’t, stop! Do not reuse that case as-is. A case that won’t pass this no-tool test has excessively thickened.
Somewhere in your notes should be a figure indicating loaded outside case neck diameter, on new brass. This dimension is exclusive of the sized neck diameter, because when the bullet is seated the neck is going to expand to accommodate the bullet. Another check of loaded outside neck diameter will show if there’s been thickening. If an inside neck sizing appliance is used (a sizing button), then that will tell you also, comparing it to what you also recorded for the new case after sizing it. (And it’s a good reason to always run new brass through your sizing die, even if it’s “ready to go” out of the box.)
I hope it’s clear enough why it’s important to “write everything down.” References, standards are big helps.
Direct checks of the neck walls themselves using a suitable tool will show thickening. However! Case necks don’t necessarily thicken the same over the entire height of the case neck cylinder. Remember, the brass is flowing so moves in a direction, and that part of the case has a wave going forward, toward the muzzle. There can and likely will be a tapering from thicker to thinner. Measure at more than one point.
Safety is one thing, and the most important thing, and then the other thing is accuracy. Case neck “tension” needs to be consistent from loading to loading to get reliable accuracy.
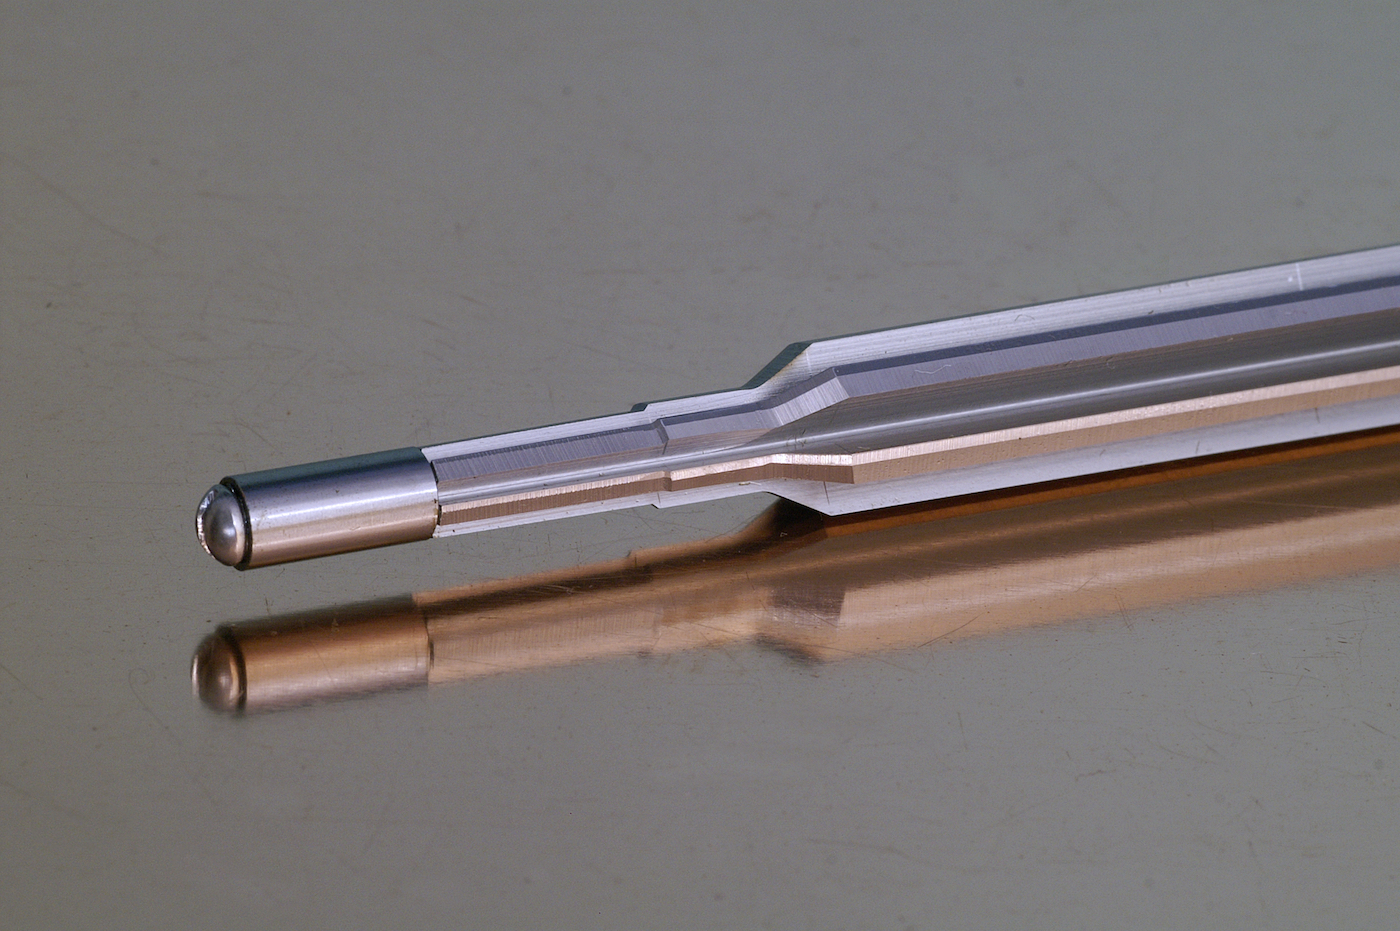
Fixing it? An inside case neck reamer is the easiest and most direct means. However! Make double-dang sure you know the numbers and therefore how and at what point to use it! Many are intended for use on fired (not yet resized) necks. Others are a specific dimension that you may or may not be able to specify. Thinning the case neck walls using an outside case neck turner is another direct remedy. A little tedious.
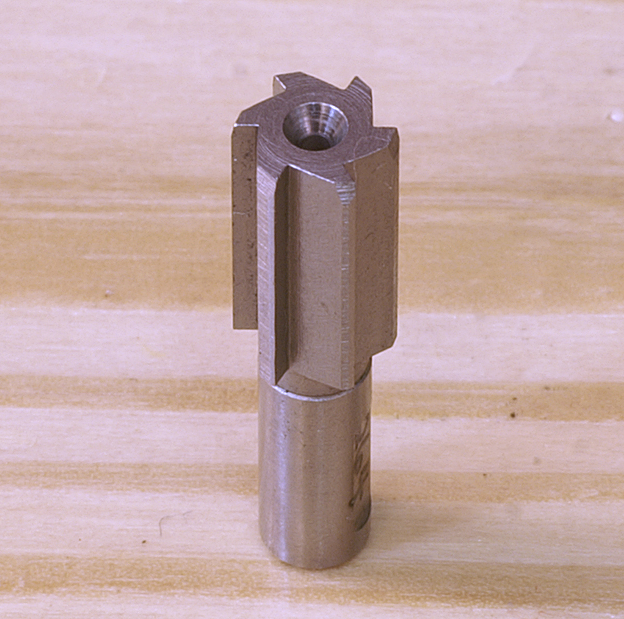
Reamer or turner, though, this job hasn’t finished until the refurbished case has been run through your usual sizing die, and checked again for diameter.
Well, so much for this here and now. Out of room! More next time…
See REAMERS HERE
Glen’s books, Handloading For Competition and Top-Grade Ammo, are available at Midsouth HERE. For more information about other books by Glen, visit ZedikerPublishing.com
Glen’s newest book, America’s Gun: The Practical AR15. Check it out HERE!