Don’t overlook details when setting up shop. Here are a few ideas on dealing with a few tools and tasks to get set up to reload.
Glen Zediker
Set-Up Tools
Time after time, point after point, I address the use of specific tools used in the process of loading ammunition. There are a few tools that never get near a cartridge case or bullet, though, that matter much to contentment. These are the “set-up” tools and appliances that when needed are indispensable. And, as with the loading tools themselves, making the better choices pays off. I joke with myself sometimes that I spend about as much time at auto parts and hardware stores as I do reloading industry outlets…
Get real wrenches for all the dies and tools you own. It’s worth the investment to buy a quality combo wrench at an auto-parts store rather than buggering up all your fasteners with a set of slip-lock pliers. But. You need those too. Everyone needs a slip-joint pliers, like Channellock-brand, but avoid using it whenever possible. Again, correctly-sized quality wrenches won’t muck up your die parts.
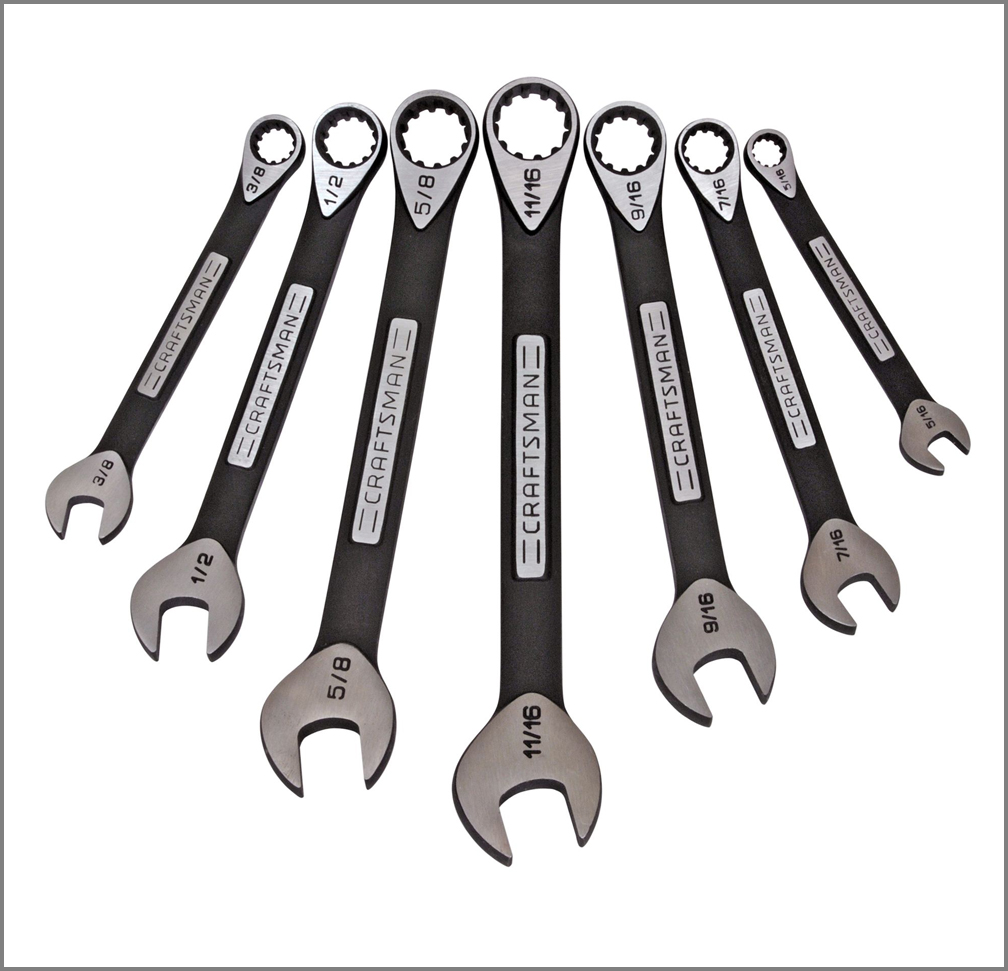
A good quality set of allen wrenches, or hex-heads, likewise is a relative joy to use next to the el-cheapo versions that come with the tools. Get the ball-end kind for even easier use.
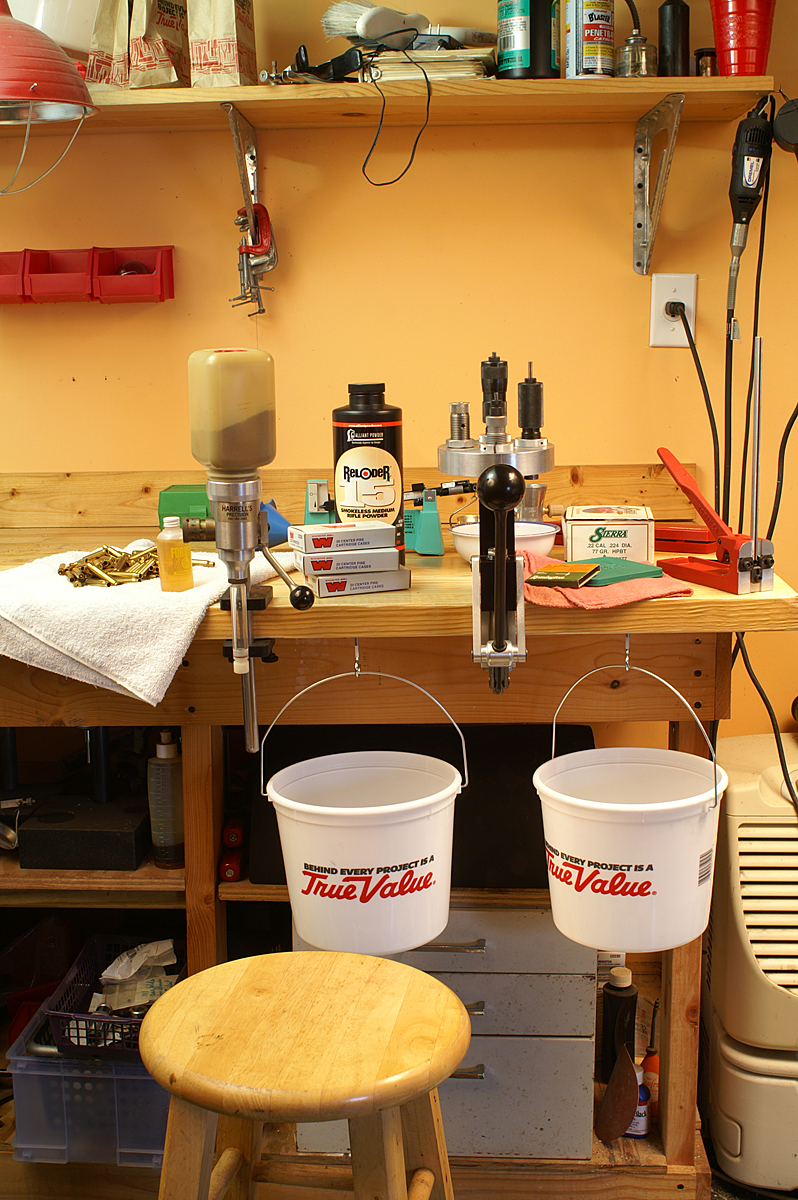
Press and Tool Mounting
Make an investment in at least “good” grade tools for drilling holes and measuring where to drill them, and then for installing the fasteners. It really makes a difference to have proper size drill bits and drivers.
The press is the base for the dies. It’s important. Of course it is. Mounting is key. I suggest a workbench that’s mounted to a wall, along with its legs fixed down to the floor. It’s the press upstroke, not the downstroke, that taxes the stability or solidness of the workbench.
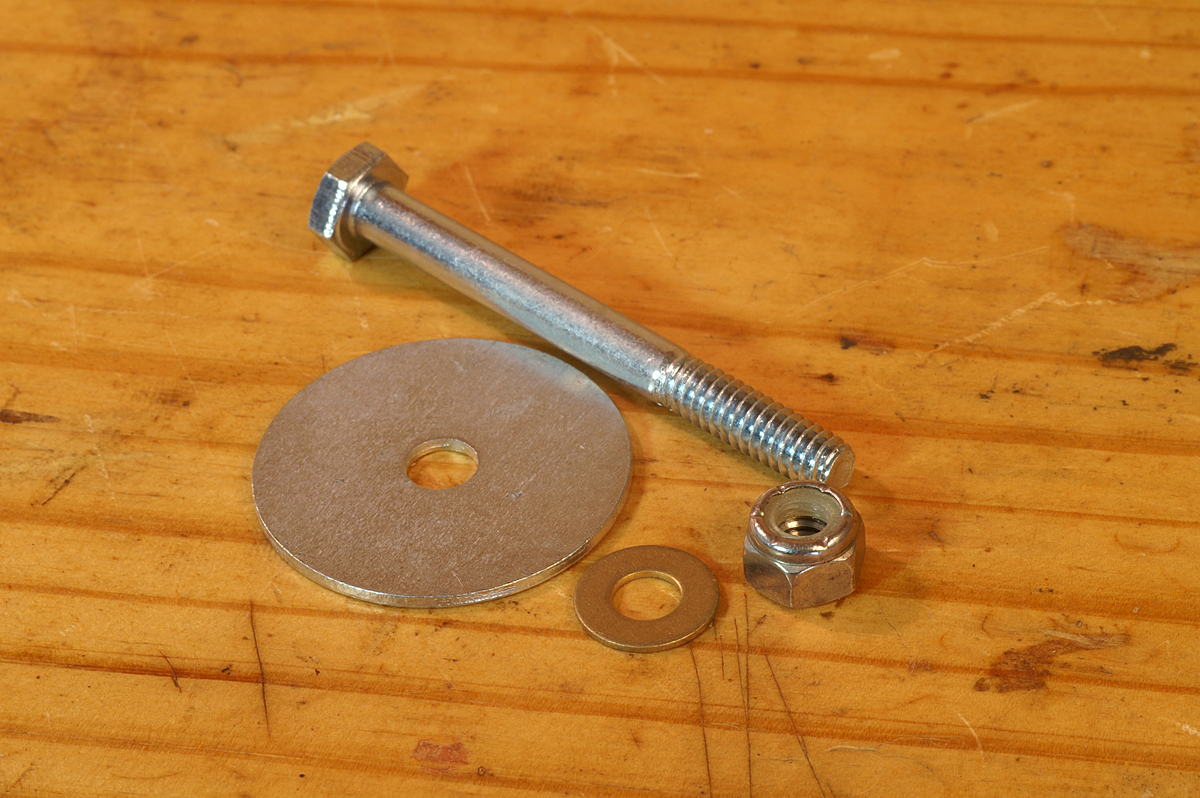
If you’re building a workbench, consider carefully the overhang and bench-top underside construction, or at least dimensions. What you don’t want, and what I have had so I know, is a combination of press hole mounts that conflict with workbench construction. Like when there is a structural crosspiece right underneath where a hole has to bore through. That’s a mess to deal with, or it can be. Then you have to drill a hole big enough to give a window to install a washer and a nut, and then that nut won’t want to stay tight. Check first before you settle on your plans. 6 inches of overhang (free underside) mounts anything I’ve yet used.
Do a template for press mounting. That’s easy by doing the “rub trick” with a soft pencil on a piece of paper taped to the press underside; some manufacturers provide templates, and that’s a nice touch. Otherwise, use a centering tool to mark the holes, used through the mounting holes on the press. Even being a little bit off hurts wonders. And drill straight! Get a drill with a level-bubble. The thicker the bench-top, the more mess a small angle error makes.
A cool trick for drilling holes in laminate or wood is to put masking tape over the marks for the drill bit start marks before boring. This keeps the material from splintering. Never (ever) use the press holes themselves as a guide for the drill bit.
I strongly suggest backing up the underside bench nuts with washers. Otherwise there will be compression of the nut into the bench material, and ultimately result in loosening. This is actually very important… Use a fender (flat) washer next to the wood, and a star (locking) washer between the nut and the fender washer (stars face the nut underside), or use nuts with “nylock” inserts.
After mounting the press securely, keep it secure. Check all the fasteners especially after the first use. And, as just recommended, here’s where washers and locking fasteners help. As said, the washers help avoid the compression into a wooden benchtop that can otherwise ultimately lead to a lifetime of snugging down the bolts — they’re not tightening, they’re just pushing in deeper… The locking fasteners are resistant to stress-induced movement.
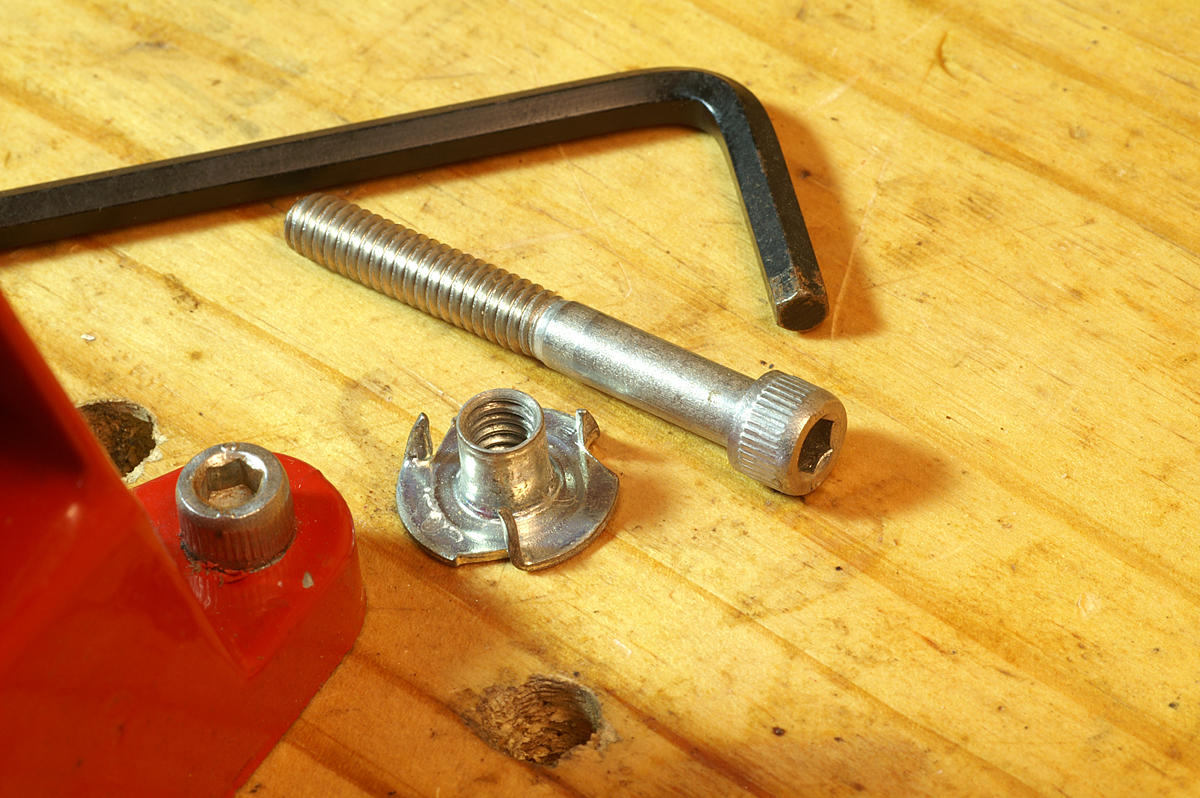
I have increasingly become a fan of using threaded retainers in place of nuts to screw the bolts to. This is a great means to secure things like case trimmers, powder meters, or anything else that might need to come on and then off the workbench area. Threaded inserts, such as t-nuts, remain in place on the bench top underside and the bolts are just run down into them. That makes it simple to mount and dismount with allenhead screws. Less benchtop clutter also.
Supply Items+
Shop rags work better than anything, and that’s why they’re used in shops. Sometimes the obvious is true. Get them at an auto parts store.
Invest in some good rust preventative and then use it. A lot of the tools we use don’t have any or adequate protective finishes on them, so give them a wipe-down after use. Local climate has a whopping lot to do with the need and frequency for this. Plus, there’s always going to be unforeseen times you’ll need to free a stuck fastener. Kroil-brand penetrating oil is the best I’ve used. Tip: Always grease contact points between steel and aluminum. If you don’t it will “freeze.”
Light is an asset, and, especially as eyes get older (dang I hate to say that, so let’s say the more and more someone needs bifocals and won’t get them) some magnification is a help too at times. It’s easy to find one of the clamp-on arm-style magnifying lights at most office supply stores, and even easier to locate a pair of reading glasses.
The preceding was adapted from Glen’s newest book, Top-Grade Ammo, available here at Midsouth. For more information on this book, and others, plus articles and information for download, visit ZedikerPublishing.com


