This is a specially-adapted excerpt from the forthcoming book, “Handloading For Competition,” by author Glen Zediker, owner of Zediker Publishing. Click here to order from Midsouth.
by Glen Zediker
Maybe the headline above oversells two case preps I routinely perform, but if they aren’t “essential,” let’s at the least say they are “worthwhile.” I don’t like telling folks to endure more tedium than is necessary. Time is not only money: It’s also shooting, relaxation, family, and on down the list of activities that substitute for removing miniscule amounts of brass from cartridge cases.
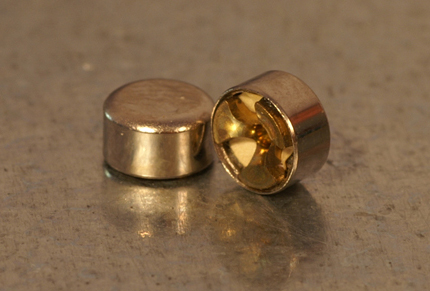
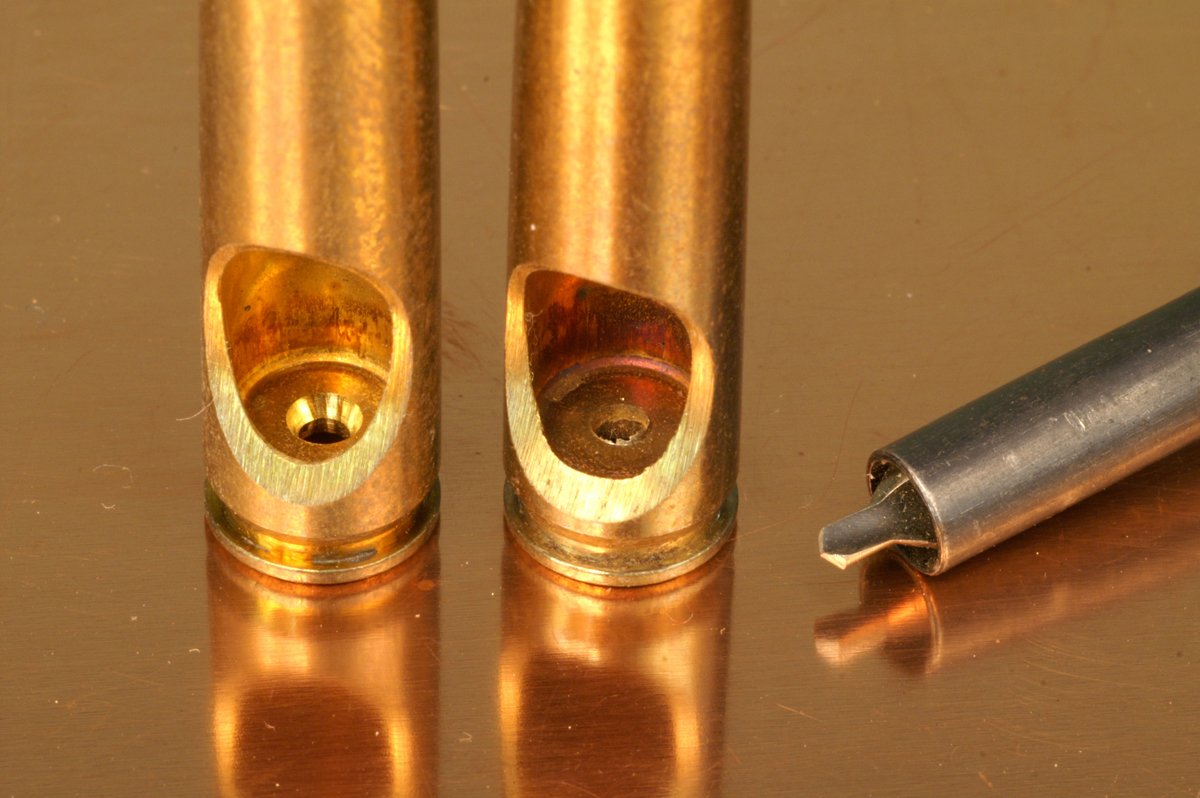
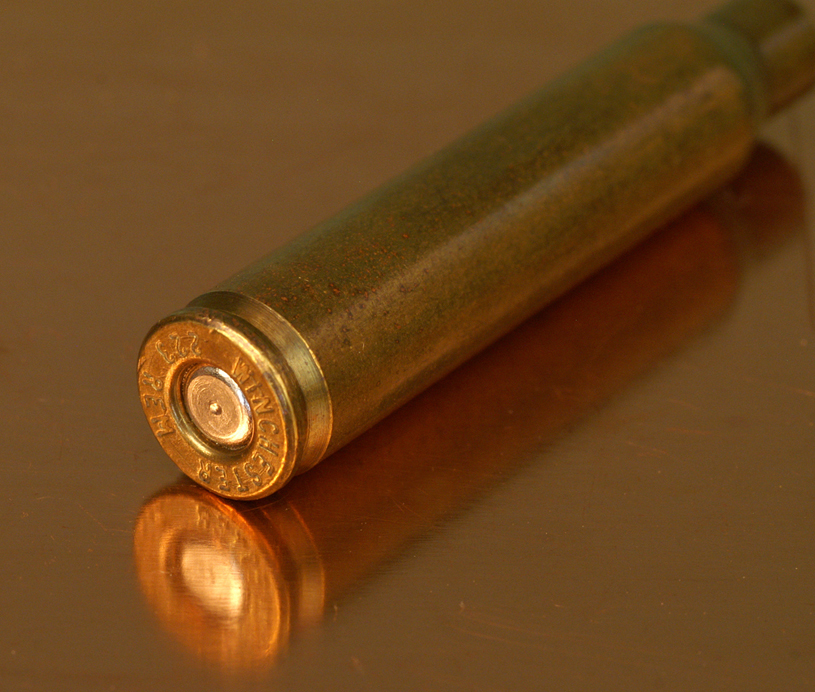
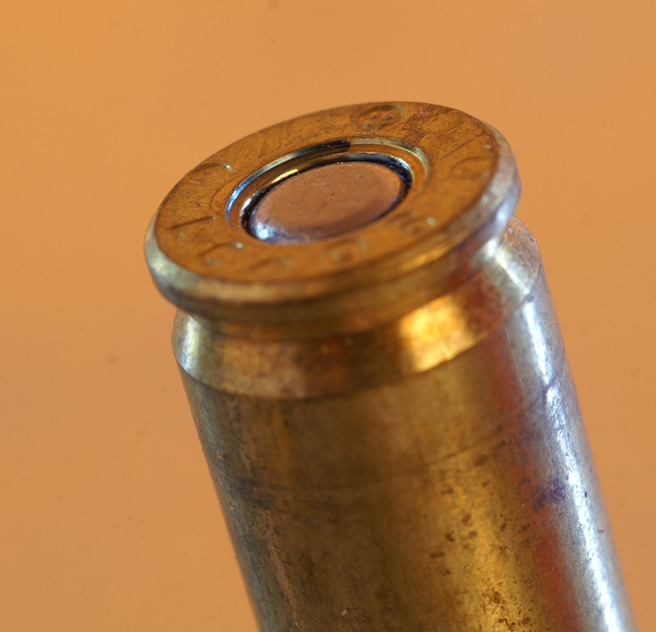
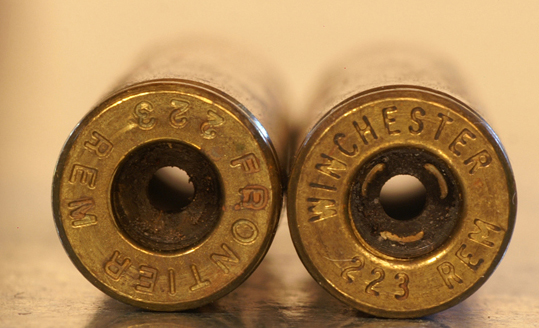
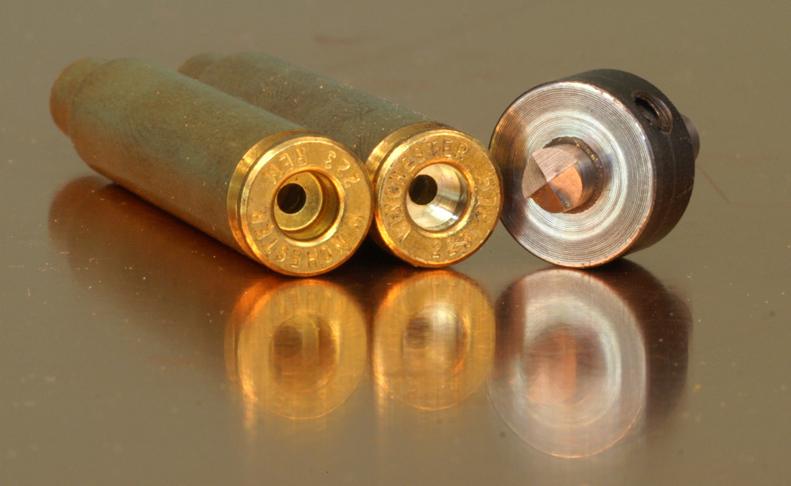
However, for reasons I’ll hit upon, a couple of actions on the bench make things better, and one makes things safer. The first is a primer-pocket uniforming tool; the other is an inside-flash-hole deburring tool.
The tasks these tools perform only need to be taken once.
When a domestically-produced cartridge case is made, the primer pocket and the flash hole are formed, not cut. The primer pocket is done with a swaging process, and the flash hole is punched. The primer pocket and headstamp are normally produced at the same time with a punch called a “bunter.” I also call it a “blunter” because that’s the result: cross section a case and you’ll see that the bottom of the primer pocket is not square; it looks a little like a cereal bowl. The flash hole is normally punched separately.
A well-designed primer pocket-uniformer’s job, in my view, is mostly to put a 90-degree corner on the pocket bottom, so the bottom is flat. Primers are flat, coincidentally. And this is why it should be done. A uniformer also cuts the pockets to the same depth, which is also within the correct depth range; or, at the least and depending on the combination of the primer pocket and the tool itself, ensures that a minimum depth has been created. That’s between 0.118-0.122 inches for Small Rifle primers.
Now, there are differences among manufacturers in primer-cup heights. They’re small, but tend to be consistent brand-to-brand. A uniformed primer pocket pretty much eliminates the chance of a shallowish primer pocket combining with a tallish primer to create a primer that’s not seated beyond flush with the case bottom.
And all primers should be seated below flush! The actual amount advised or warranted varies with the source, but I give it a minimum of 0.006 inches.
So, after uniforming a primer pocket, the primer should be sitting “flat” on the pocket bottom (more in a bit); ultimately, this means all primers in all cases are seated fully. Measurement of the amount below flush with the case bottom doesn’t really matter; just that the primers are seated fully.
The reason I said “more in a bit” is because primers have an anvil. It’s the three-pronged sort of spring-looking piece on the bottom of a primer. (“Top” or “bottom” is a matter of perspective…) When a primer is seated, the anvil feet compress. Using a hand-held seating tool, you can feel it. They are supposed to compress and be sitting equally on the primer pocket bottom.
There are two reasons this is essential. One is a matter of performance. If the primer is not seated flush against the pocket bottom, then some force from the firing pin or striker is redirected toward fully seating the primer. It’s a softer hit, in effect. This leads to inconsistent ignition, and, to a smaller degree only worried about by the fastidious, differing initial vibration nodes.
The other reason I say this is essential for AR-15 ammo (or for any ammo destined for use in a rifle with a floating firing pin) is assurance against a “slam fire.” Out-of-battery discharge. Ugly. When the bolt carrier sends the cartridge home into the chamber, the inertia can cause the firing pin to continue forward and “tap” off the primer. It’s not supposed to happen, but it dang sure does. The mechanism intended to prevent this is faulty. A primer that’s sitting a little high gets tapped harder, and if it gets tapped hard enough: BLAM. It’s more of a problem with M1As, but I have seen them in ARs, more than once.
Inside-flash-hole deburring is too easy. Of course, you’ll need a tool, and there are several that all work well. When the flash hole is punched, there’s a burr turned up on the inside of the case. These vary in height and scope, but without a doubt interfere with ignition. It’s also possible that a die decapping pin can fold one such that it obscures the hole. Just get it gone. Takes virtually no effort.
It makes a noticeable difference on target, especially in small-capacity, small-diameter cases, like .223 Rem. Reason is clear: the flash from the primer enters consistently and therefore spreads consistently to get the propellant burning. A tall, narrow column of medium-burning propellant is a tougher chore to ignite, or that’s what I think.


